
Brewing!
We’ve had far too many computer based things on this blog recently: time for a break.
I’ve been brewings things the last week or so.
History of Beer Chez DQ
My wife bought me a beer kit years ago when we lived in a flat. I decided not to use it as I knew it would cause the place to smell like a brewery for a long while.
However, now we’re in a larger place, she bought me another for my birthday early in the year. I think it was a Small Batch Gold Coast Session IPA kit from Dark Rock Brewing.
I had some temperature issues as it was winter: I ended up keeping it next to the radiator. Supposedly this variation in temperature can cause issues with the taste, but in this case it worked fine. It turned into a nice Citrussy IPA.
We intentionally got a small batch (8 pint) kit initially, in case things went really wrong.
Alefred
I decided to give it another go, before winter this time.
So first of all, here is Alefred: 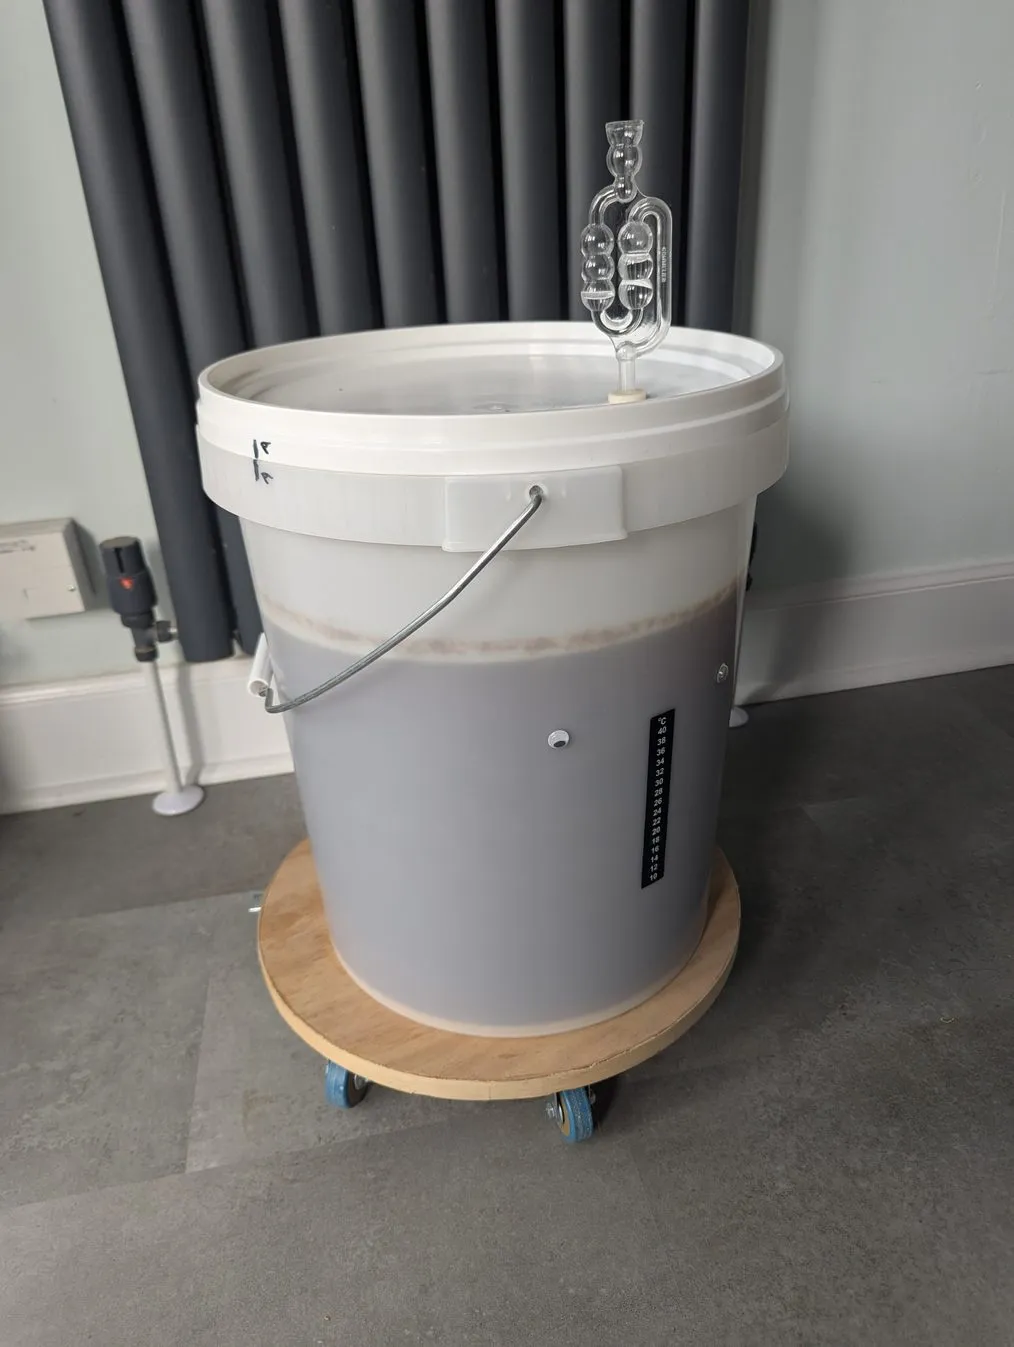
Alefred is a St Peter’s Brewery Ruby Red beer kit. 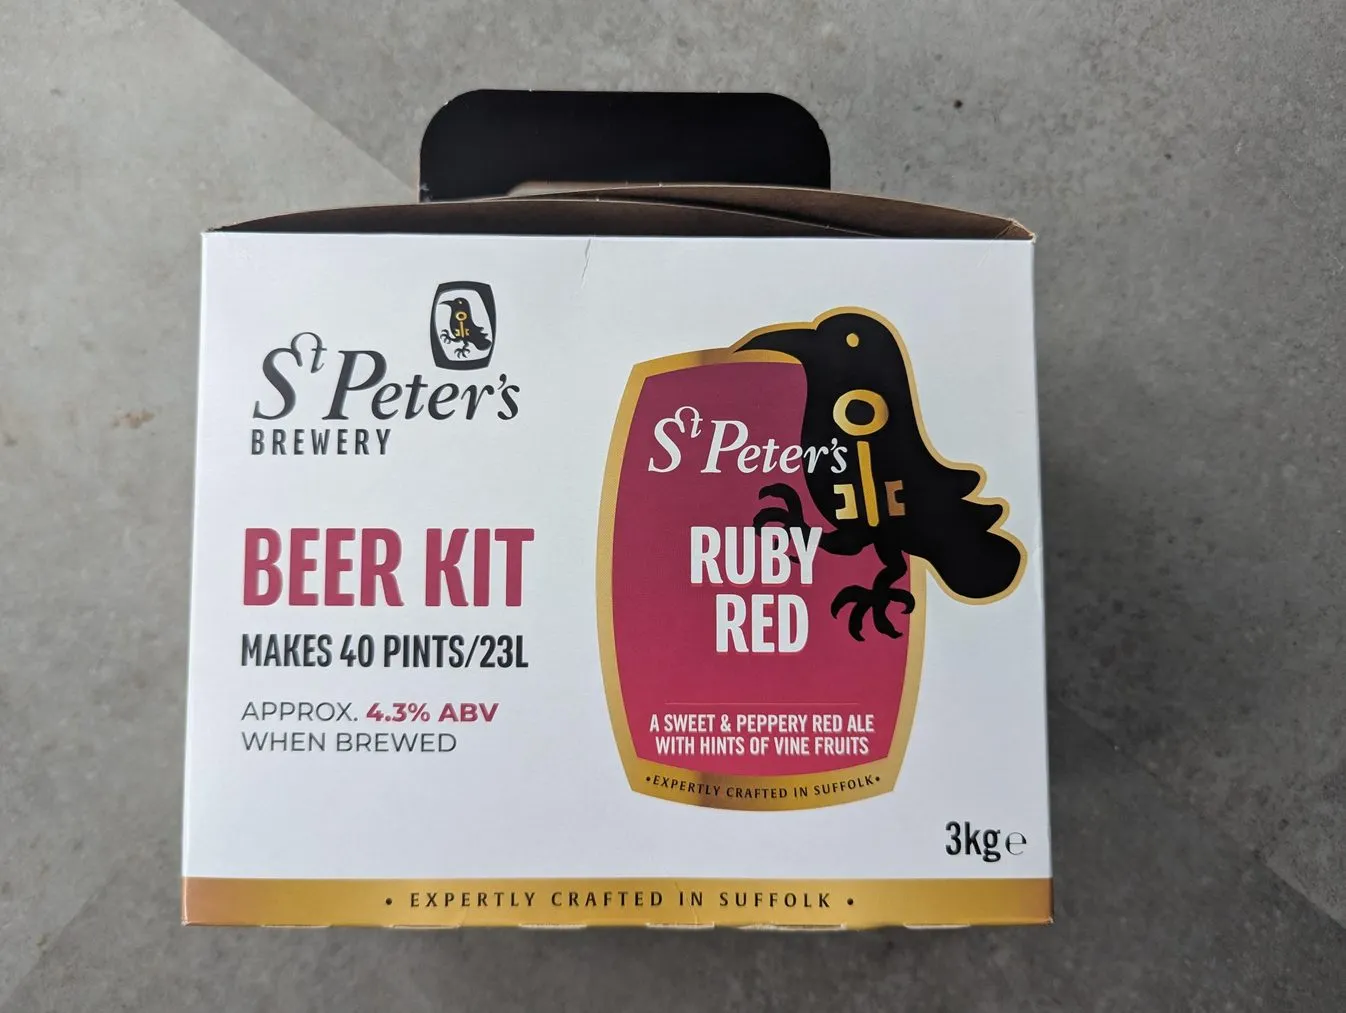
As you can see I’ve scaled up from the original 8 pints slightly! Underneath it you’ll see the trolley I made (I call it “Beer Wheels”); this lets me easily move the thing around the room in case its getting in the way, or I feel it might like some sunlight for a while.
Beer Kits
I’m using a beer kit: these consist of tins or a packet of pre-processed wort (the brewable sugars/etc).
There is a more hardcore variation: this is where you boil grain for an hour or so and strain in order to extract the wort. Effectively this intermediate strained product is what the kits supply.
Doing this hardcore version means you have much more control over the end product: you can choose exactly what goes in. However, it seems like a somewhat sticky faff to me so I’m perfectly happy with using kits for now.
Brewing Process
However you get your wort, its pretty simple to do! You bring it to the boil with some water, add more water to cool it, transfer it to your fermenter and add yeast when cool.
You need a bubble airlock as the process will generate lots of CO2: you need to let it out, but prevent any organisms outside infecting the beer.
Everything needs to be very well sterilised to avoid the wrong micro-organisms from getting in on your beer action. This is also why you need to seal your fermenter and use an airlock to prevent contamination, but let out the CO2 from the fermentation process.
Then seal and wait. Finally, after a week or so after fermentation stops, transfer to bottles (and eventually drink!). You can either just wait, or check with a hydrometer (my beer kit says its ready when the gravity measurement drops below 1.014)
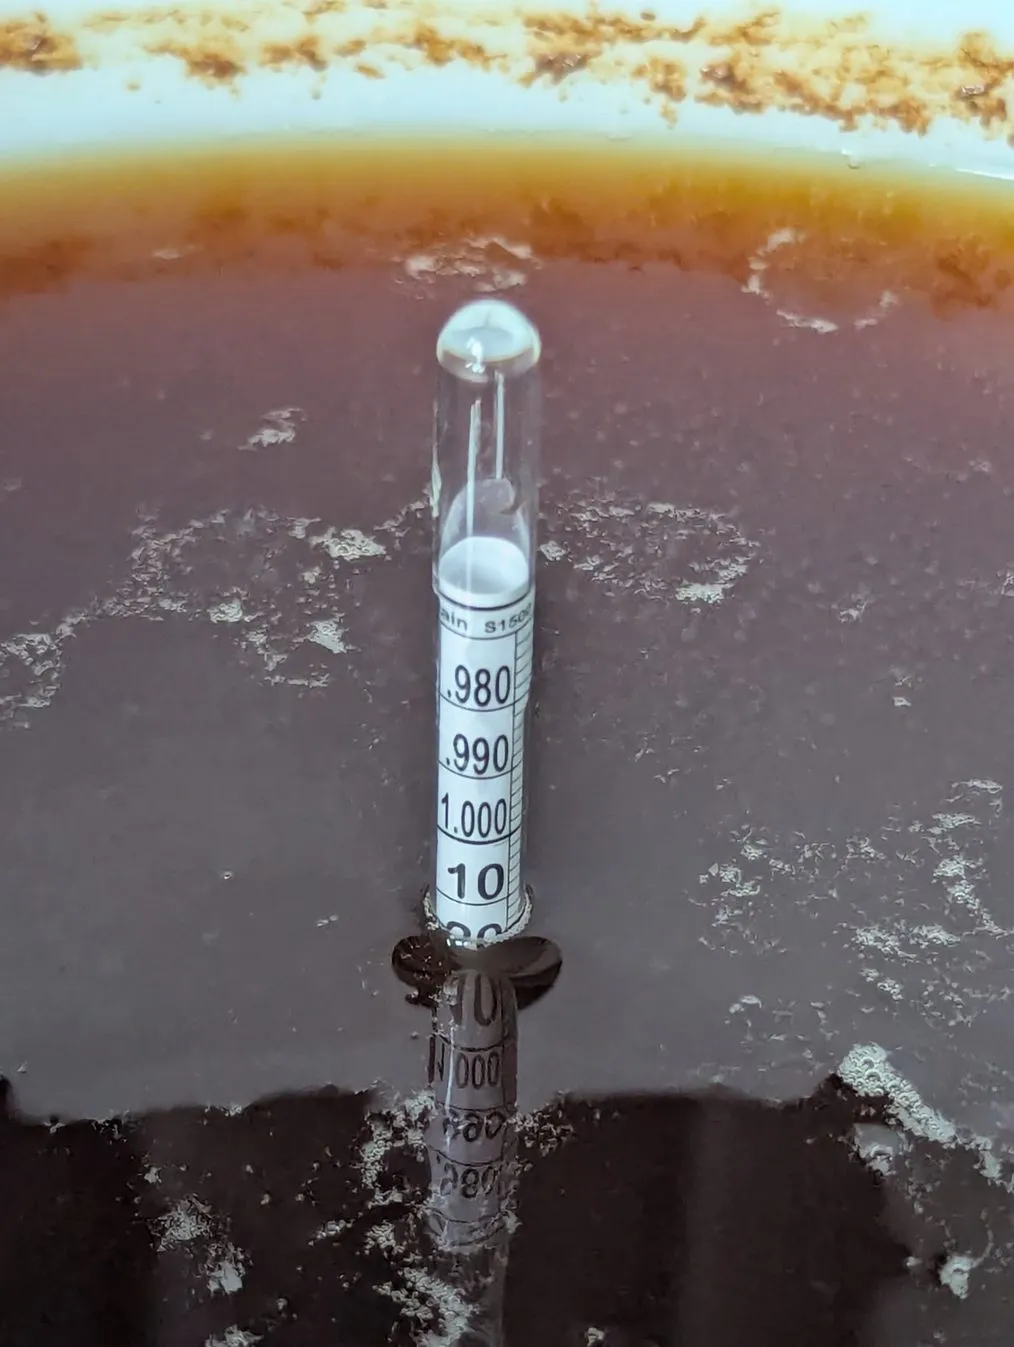 (Note: above reads 1.016 - I waited a few days more before bottling!)
You can also monitor its progress by smell: it gradually changes from sweet to alcoholic.
Bottling
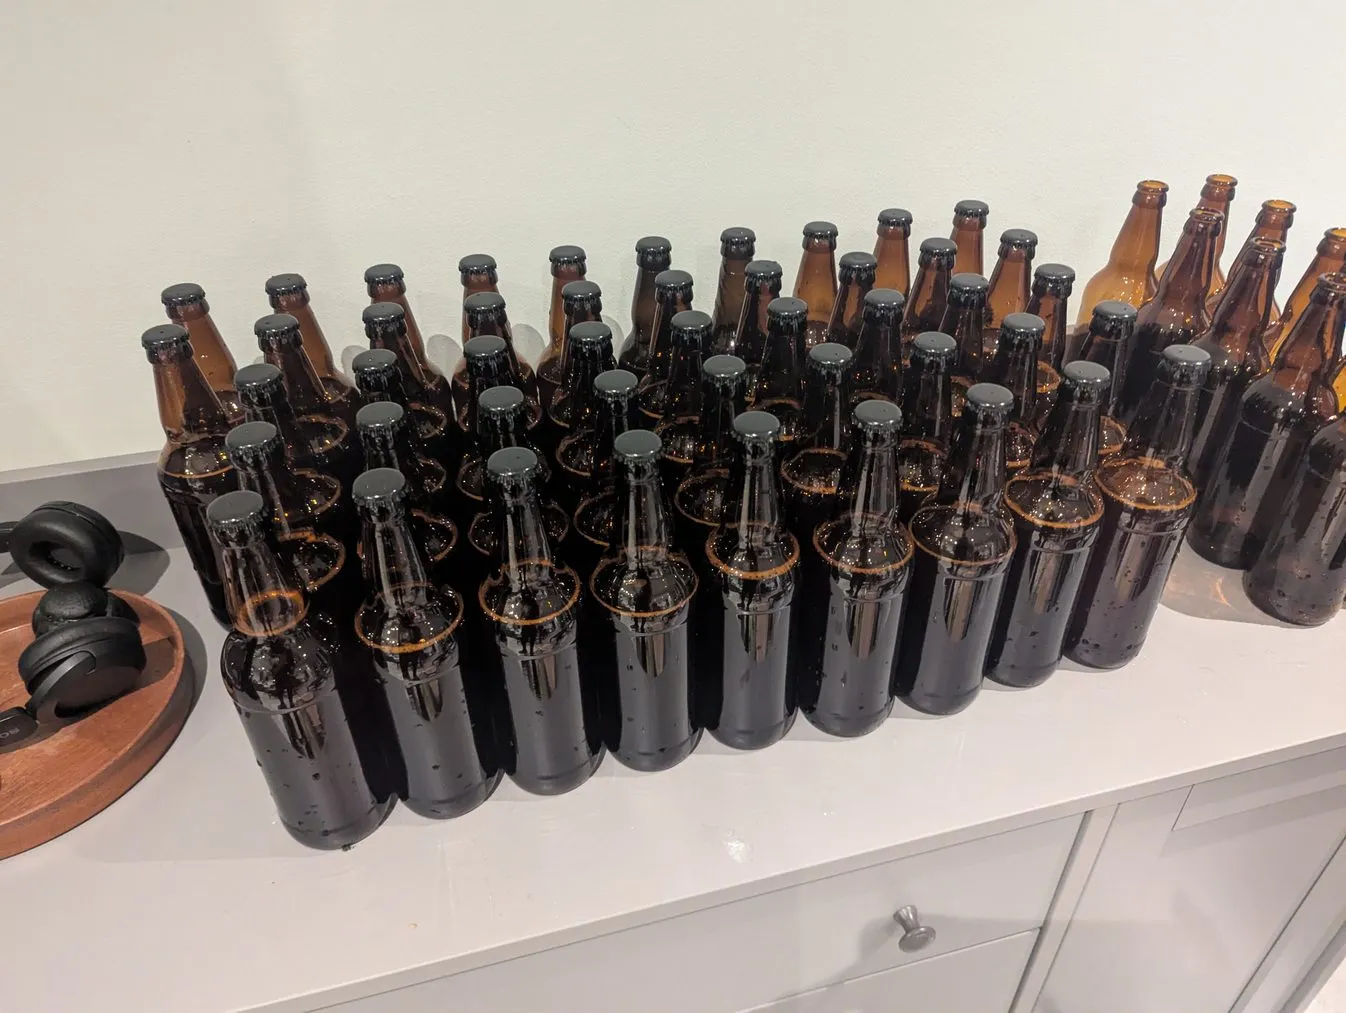
Once the main fermentation is done, its time to bottle it! I’d bought some bottles and a hand bottling tool.
You use a siphon to extract the beer into bottles:
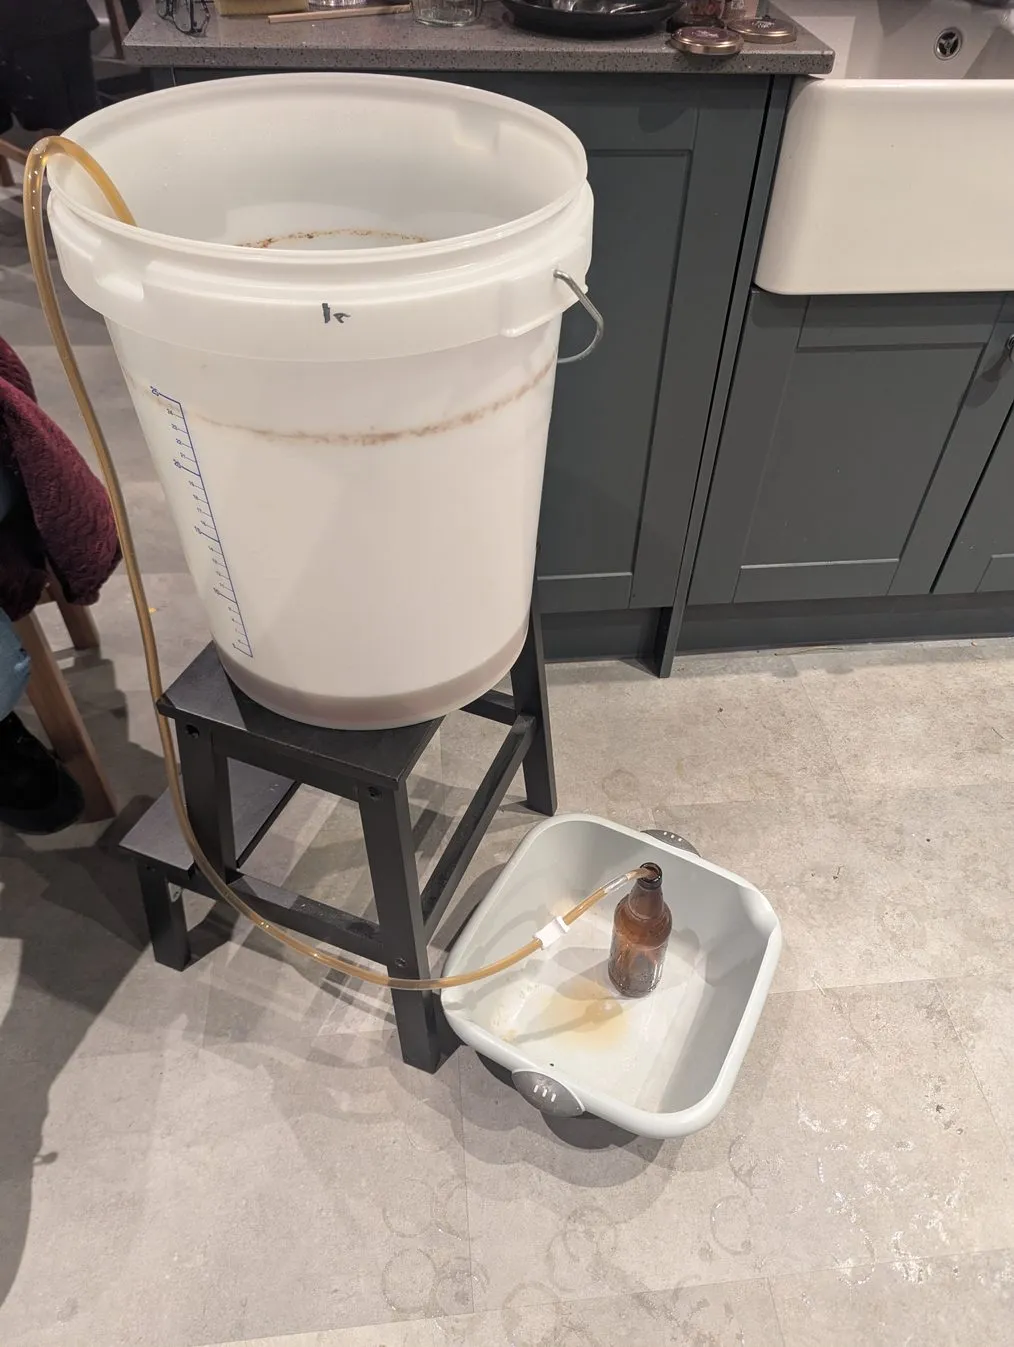
While you’re bottling it, you also add a small amount of sugar into the bottle as well. After sealing the bottle with a cap, this means the fermentation will continue to consume that sugar, generating CO2, which provides the carbonation. (no need for any splitting of Beer Atoms).
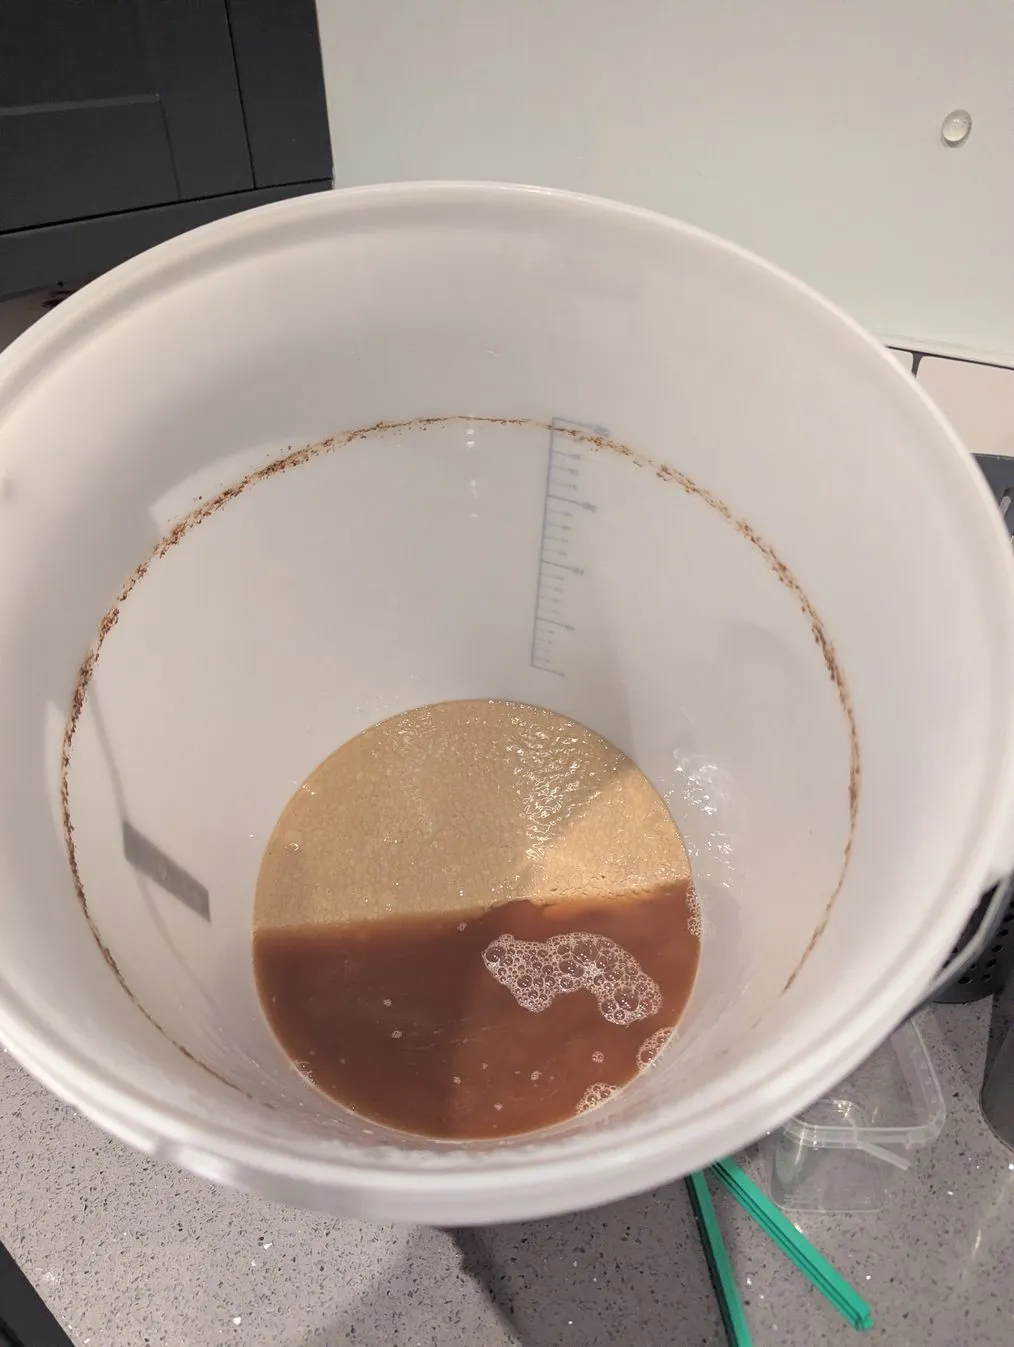
Finally, you end up with sediment: remains of the brewing process.
 .
.
I decided to dispose of it this time, but - I believe - this is what Marmite is made from: next time, I might try making that too!
Issues
It all seemed to go well initially, except I didn’t see any bubbles in the airlock after a few days: you expect that! This implied brewing was not happening: very frustrating! I opened it up and I could see that there were bubbles rising, so clearly something was going on in there.
After some research, I discovered that these buckets can be a bit leaky around the seal, especially when there’s pressure inside them due to fermentation (the lid bows up slightly).
This means the CO2 escapes around the sides rather than through the airlock. Its apparently not a huge deal as I guess there is a positive pressure from inside the bucket. However if you put a weight on the lid to keep it down, it fixes the problem.
I found using a weight did work most of the time, but at others it actually caused the problem. Oh well, the beer looks ok!
The Venerable Meade
I found my Dad’s recipe for Mead recently:
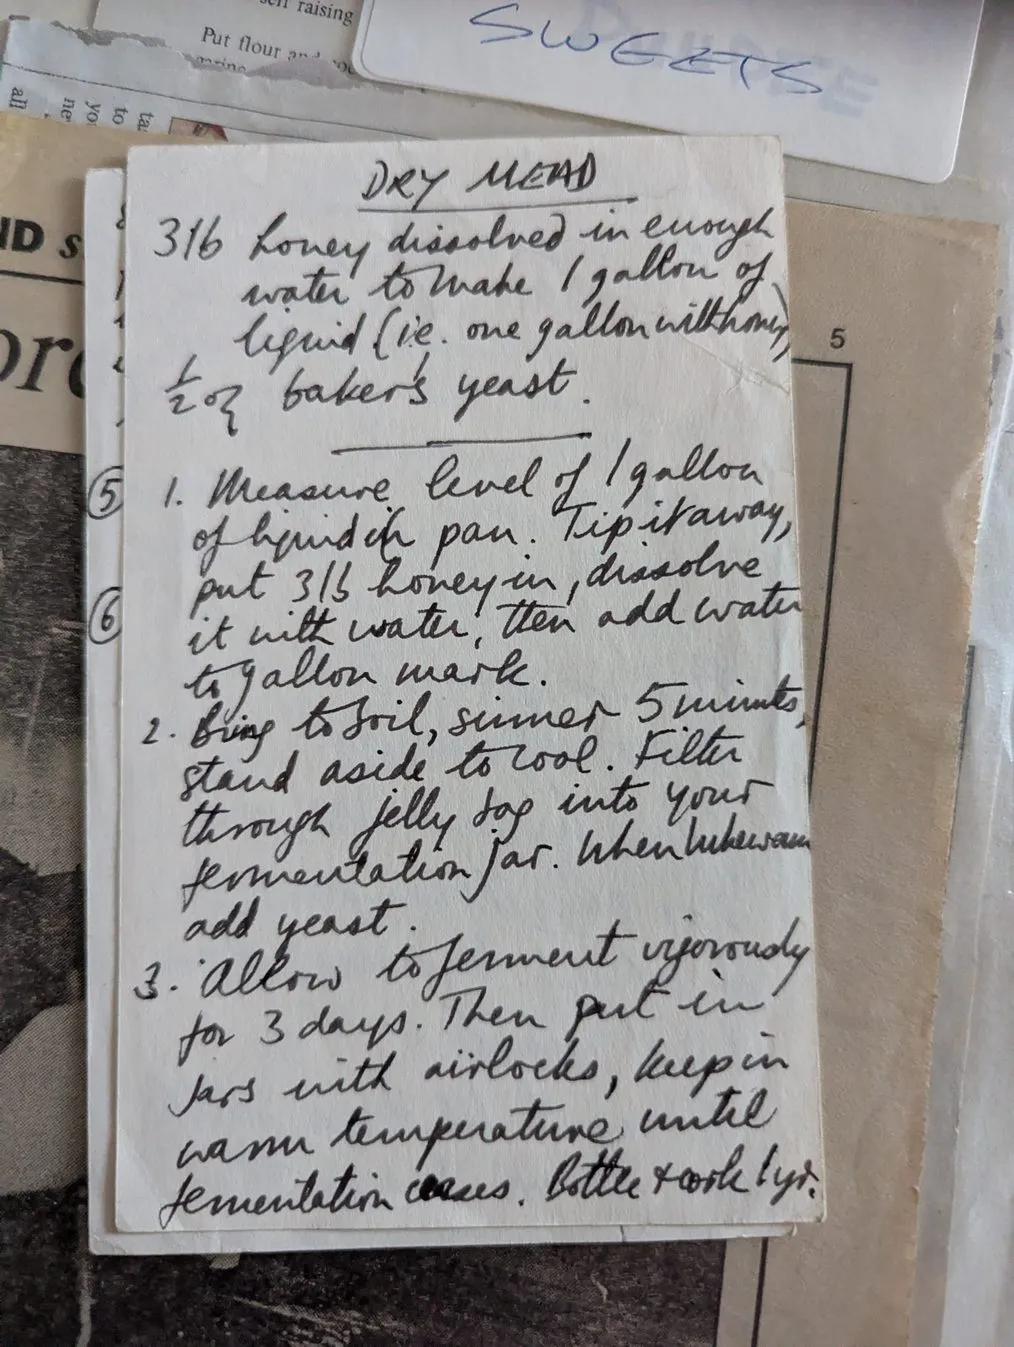
Since I was already brewing some beer, and I had the old 1 gallon fermentation vessel sitting empty, I thought why not give it a try as well?
The only changes I made were to use wine yeast, and to add a teaspoon of yeast nutrient: I’d read elsewhere that honey lacks some of the nutrients yeast needs to work well.
Supposedly there’s a big problem with counterfeit honey in the UK. However, I don’t really want to spend lots of cash on an untested recipe.
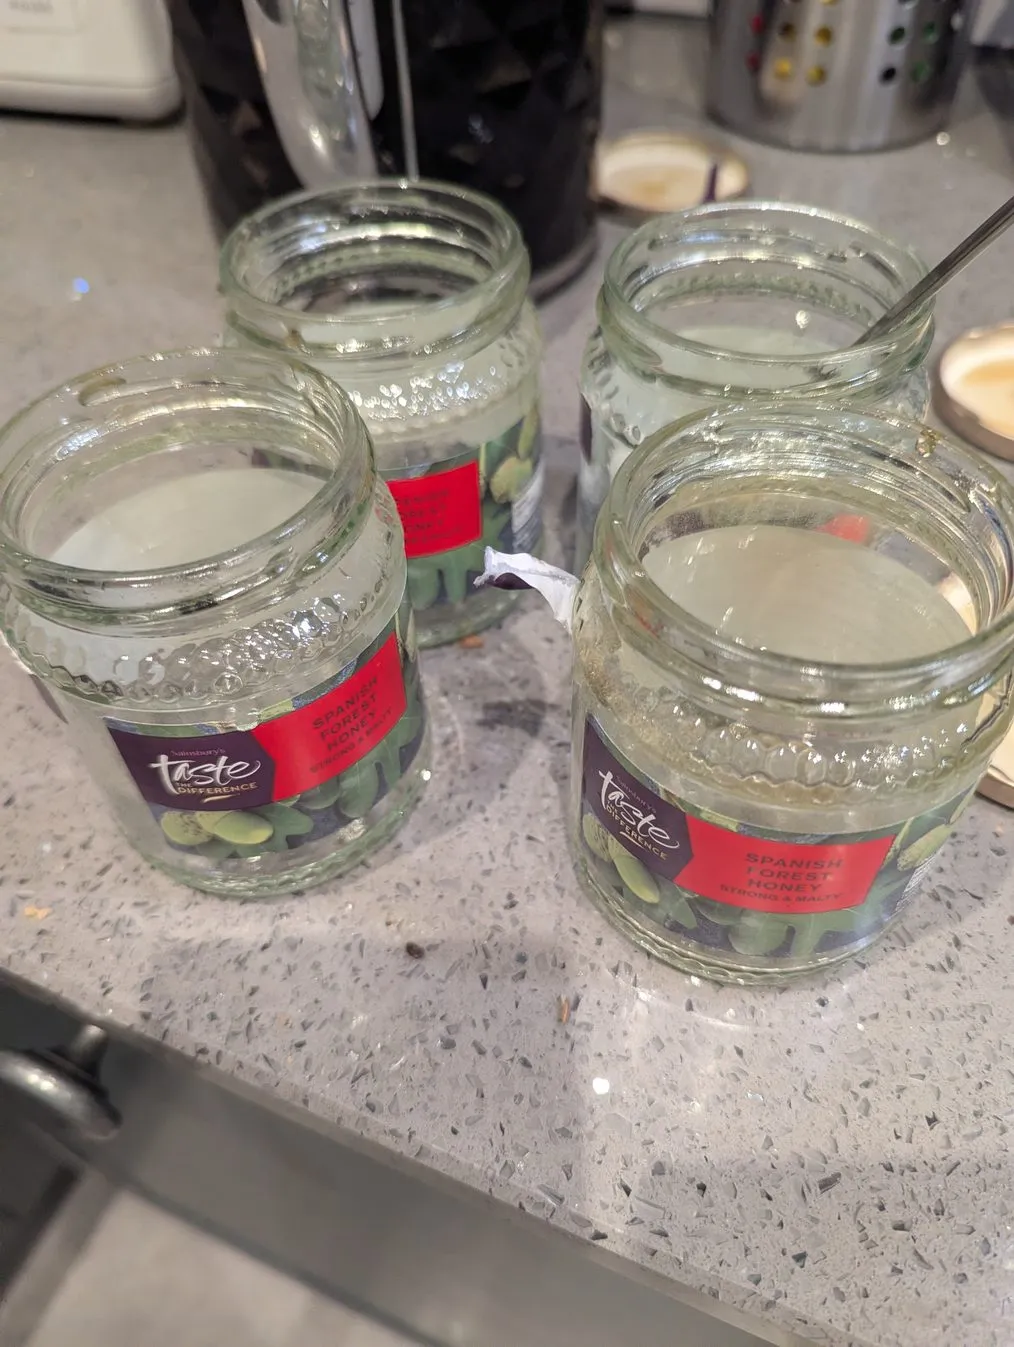
I opted to buy single source Spanish Forest honey from Sainsbury’s; obviously this doesn’t guarantee its unadulterated, but for a first test I decided it would have to do. Also note that this honey is pasteurised, so this will also affect the flavour.
Brewing Process
The process was pretty similar to beer: boil the honey in water,
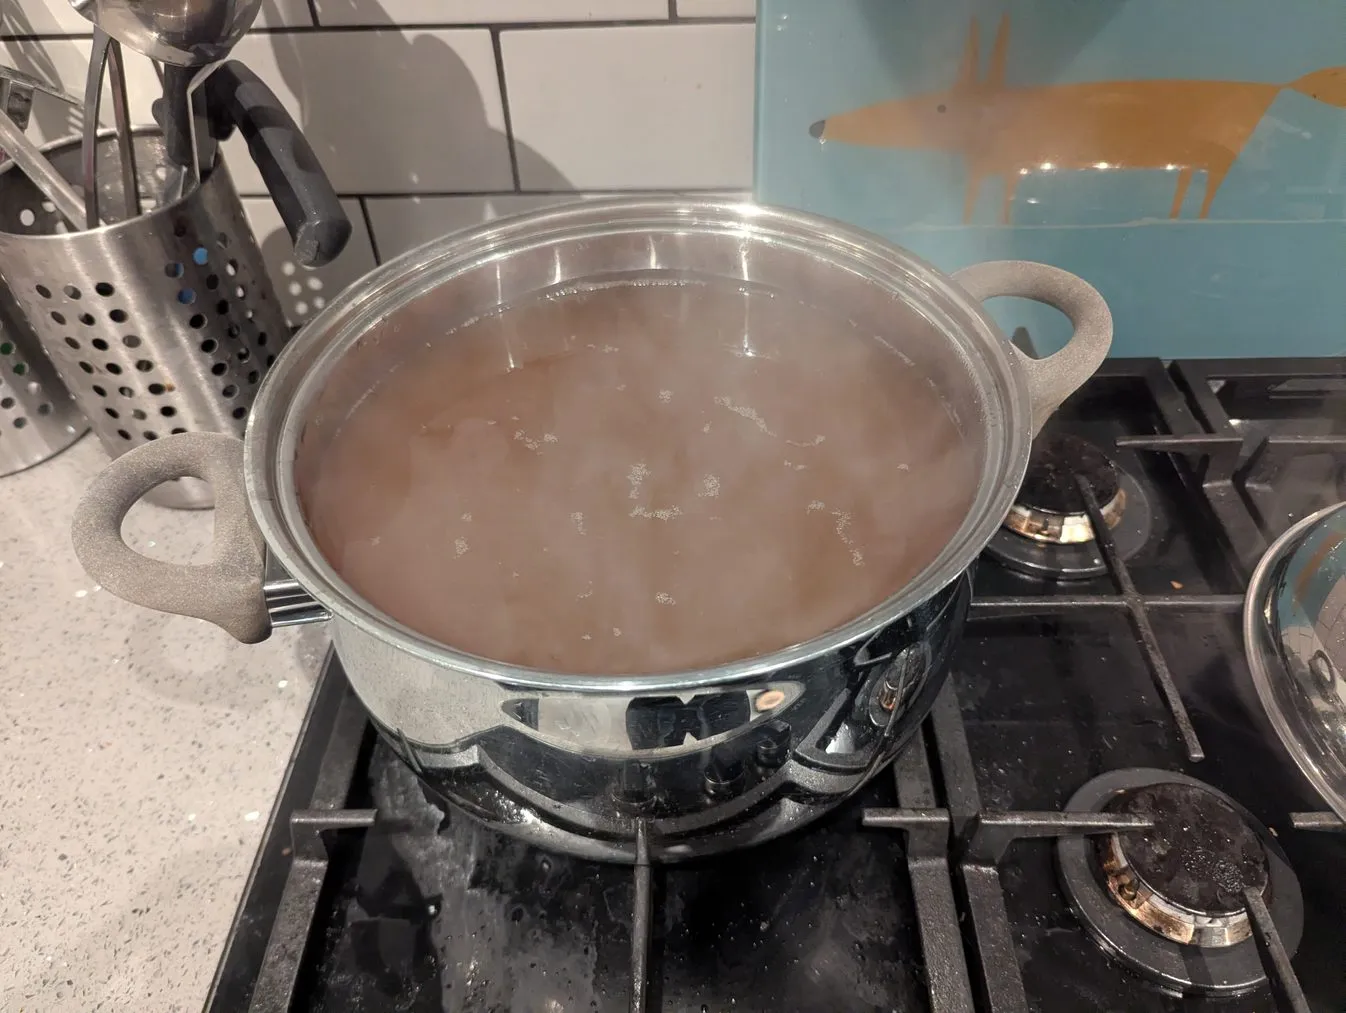
wait to cool, transfer to fermentation vessel, add the yeast, wait.
The fermentation was pretty active! It started coming out of the airlock so I had to put it in a tub
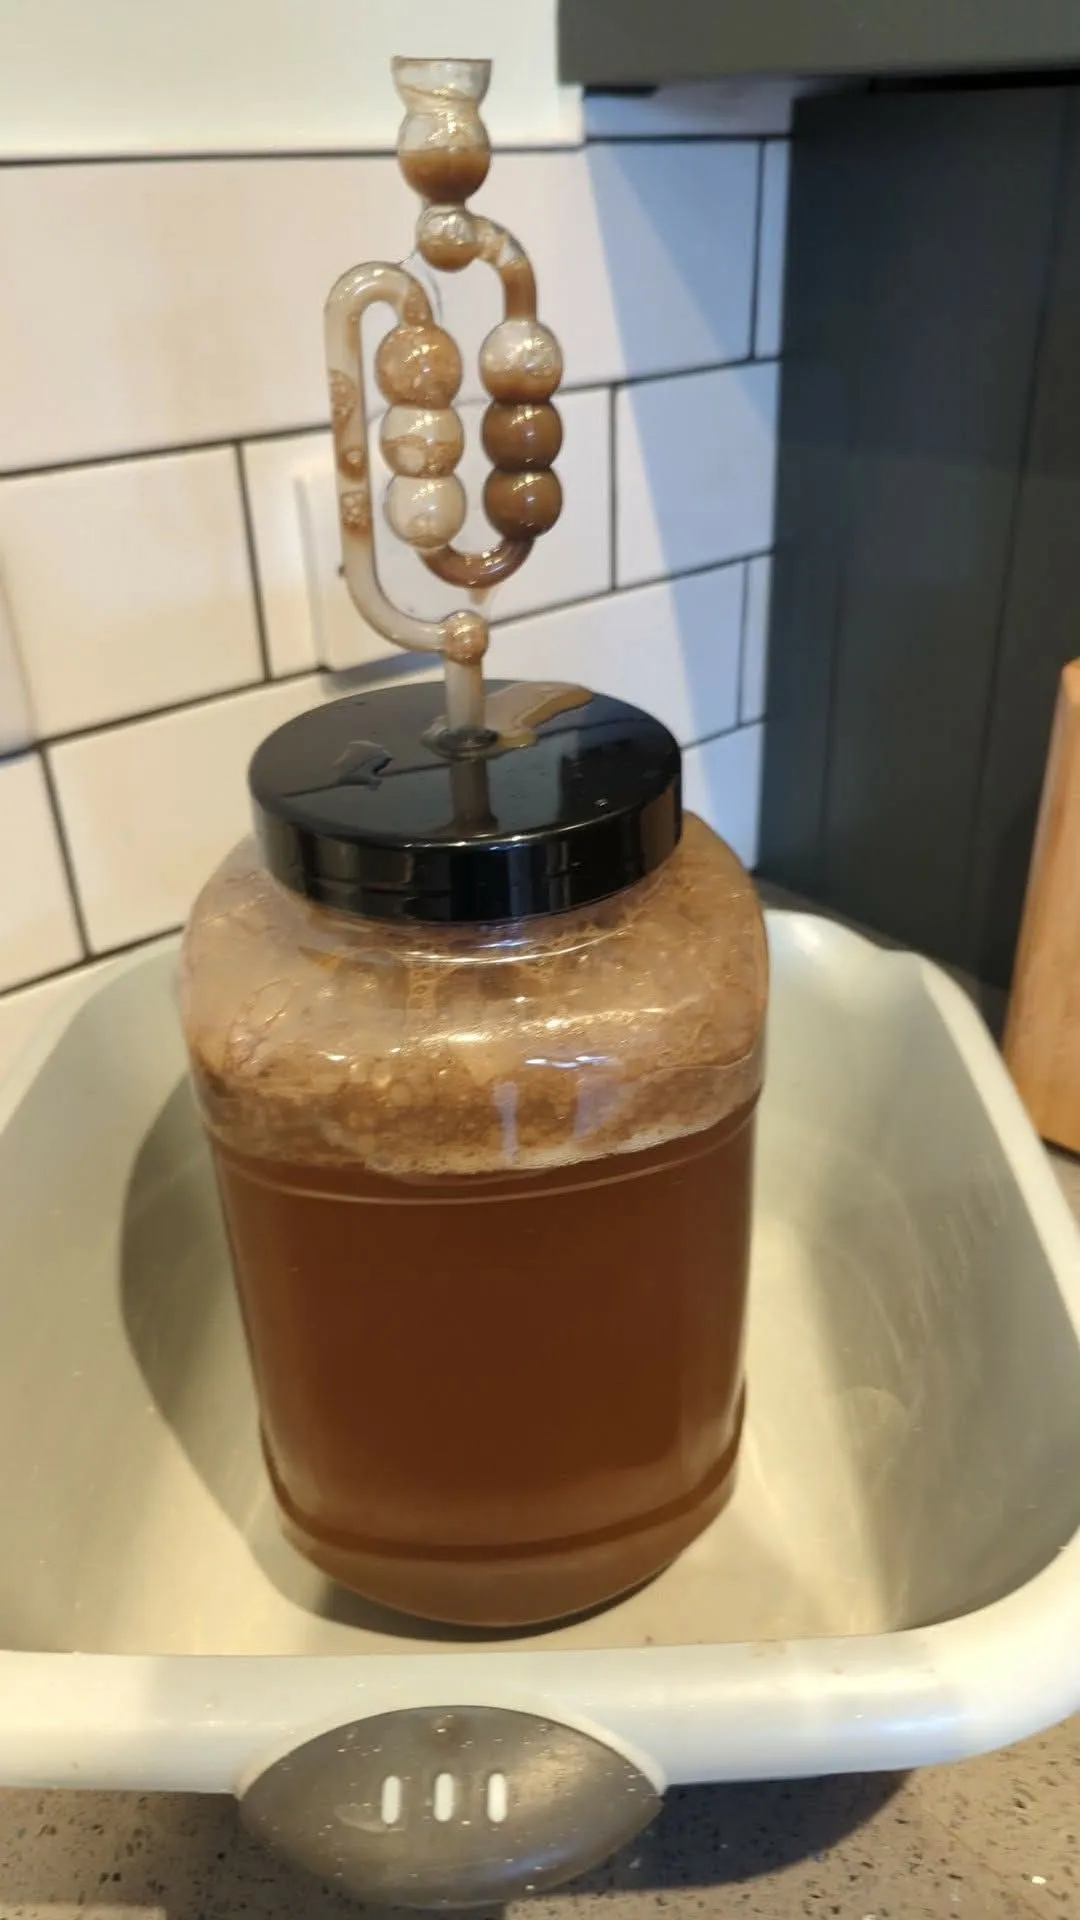
Over time, the smell has changed from very honey to very alcoholic.
Bottling
According to the recipe, the fermentation process continues in the bottles for a while, which is why I’ve added the bubble valves to them: quite diffrent from the beer, where the fermentation is mostly done in the bucket. I’m also hoping it will gradually clear as the fermentation stops and the sediment settles to the bottom.
However, the bottling process was pretty much the same (though you don’t add extra sugar).
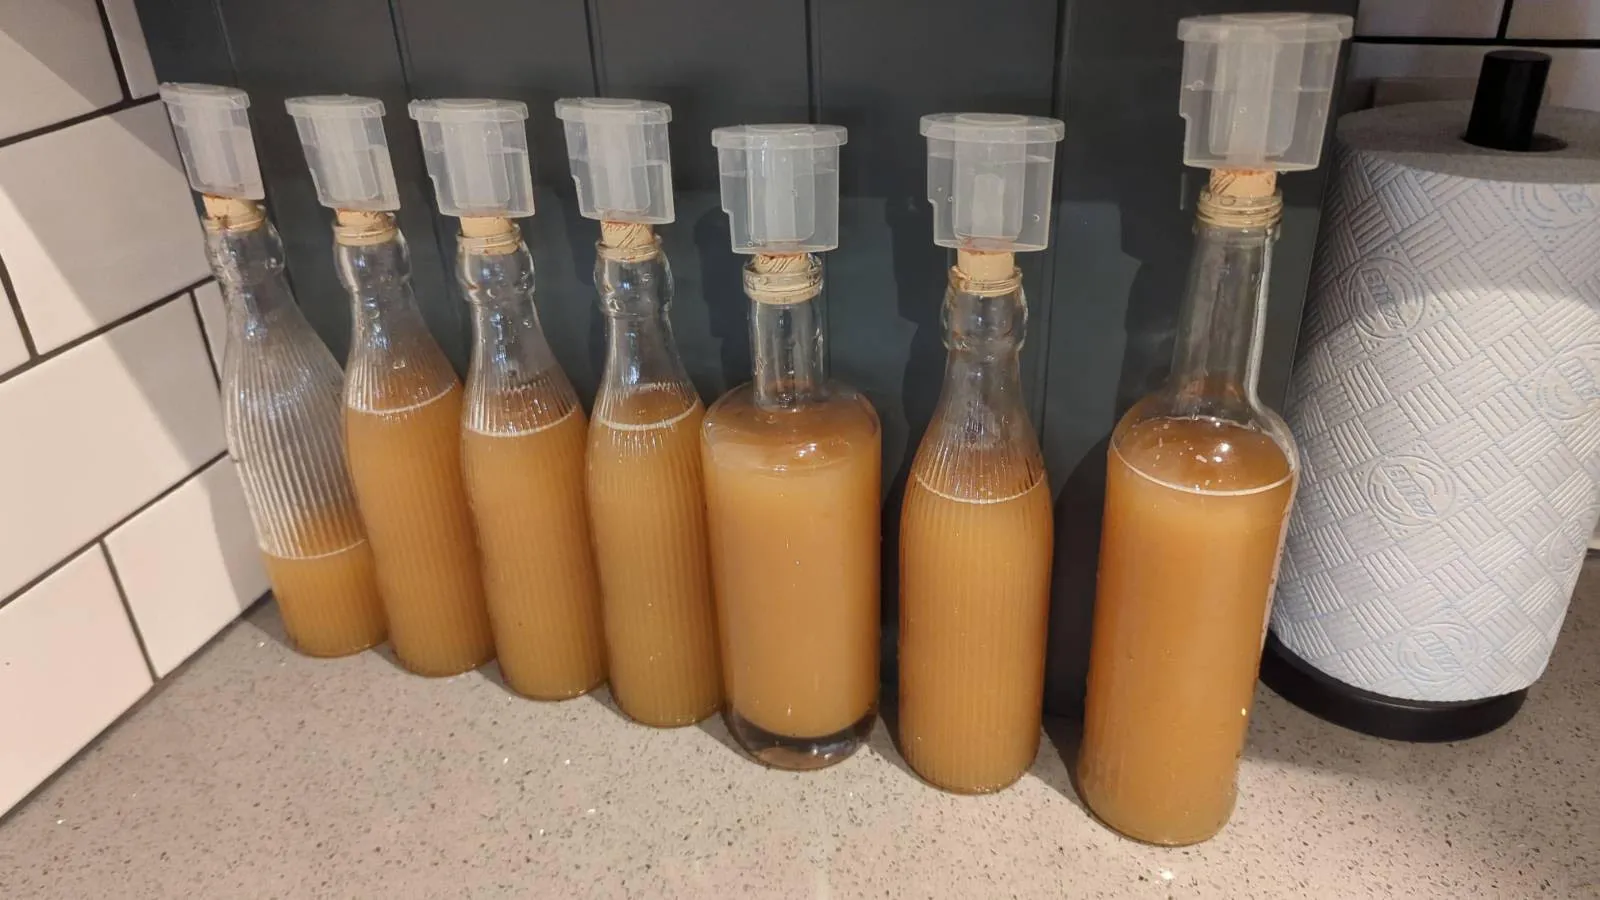
I did try a sip while bottling it: its very fruity!
What Next?
Weeeell, I’ve already got the correct mould spores and low temperature yeast for making a Koji Kin starter for brewing Sake, so I guess that’s up next.
Leave a comment
Comments are moderated, so yours won't appear immediately. Your email is never published.