
Porting BBC Micro to the Adafruit Fruit Jam With Claude
Update! Builds are now available, including HSTX video support.
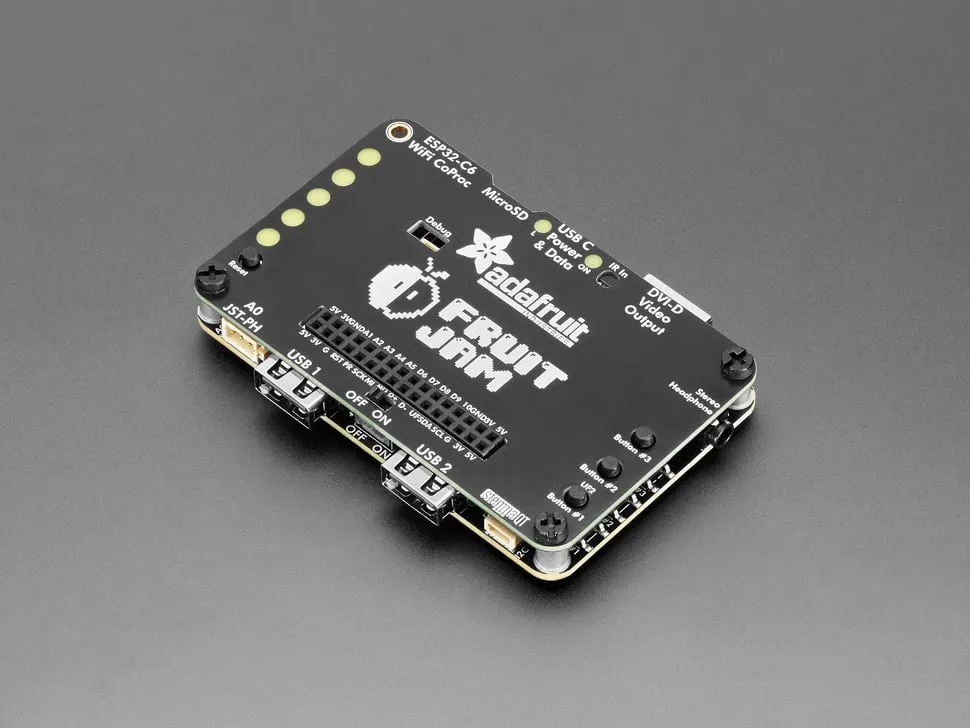
My friend Colin has been playing with an Adafruit Fruit Jam. Its a mini computer based on the Raspberry Pi Pico RP2350.
He has written an interesting blog about running Photoshop for the Mac Classic on a £0.60 chip.
However - obviously - we want a BBC Micro emulator on there. But there isn’t one. And quite frankly it was above both our AT.
There is a project, Frank Micro which targets the RP2350, but unfortunately not for the Fruit Jam platform.
Claude Code
I’ve been experimenting with using Claude Code heavily to modify existing hardware interface software, so I wondered if it would work here.
Sneak peek: yes!
Step 1: Build context of the repo
I asked Claude to examine the Frank Micro project and distill what it found into documents to help future coding agents work with the project.
I wanted it to look at the code, find any relevant technical documentation, search the web of any relevant documentation and distill it into a document.
You can see the results here.
I also got it to write CLAUDE.md so agents would automatically get up to speed about the project.
Step 2: Investigate Fruit Jam port
Next, I introduced the concept of the Fruit Jam port, and asked it to research it and come up with a plan in another document.
You can see the results here.
At this point, I also introduced a key concept: The HANDOFF document. You can see this here.
Handoff is the history of a project. The idea is that over time, possible approaches will be examined, researched, followed, or discarded. HANDOFF keeps this history, to prevent repeating the same work we’ve already tried.
Handoff also holds the next steps to try: these projects tend to take a while (multi day), so keeping a note of where we got to and what is next is very important.
The other documents then just hold the current state without any confusing historical details.
Step 3: Refine the Fruit Jam plan
The current plan thought there might be some hardware conflicts (clock domain conflicts) so was recommending the entire video system needed replaced.
The main issue was the USB hardware on the fruit jam is done “by hand” using the Pico’s nifty PIO hardware, so it thought this might not work with the existing video system.
At this point, I told it to digest some existing Fruit Jam projects and refine its approach, namely:
As a result, it decided the hardware conflicts weren’t actually such a big problem as those projects had worked around them. So we could go for a much simpler approach to begin with.
Step 4: Fruit Jam audio
The Fruit Jam’s audio is different from the other platforms. I’m not going to go into the details here (there’s a chip you need to set up, see here).
However, in order to setup the hardware, you need to determine some magic numbers. These depend on your exact setup: sample rate, clock rate and other such key information. The data sheet for the audio chip gives the details.
I got Claude to write code to calculate these magic numbers, which you can see here. It you need repeatable processing, always get it to write code:
- The magic numbers become based on something you can actually inspect and check.
- You can guarantee that next time, they’ll be the same numbers unless you intentionally change something.
- It removes the “black box” aspect of LLMs: rather than “hoping” the LLM will happen to work the same next time.
Step 5: The build!
I went on holiday for a few days. When I came back, my Fruit Jam had arrived!
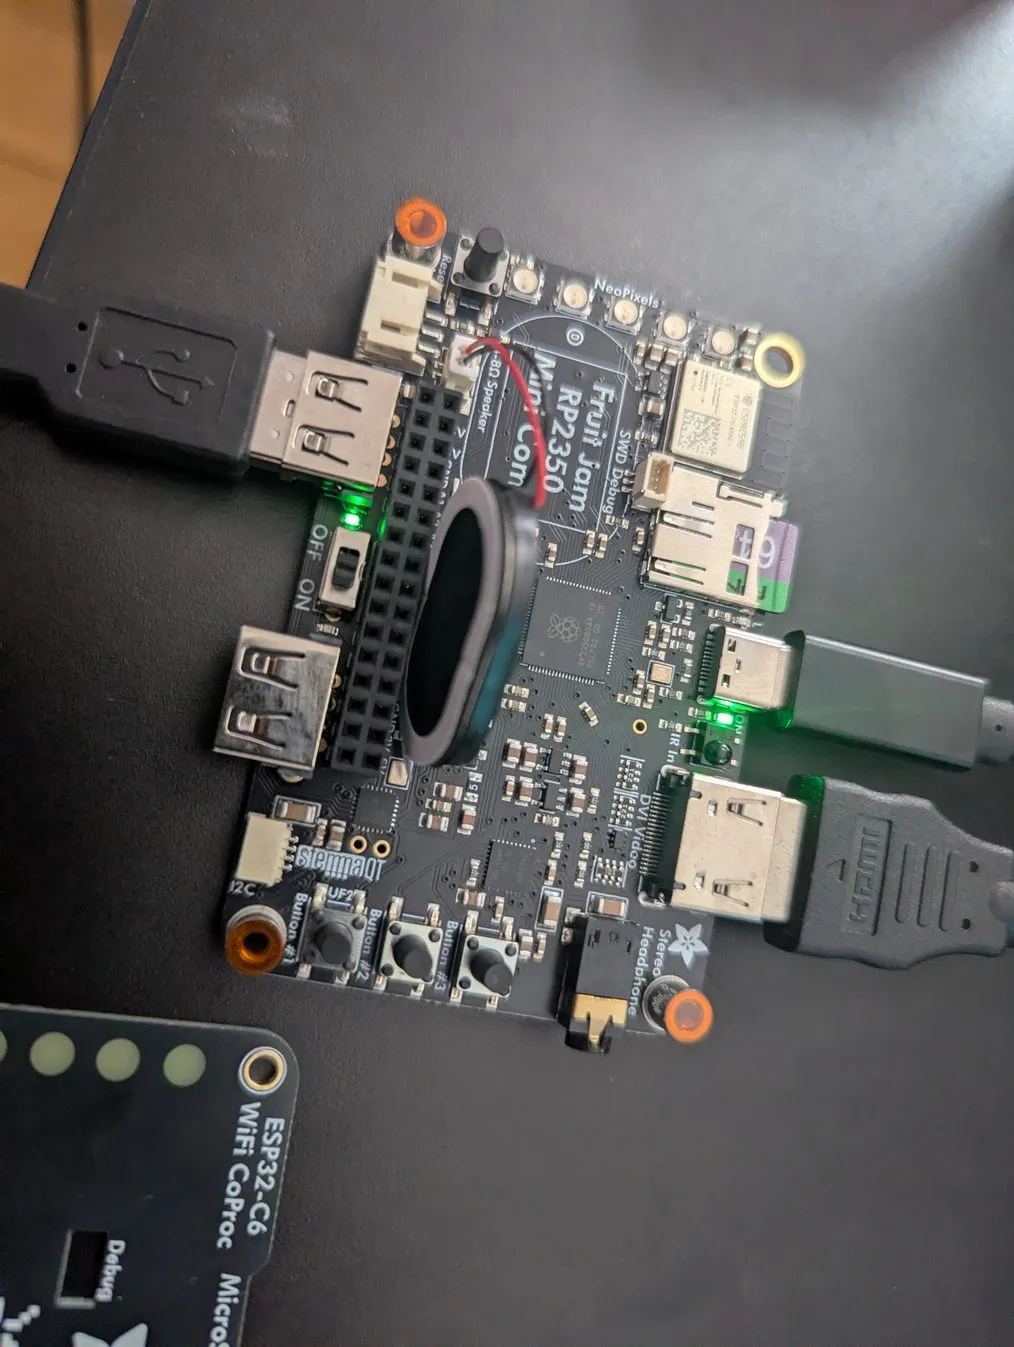
I started Claude, pointed it at the repo full of the documents/porting plans and told it to build it!
I came back a couple of hours later, and it had built something: a firmware image for my new fruit jam (it had done as much testing as it could without real hardware).
I flashed it to the Fruit Jam and was greeted by this:
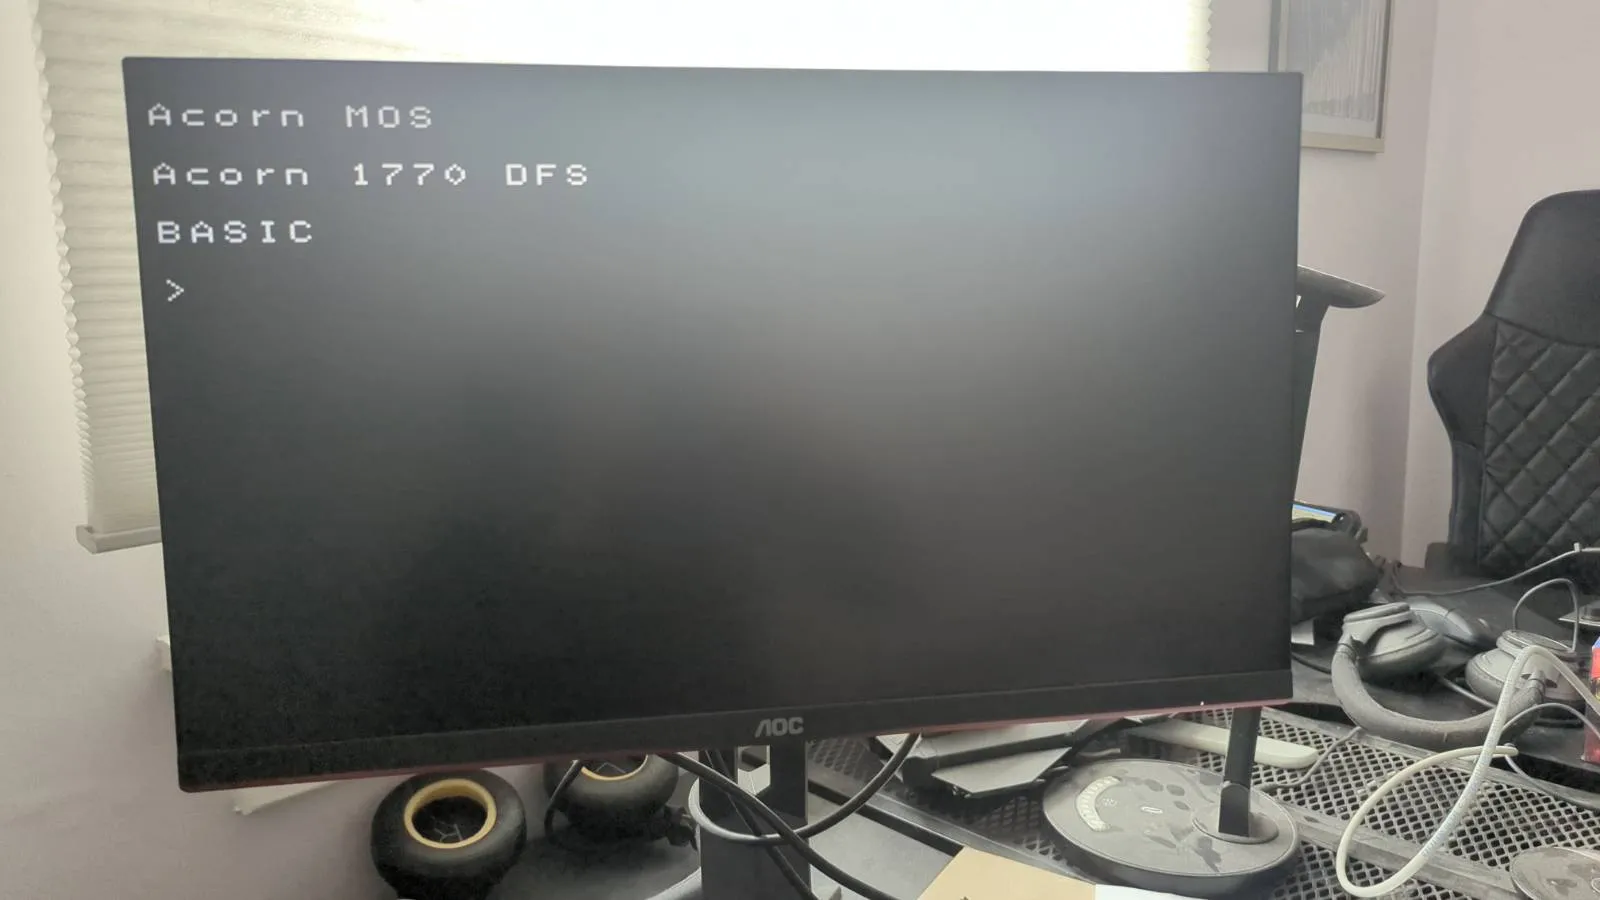
So that’s the BBC Micro emulator fully working and displaying video via HDMI (even the cursor was blinking properly). The only problem was the keyboard didn’t work; that turned out to be due to some weird mac keyboard I’d found in the cupboard. I replaced that, and I could type!
For a stress test, I downloaded the game “Exile”; its from 1988, and was pretty demanding on the system. It works well!
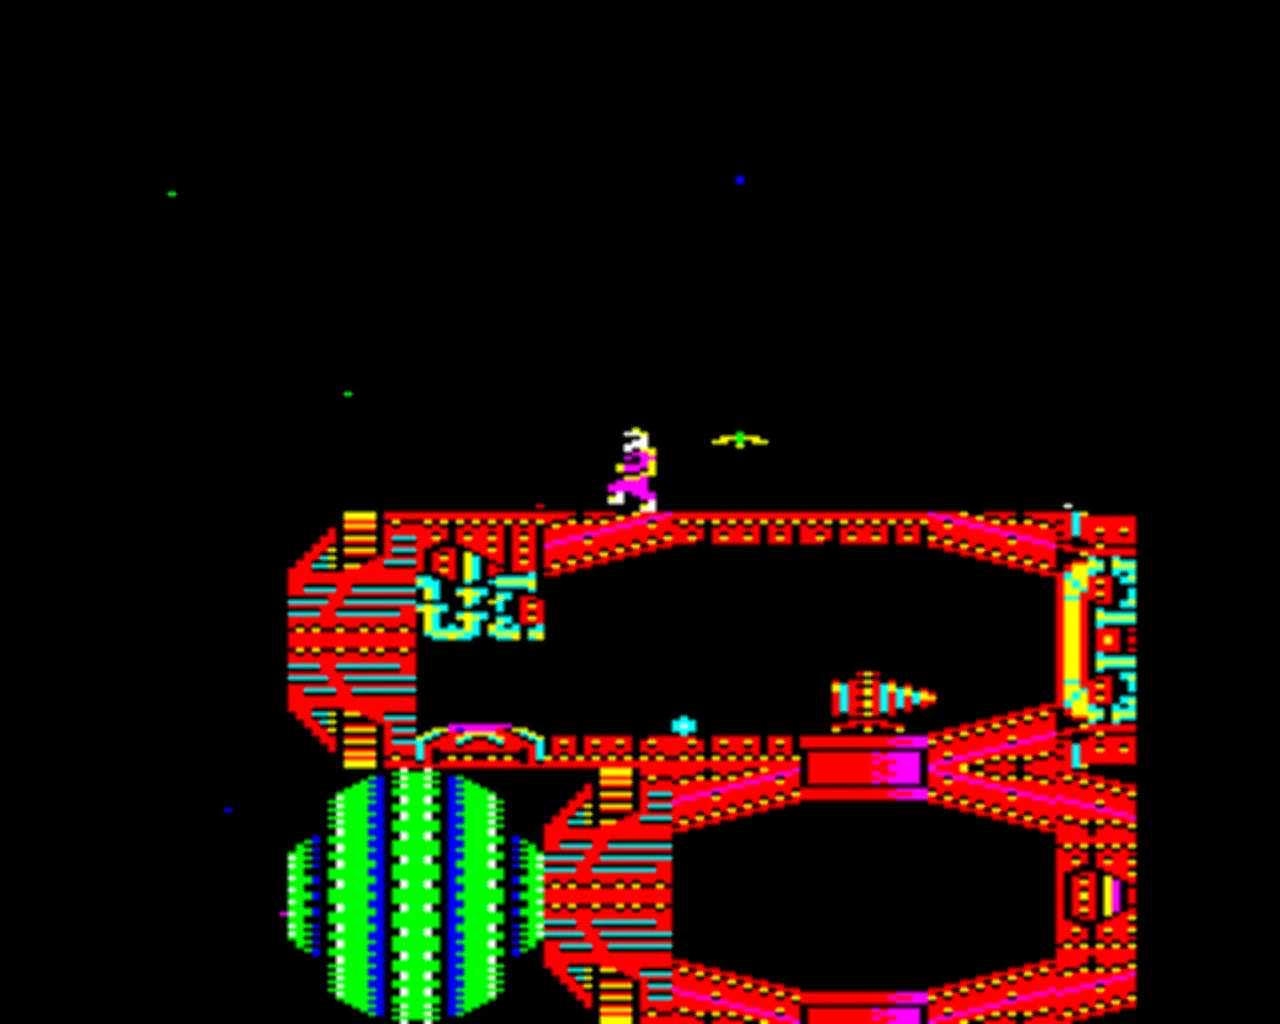
I can remember exactly how to play the start of it: a misspent youth perhaps. :D
Step 6: Submitting upstream
Its not fair to dump a whole load of unchecked generated code on an upstream project, so I code reviewed it, and had a number of rounds of changes.
In this case, there was nothing hugely wrong: the main changes were to stop its comments being quite so verbose, and to ensure code authorship attribution is maintained properly.
I used another technique I’ve developed here: The repo Claude worked on has multiple documents and other gubbins from the research/development process. The upstream project probably doesn’t really want any of that stuff.
I call this the “Dirty Room Repo” (or in this case “Dirty Room Branch”). Its what I’ve been linking to above.
To prepare for upstream, I copied only the relevant changes into the “Clean Room Branch”, which is here.
I emailed the maintainer to check he was interested in this code as it was AI generated (he was), so I’ve submitted a pull request: hopefully it’ll get into upstream soon!
Conclusion and next steps
To be entirely honest, this worked far better than I ever expacted: I seriously didn’t expect it to work first time.
For my next step, the PIO based video system it uses is quite nifty, but has some downsides: 16 horizontal lines are skipped, and the “high resolution” BBC MODE 0 looks pretty nasty.
During the research, it came up with an alternative video implementation plan using the HSTX hardware. I actually have this working right now, but there are some small teething issues I’m still dealing with. I’ll hopefully release this updated version soon!
Summary of Key Coding Agent techniques used here
- Build initial context in files from repo code and other relevant internet resources.
- Build a separate plan document for a major change.
- Refine the plan by providing with similar examples that may give useful techniques/solutions.
- Use a HANDOFF document to track project history and decisions.
- Get the agent to write code that can be checked and reliably re-run rather than being a black box. Do this whenever possible, even for non-numerical calculations.
- Use a Dirty Room vs Clean Room separation to prevent your repo becoming full of irrelevant ancient “working state” files.
Leave a comment
Comments are moderated, so yours won't appear immediately. Your email is never published.