A Cyanotype is an early photographic method which yields a characteristic Prussian Blue image. It is literally how you make a “blueprint”.
I’ve done this before on a small scale, but I’d forgotten the exact quantities required. Luckily, NileRed has a reasonably comprehensive video on the subject, so please do watch that!
Basically, you mix two chemicals, expose them to a UV light source, and then wash them in water to “fix” the image.
UV Source
Many people use the sun as their UV light source. However, I live in Scotland and its nearly October, so the sun is less than reliable :)
This is why I made my UV exposure box.
Ingredients
I acquired the following, mainly from Ebay.
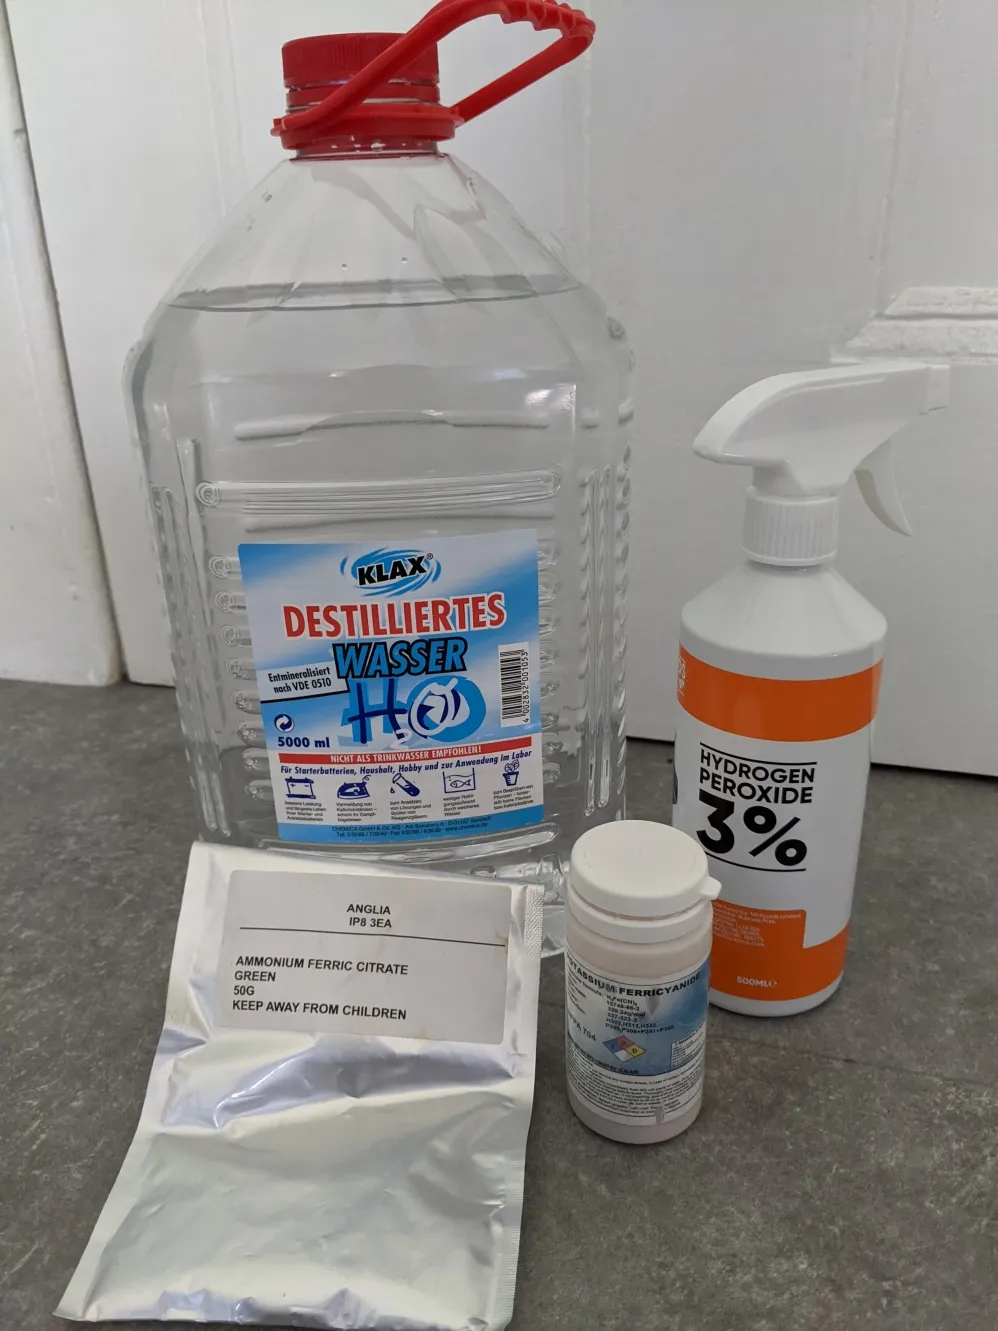
- Ferric Ammonium Citrate (yellow/green variety)
- Potassium Ferricyanide
- Distilled Water
- 3% Hydrogen Peroxide
Ferric Ammonium Citrate and Potassium Ferricyanide are the two primary chemicals you need to make the image: note that the FAC is UV sensitive.
You may need distilled water since the trace elements in some tap water can cause problems. I’m not sure I actually need it, but I wanted to control that variable in this test.
Finally, the 3% Hydrogen Peroxide is to finish off the reaction once the UV exposure is done. It isn’t absolutely necessary, but if you don’t use it, you may find your image will take a few days to gradually darken to its final colour: the Hydrogen Peroxide simply speeds this process up so you can see what the final image looks like immediately.
Other things I needed
- Goggles/ Gloves
- Some A5 watercolour paper
- Brush (“sponge brushes” seem to be a good idea)
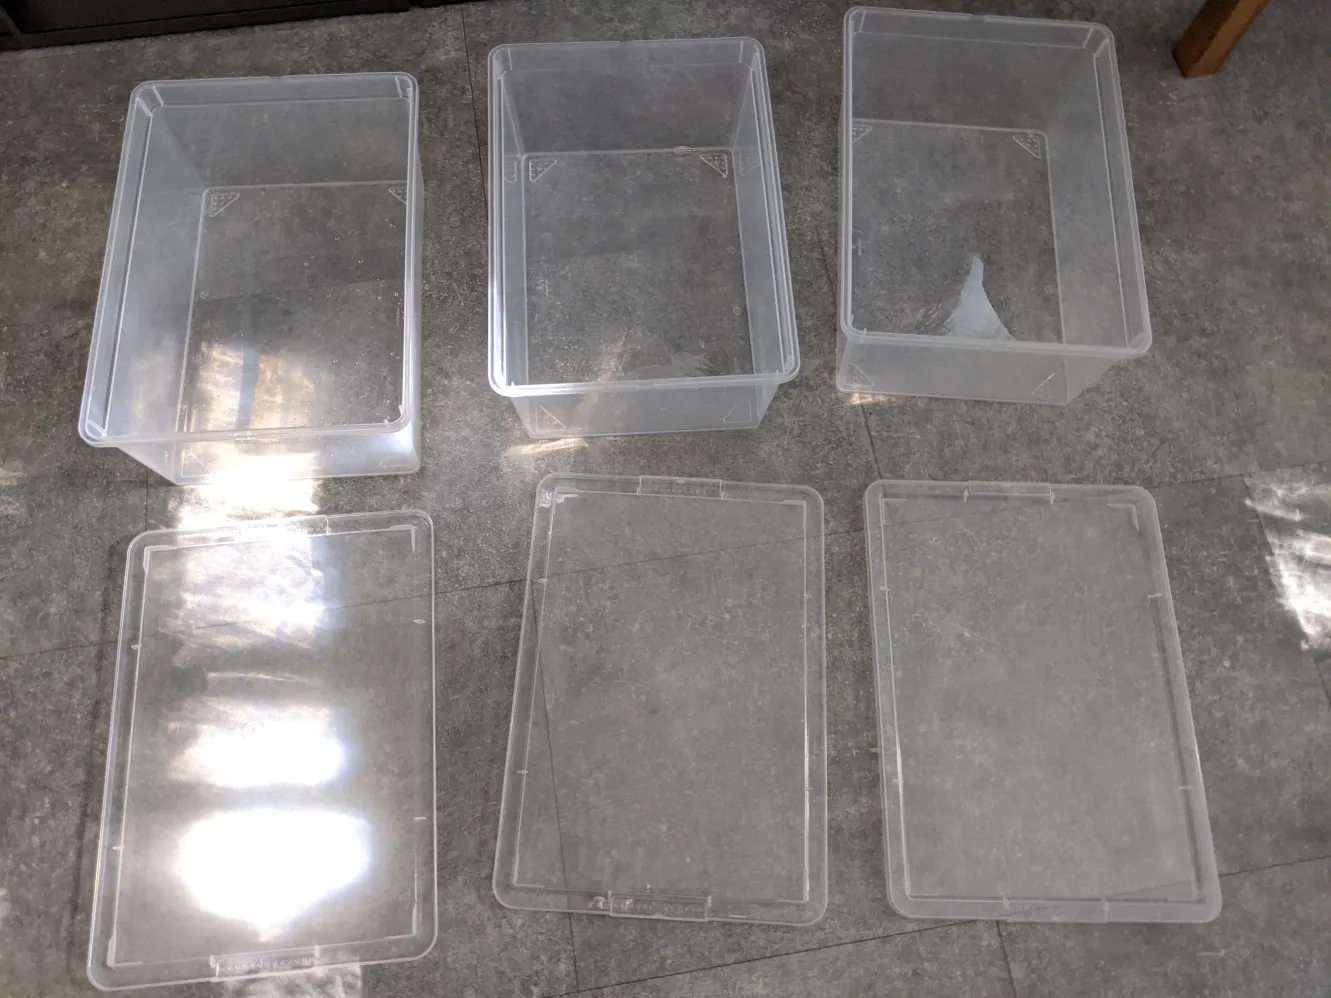
- Some processing trays
- A dark place to dry UV sensitive paper in
- Laser printable transparencies
- At it turns out, you need some glass sheets to keep everything flat (I didn’t use these originally, which led to some issues).
I ended up getting the three plastic shoeboxes below for the processing trays: they’re ideal! They hold a useful volume, and you can use the plastic tops to hold the paper while its wet. You need at least one tray (two if you use the Hydrogen Peroxide).
I was slightly stuck as where to dry the paper that would not get in the way, so I made a sort of ad-hoc “pillow fort” using a blanket and some seats with newspaper underneath them. It actually worked ok! (the Dalek didn’t seem that interested in Cyanotypes)

What to print?
I took some photographs of mine and printed a photographic negative:
- Converted them to black and white
- Inverted the colours
- Although I forgot this this time, you will probably want to flip the image horizontally (more details why later).
- Printed them out on laser transparencies on my laser printer.
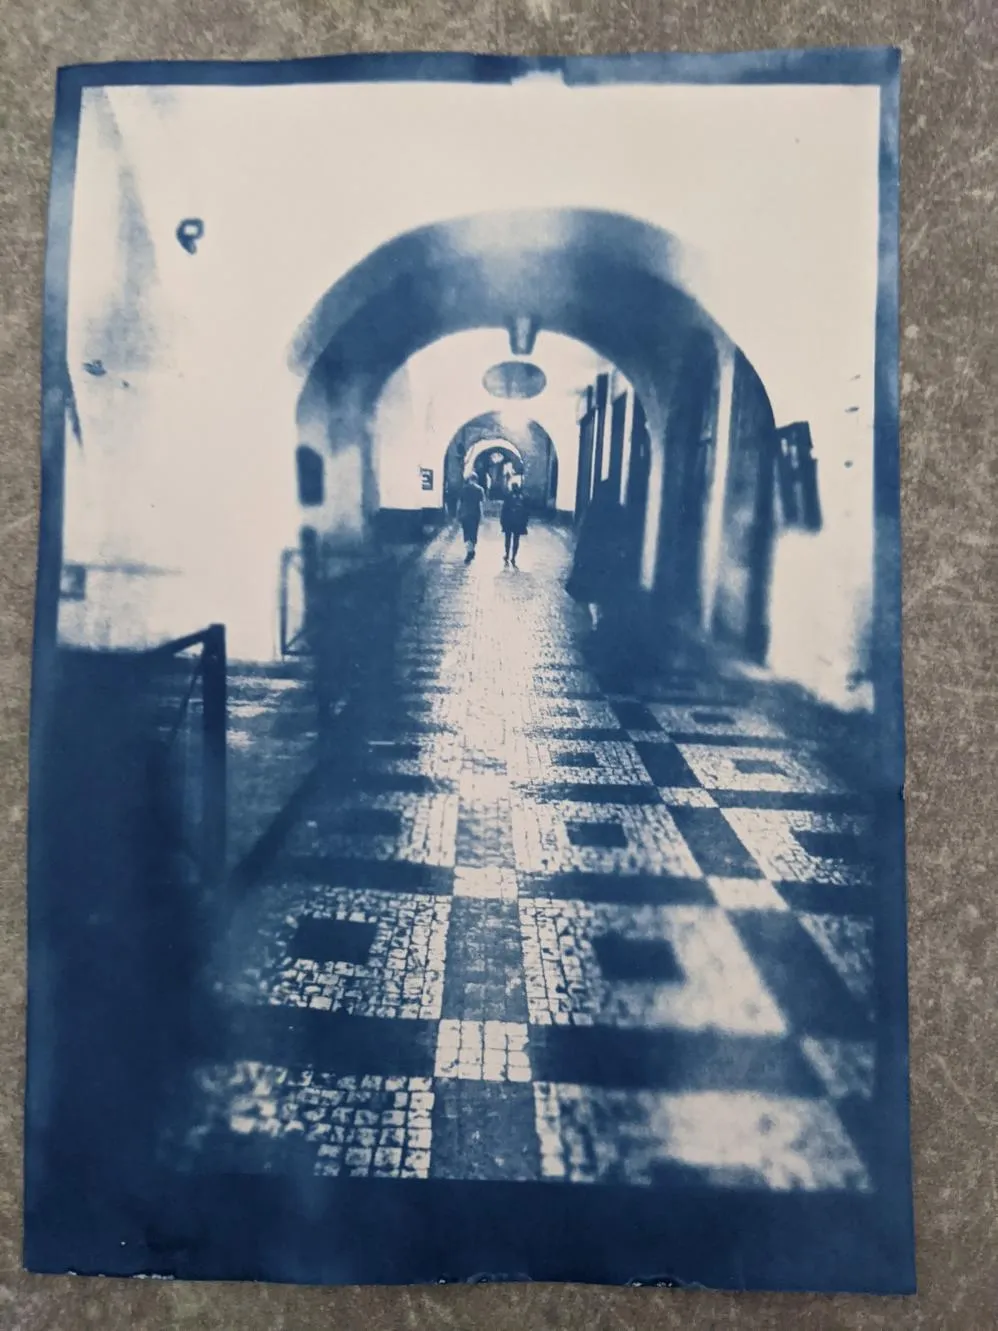
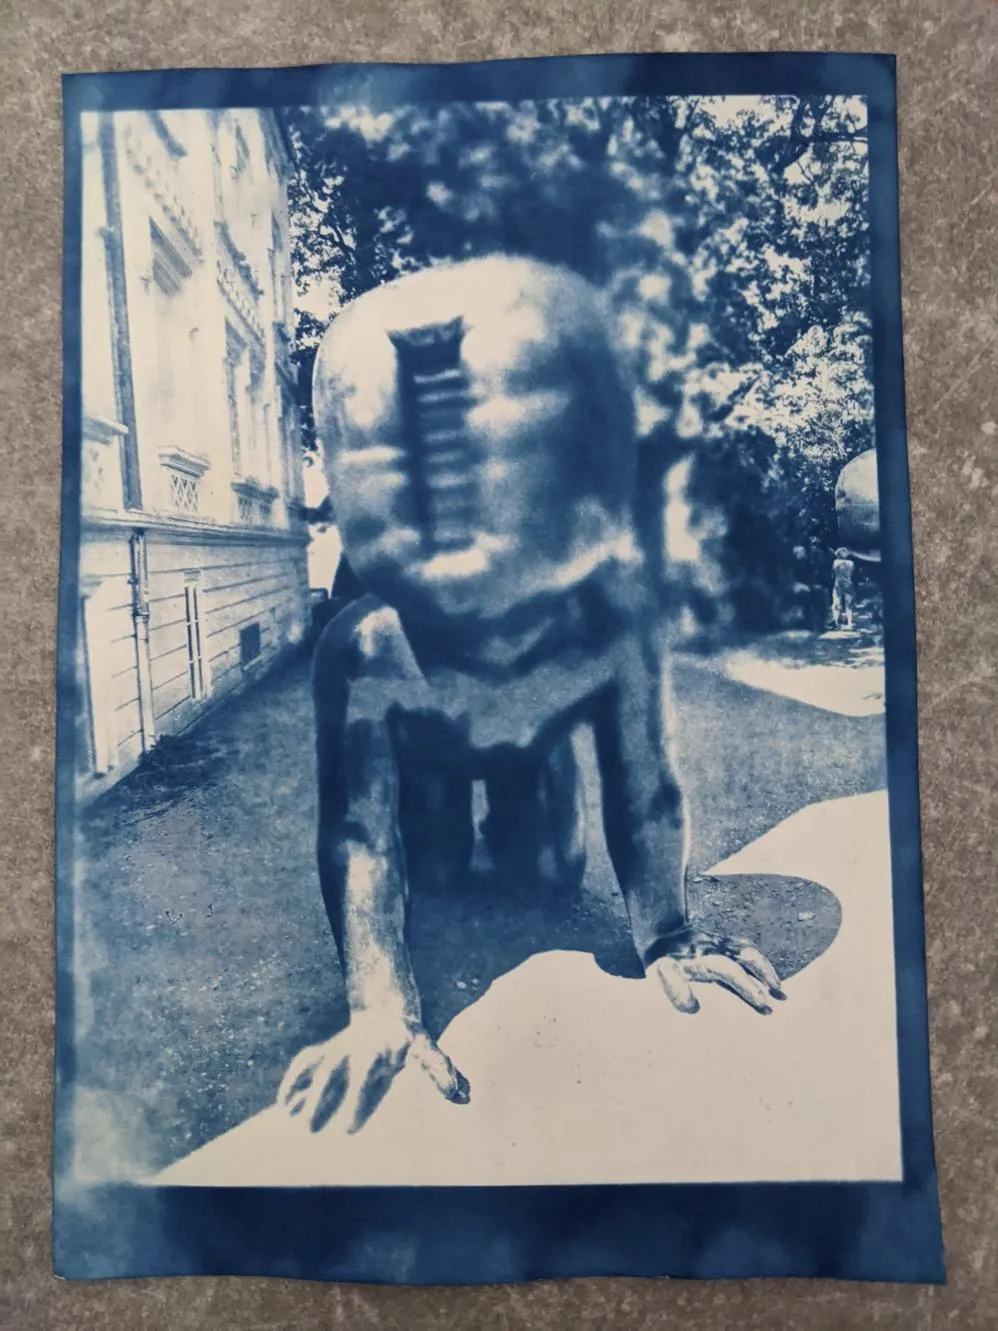
An example of one of the printed negatives (a photo of one of David Černý’s barcode babies from the Museum Kampa, Prague):
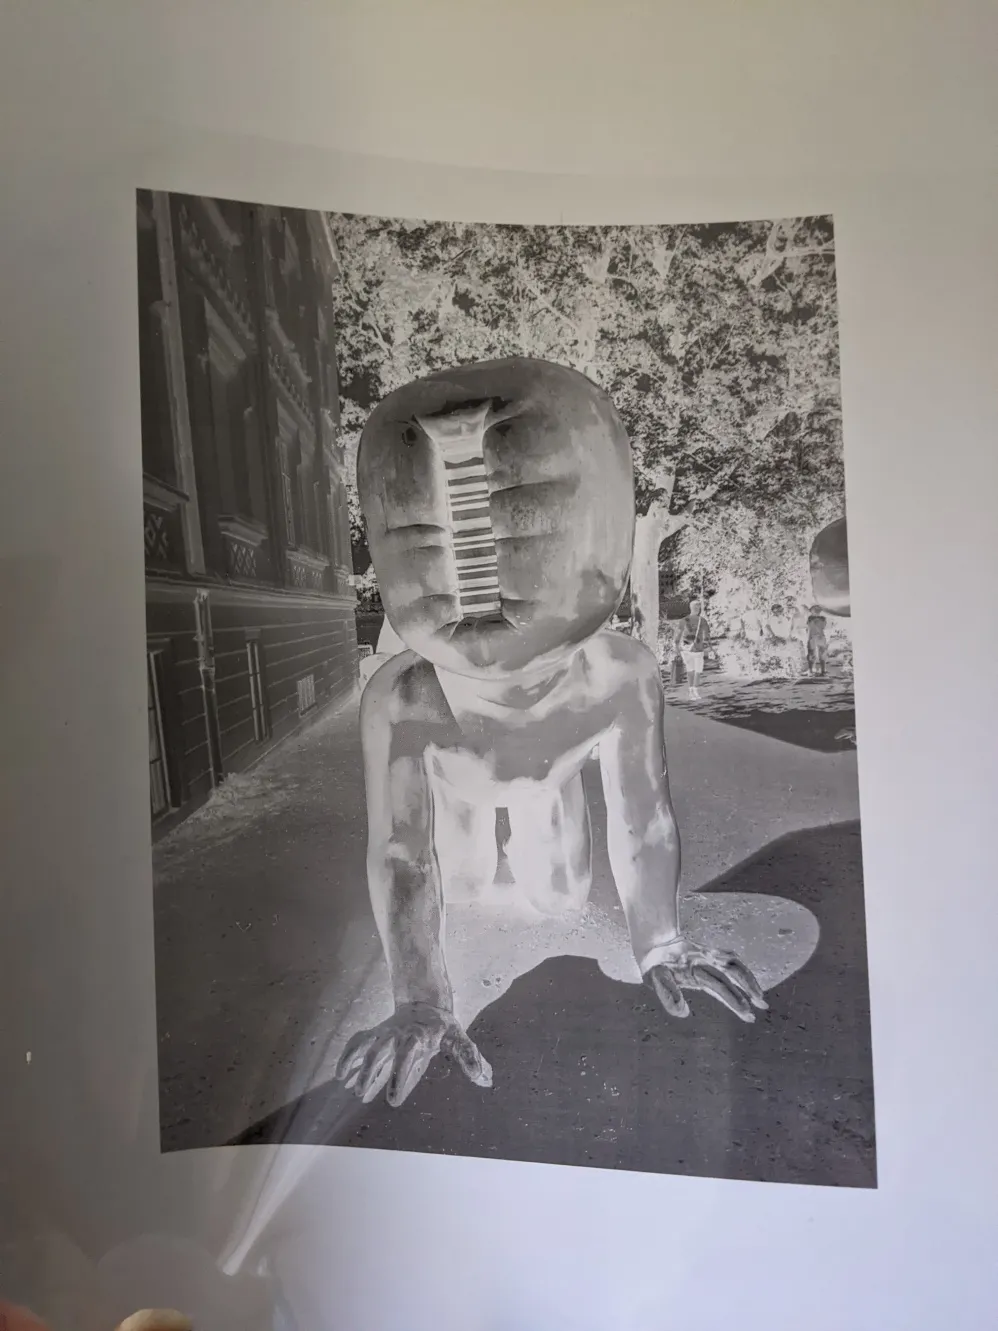
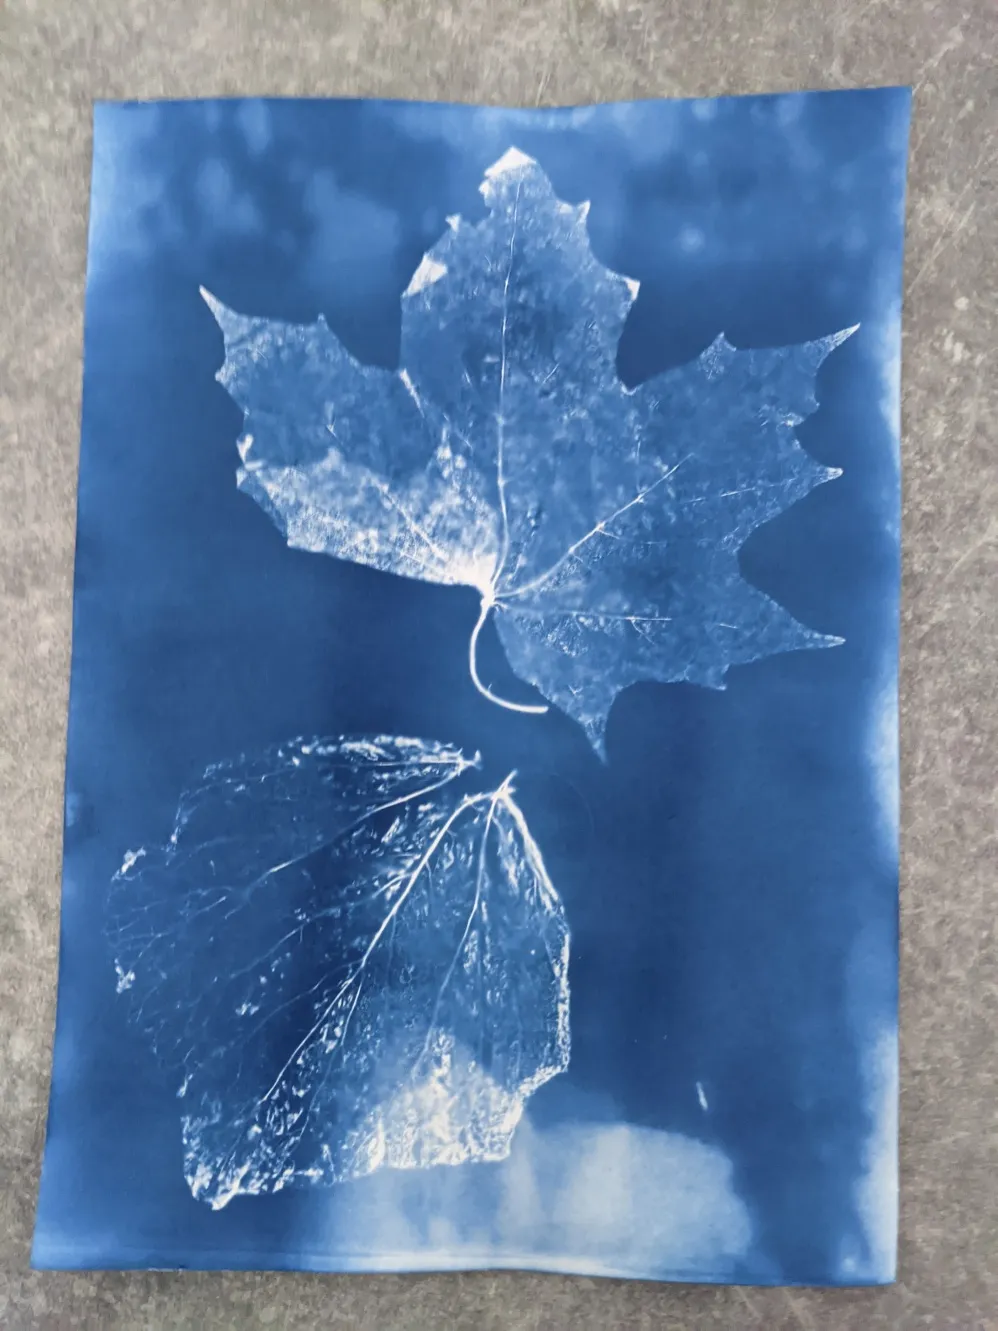
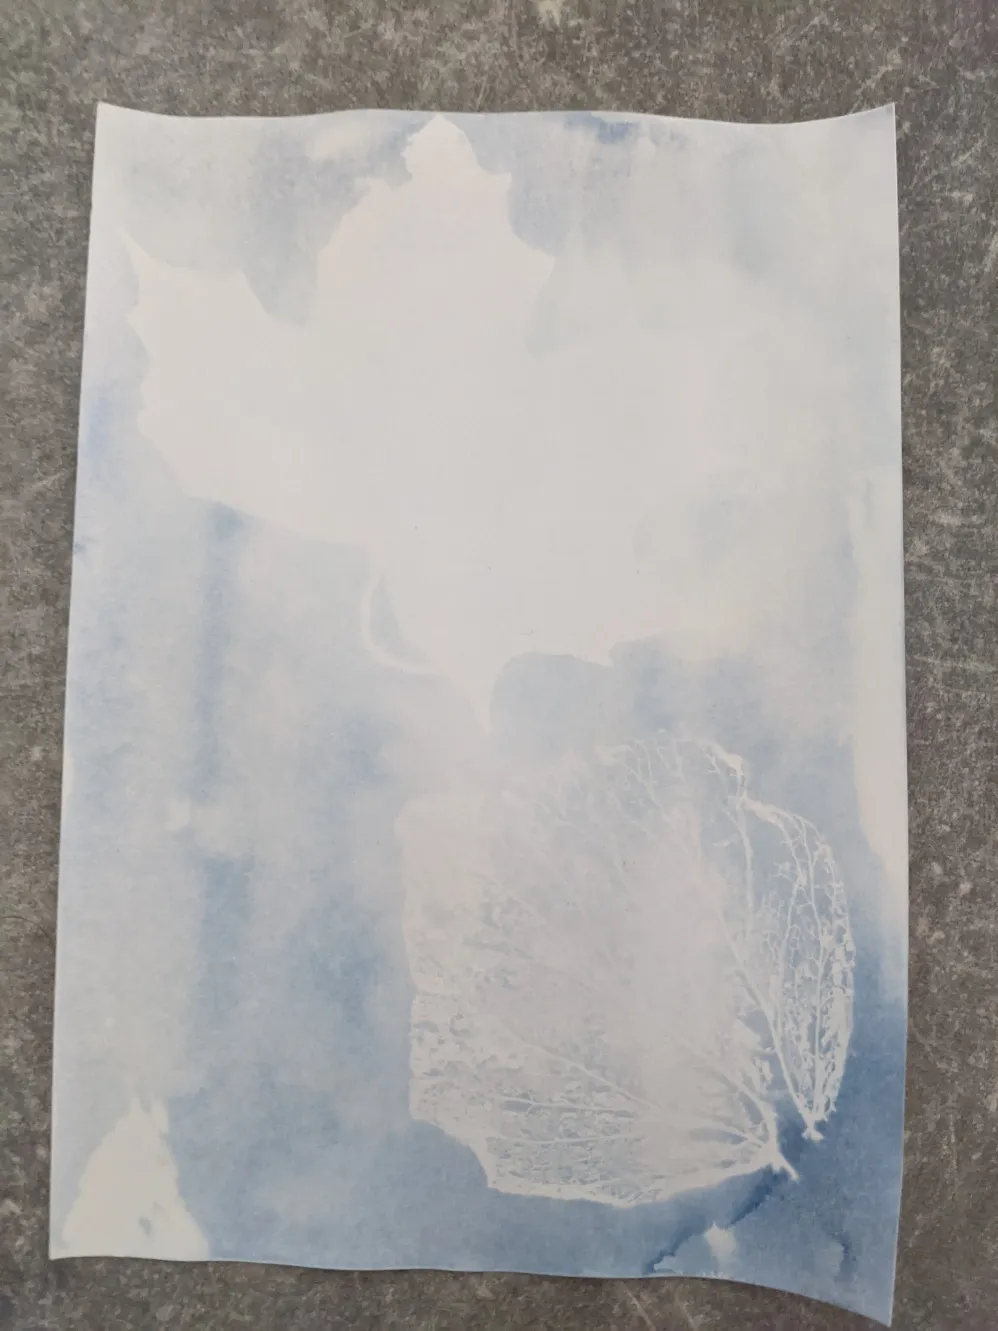
You’ll see I also tried the skeletonised leaves I made earlier, but I think they’re too transparent to work properly. Maybe if I stained them to make them more opaque? Hmmm..
Mix the Chemicals
As per NileRed:
- I dissolved 2g of Ferric Ammonium Citrate in 10ml of distilled water
- I dissolved 1.4g of Potassium Ferricyanide in 10ml of distilled water
- Finally, I combined the two and mixed them well.
This makes enough for a decent number of sheets, but you can scale it up as appropriate. Note that this mixture is UV sensitive so it might be hard to keep it for long periods of time.
Prepare the Paper
Coat one side of each sheet with the chemical mixture using a brush, then store the treated paper somewhere dark so it can dry.
With hindsight, its important to get an even coat with no “puddles”: I wasn’t careful enough this time, so I ended up with a number of issues.
Expose it
Once the paper is dry:
- Put it in your chosen UV exposure place (in my case,The Box). You need to put it on a smooth, flat surface (eg a sheet of glass, or something else flat that won’t bend).
- Put the negative to expose it on top of it. Put the side that has the printed ink on it right against the paper for the best focus. This is why you may want to flip the image.
- Put a sheet of glass on top of it.
- Wait until its exposed!
- The time you wait depends on the strength of your UV source. For my UV box, I found about 3.5 minutes worked quite well. NileRed has some good ideas on how to fine tune this.
Postprocessing
- Once exposed, extract the paper and wash it thoroughly in a tray of water for a few minutes. This will cause the Prussian Blue colour to develop.
- If using Hydrogen Peroxide, quickly dip it in that to finish the colour processing (or in my case, mist it since there was a misting attachment to my bottle).
- Wash it again to remove the Hydrogen Peroxide.
- Finally, I found it was good to do a final wash in running water to remove any trace of excess chemicals.
Results
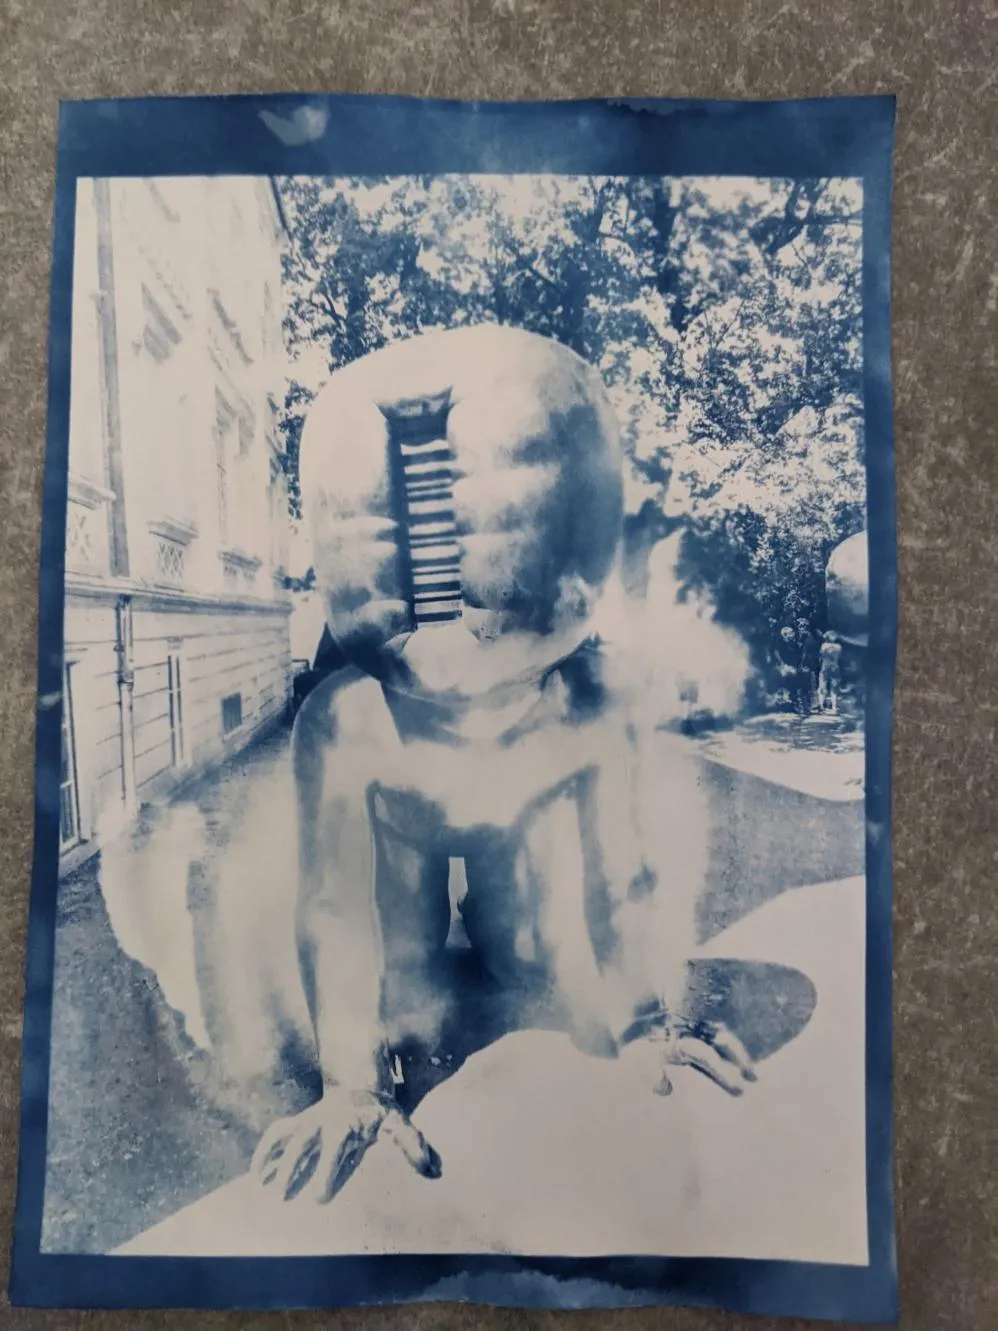
Thoughts and Improvements
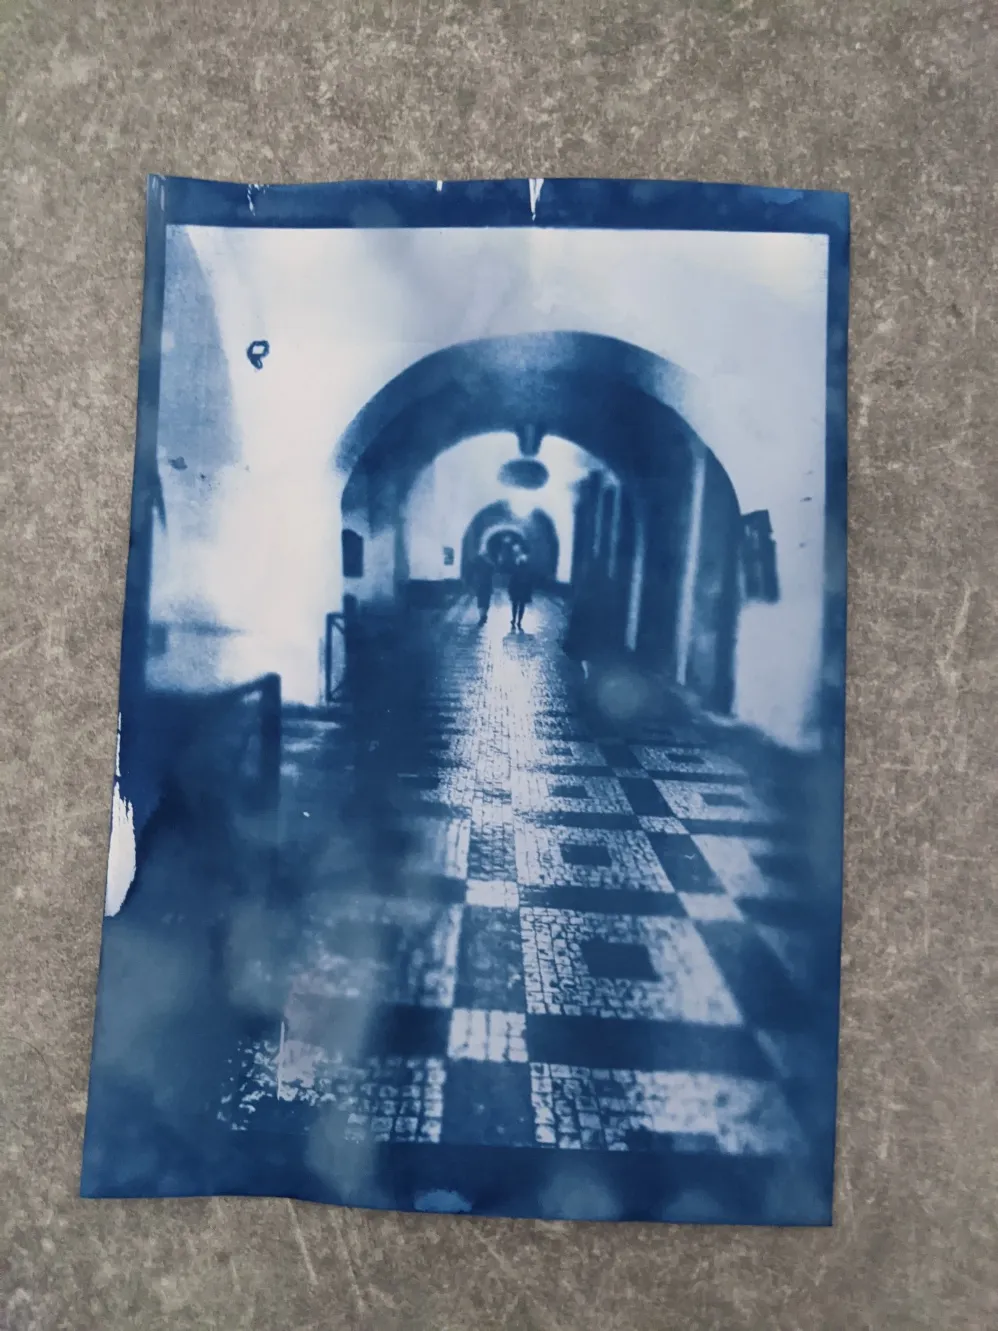
- Focus issues: some of the images have out of focus areas: this is why people use glass to keep everything flat (I tried just taping down the edges originally). I’ve ordered some 3mm A4 glass sheets to deal with this.
- Exposure: Looks like I was pretty much on the dot. I tried halving the exposure time to see what happened and you can see the result in the top right above. Much easier as I have a consistently bright UV source.
- Coverage Issues: From the above, my biggest problem is getting the chemical evenly distributed and evenly absorbed by the paper. I’ve got areas where there’s too little, and areas where there’s too much leading to badly inconsistent images. Most people seem to use sponge brushes, so I’ve got some on order.
So it definitely looks promising, but I have some big areas for improvement!
Leave a comment
Comments are moderated, so yours won't appear immediately. Your email is never published.