I’ve been watching a lot of restoration on Youtube recently: AT Restoration, Hand Tool Rescue to name a couple.
I thought I’d give it a go: there’s an old side table that’s been in the family for ages: at some point it seems to have been slightly incompetently covered with thick white gloss paint, but it’s clearly an interesting table:
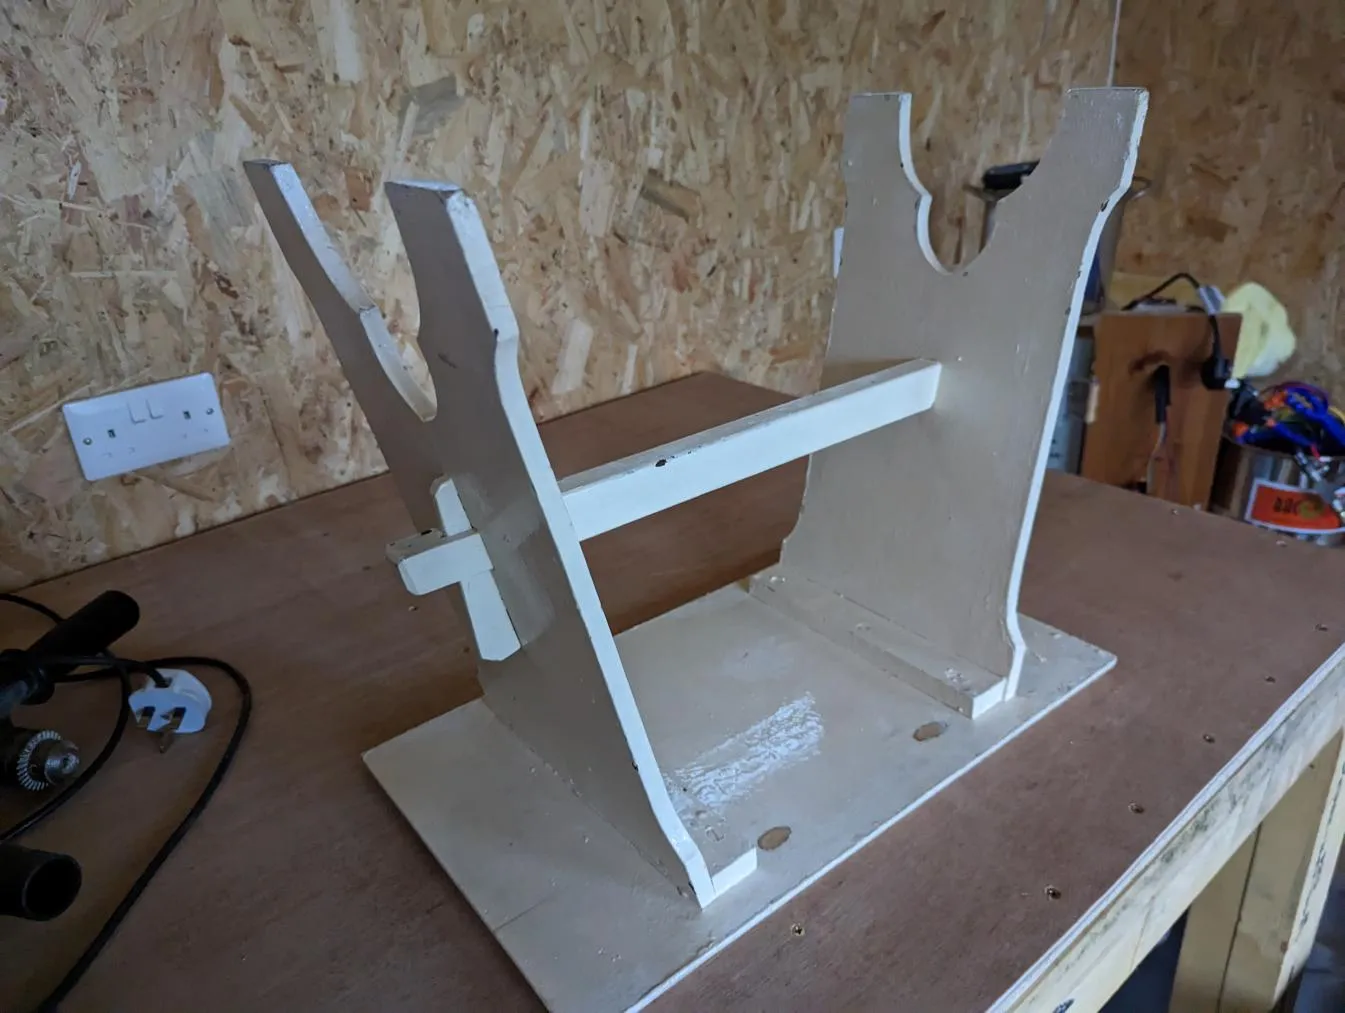
It has a sort of knockdown build with two pegs and six screws. Unfortunately I didn’t take a picture of the top before starting work, but it definitely looked as though it might be interesting.
I took it to bits. Unfortunately during this process, one of the legs came apart due to the paint sticking everything together. Luckily it seemed to be along a pre-existing glued joint so I was able to fix that later.
Stripping The Paint
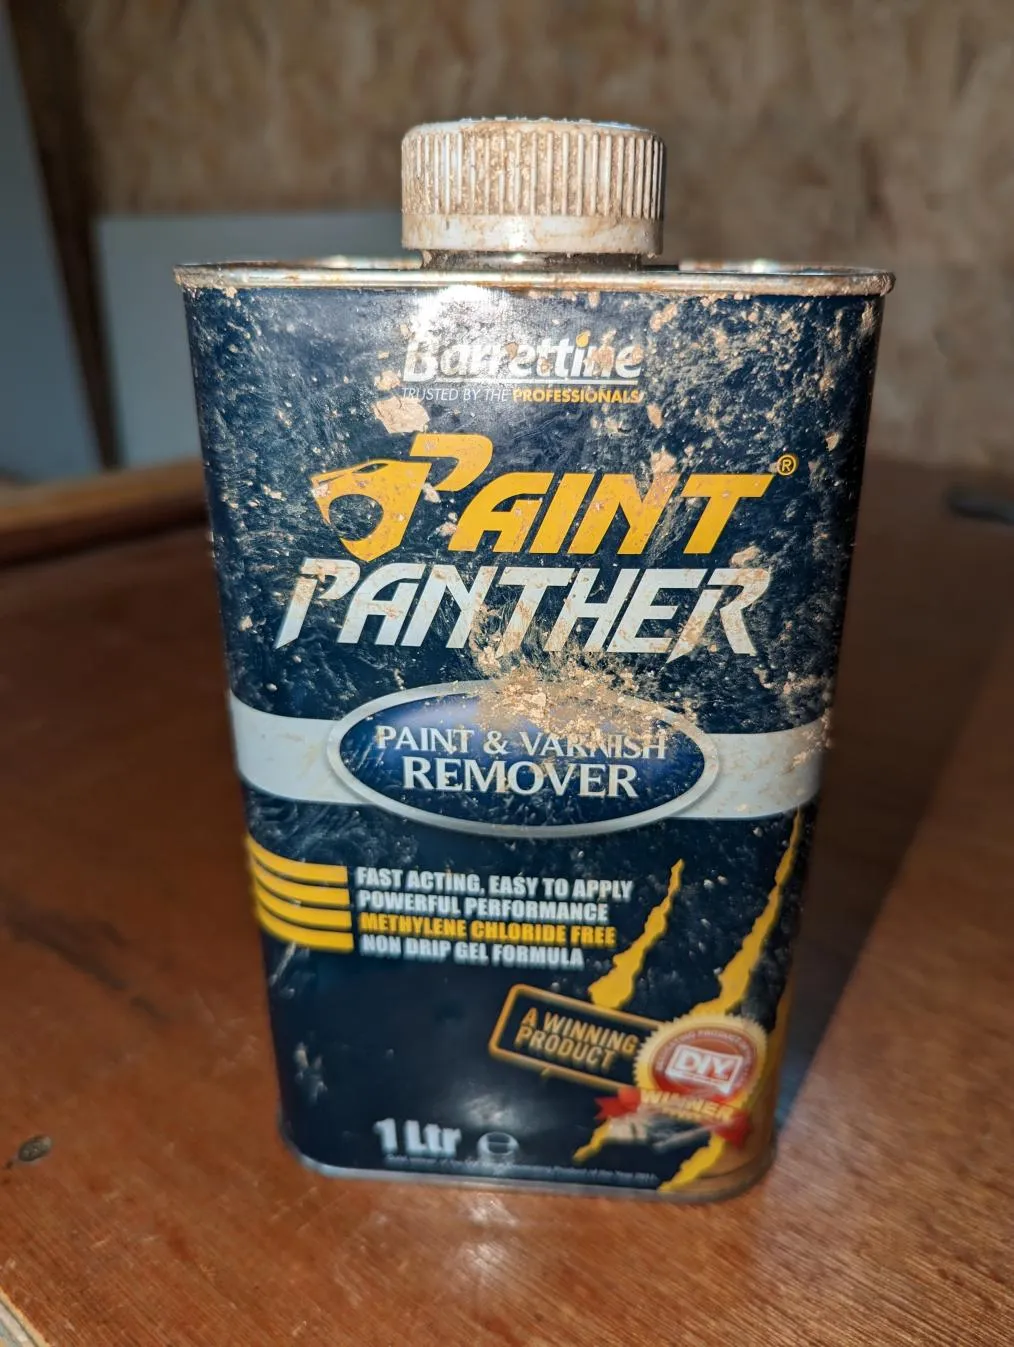
I bought some “paint panther” paint stripper. I decided to use stripper rather than heat or sanding as I didn’t want to damage the wood, and I wasn’t sure how old the paint was (might contain lead depending on vintage).
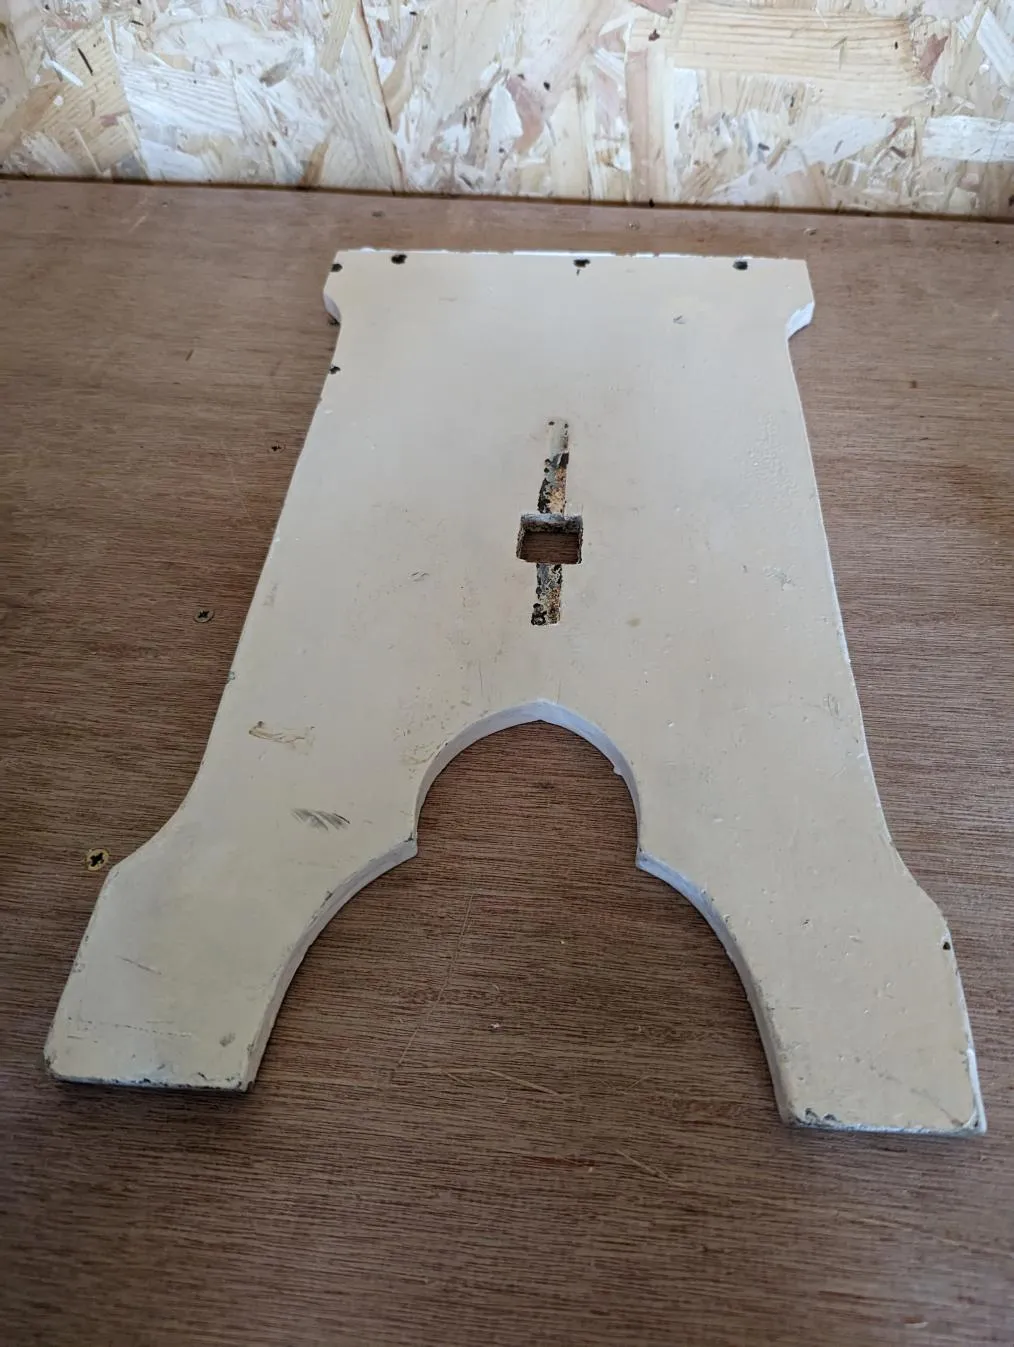
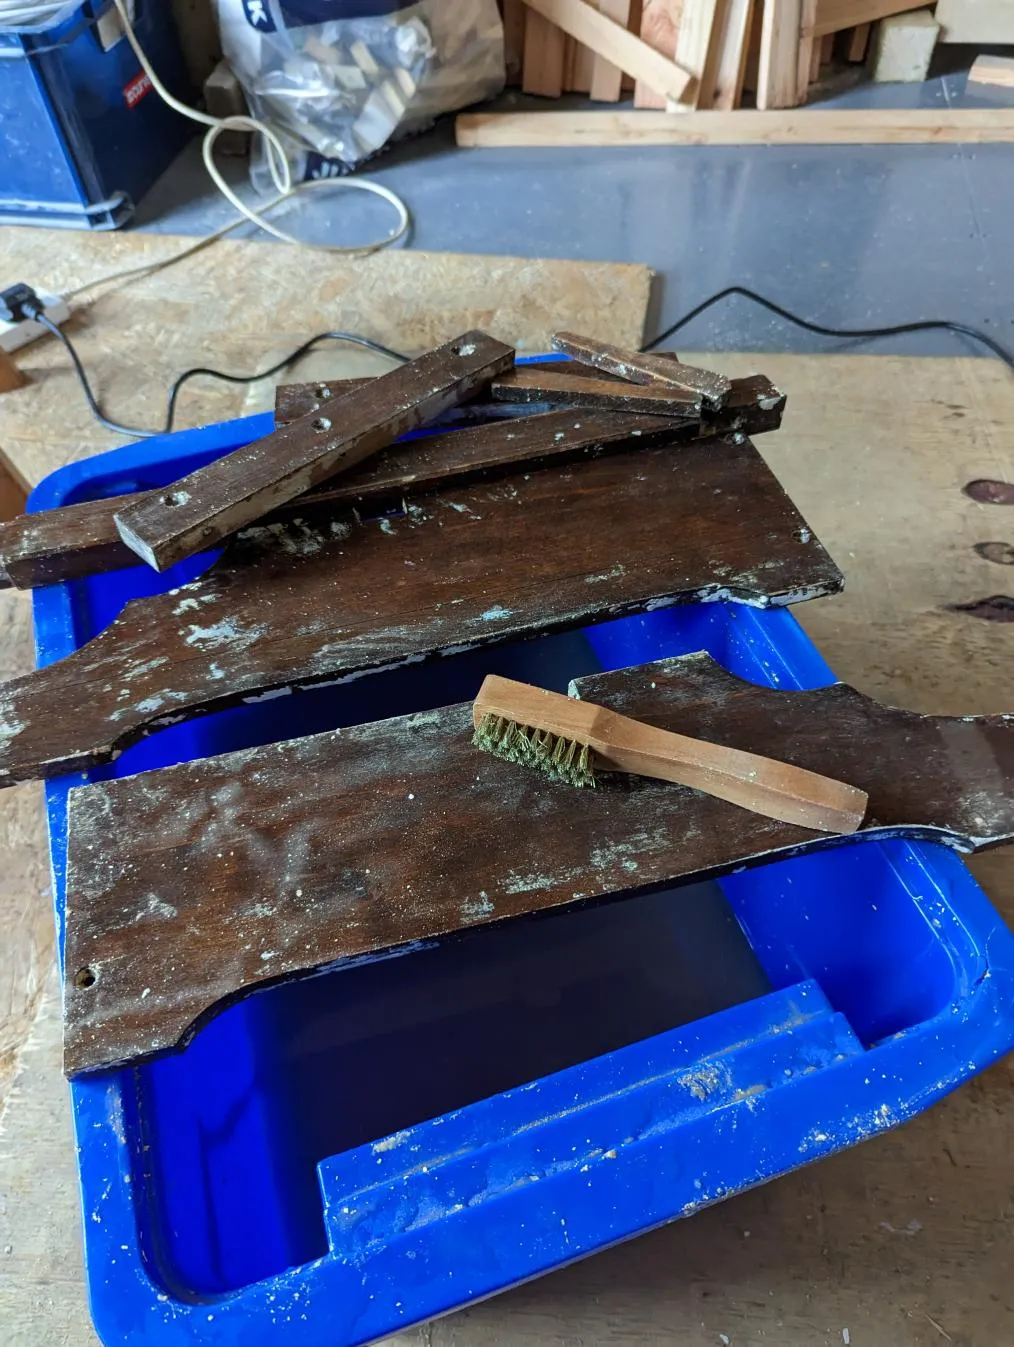
The stripper works on a layer at a time: there were about three layers so it took several goes to remove all the paint. Between each application I scraped it gently to remove the (now bubbly) paint, and scrubbed it with a wire brush in water to clean it off:
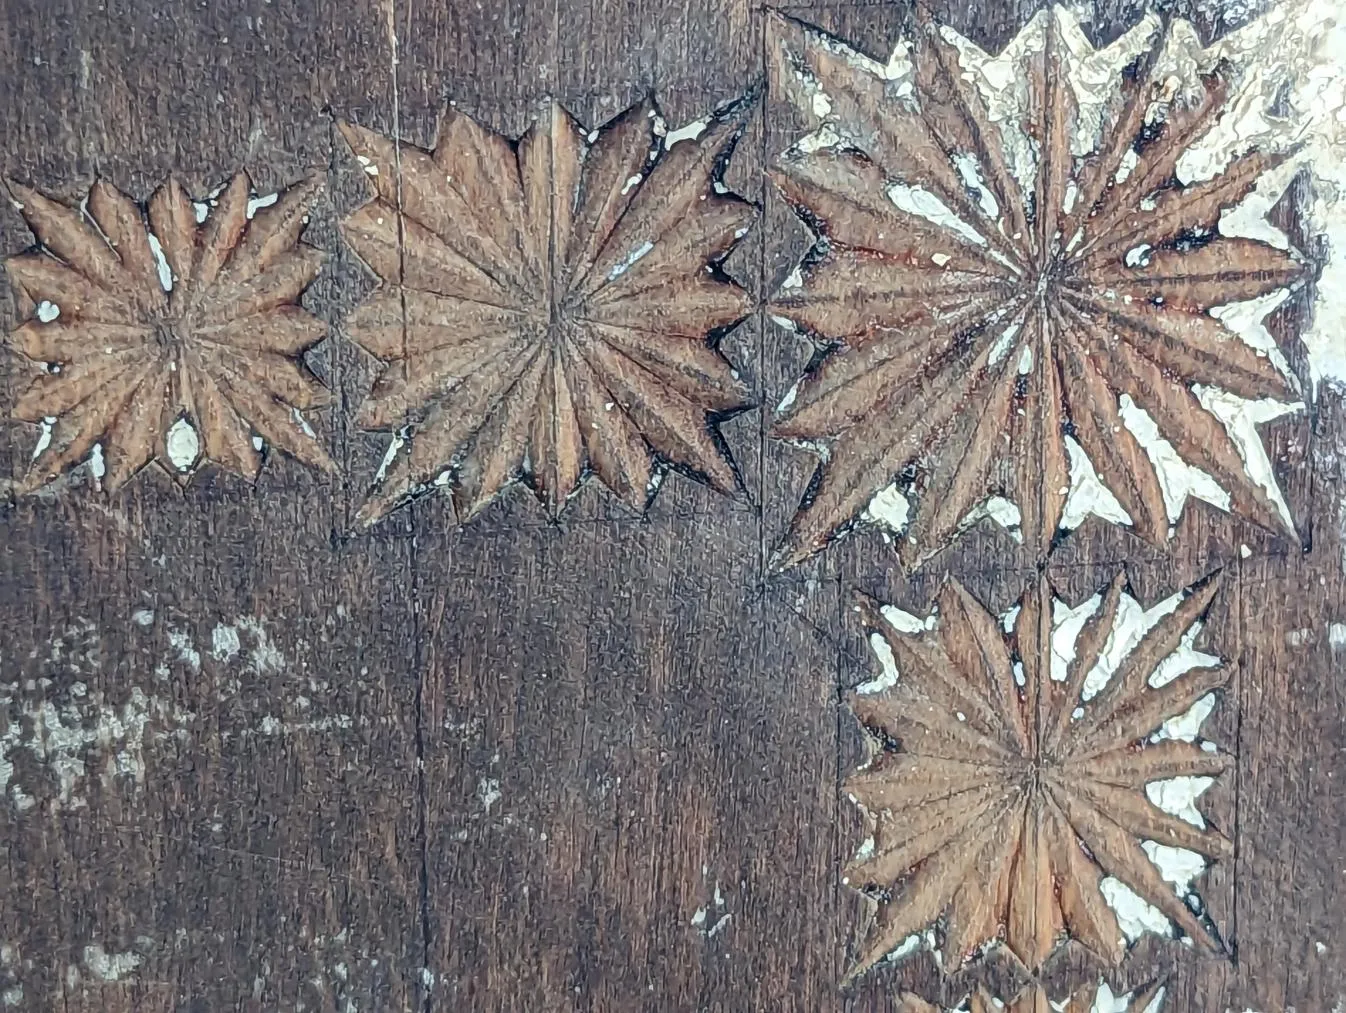

You can see the piece was originally stained quite dark, and also that the pattern on the top is really quite interesting!
In the deep parts of the pattern, I used a craft knife to carefully remove the last few bits of paint.
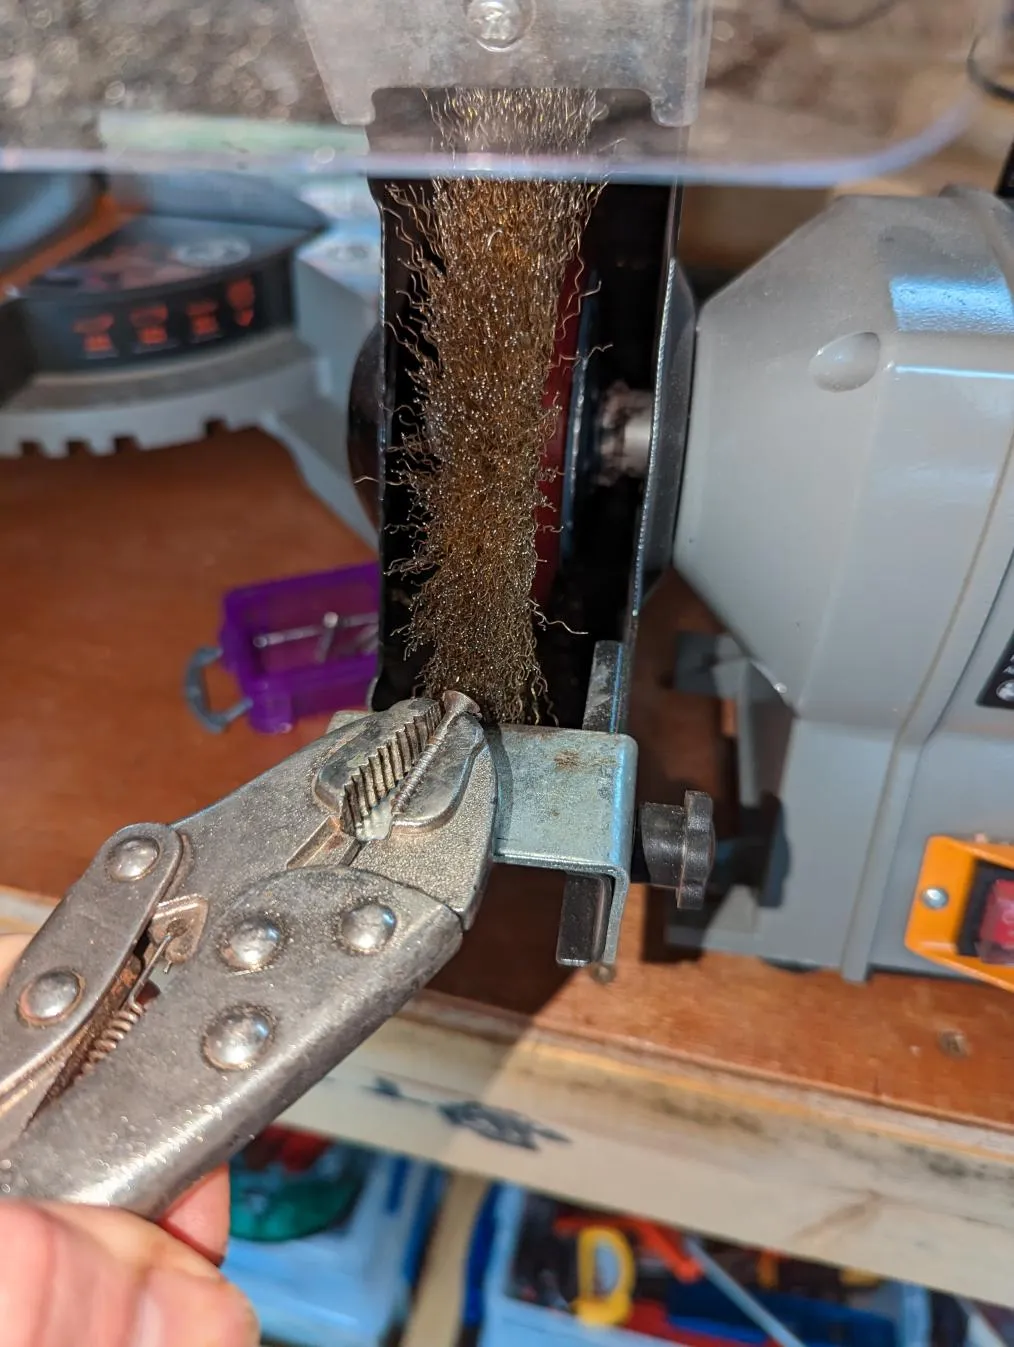
I also cleaned up the screws using a wire wheel:
Sanding
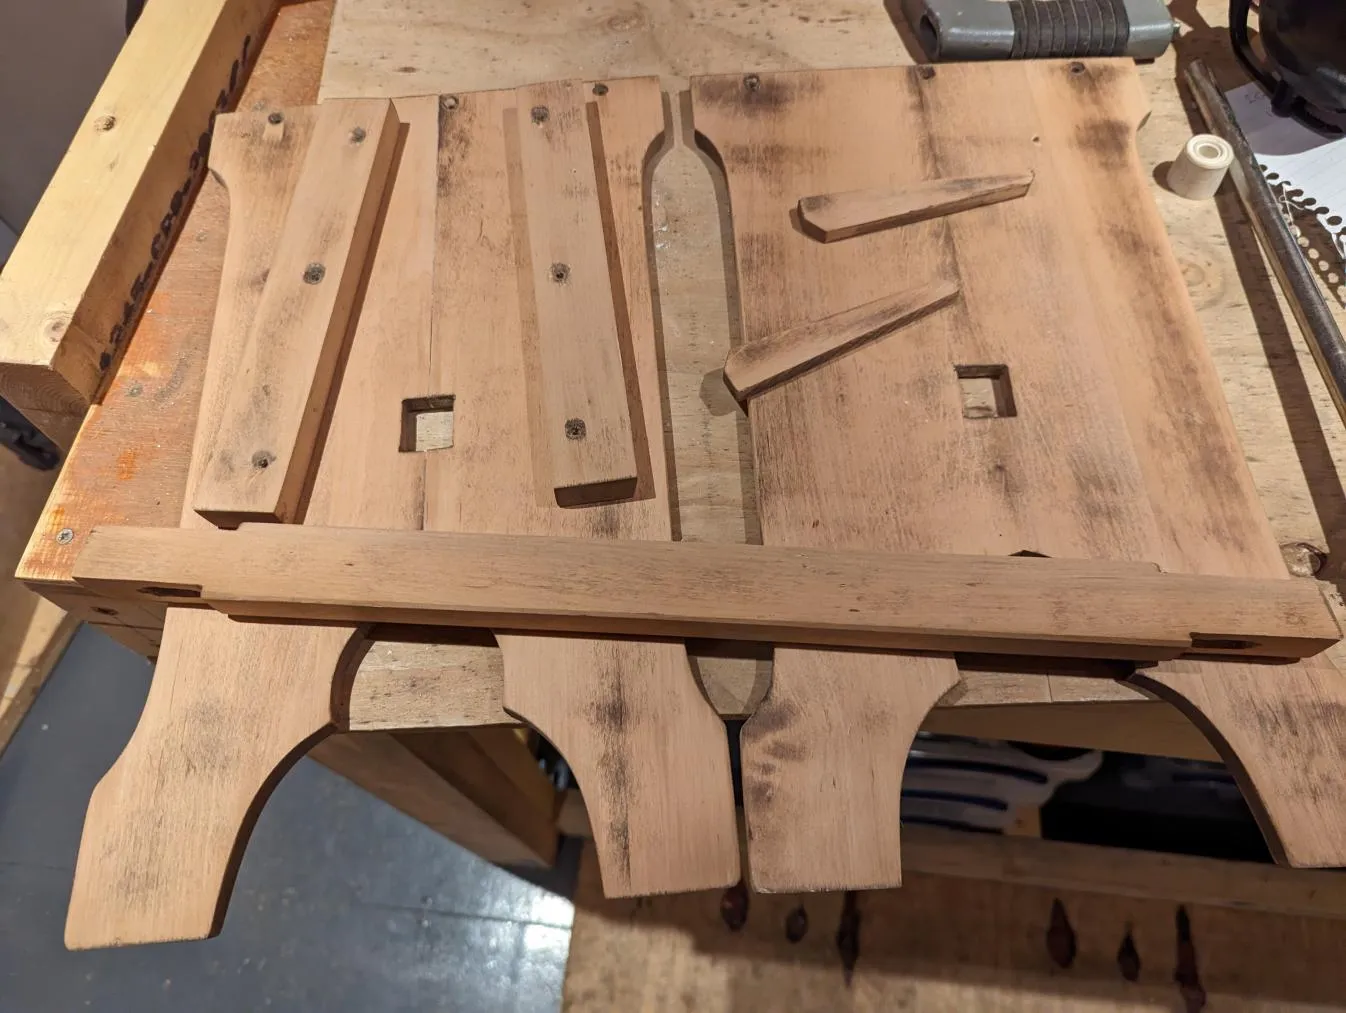
I felt I needed to sand the surfaces to (a) make them smooth, and (b) prepare them for re-staining.
However, first I glued the broken leg back together with PVA glue and clamps: it was a pretty seamless repair as you can see.
I bought a random orbital sander and set to it: you can see the results here. I went very carefully on the top surface as I didn’t want to damage the pattern.
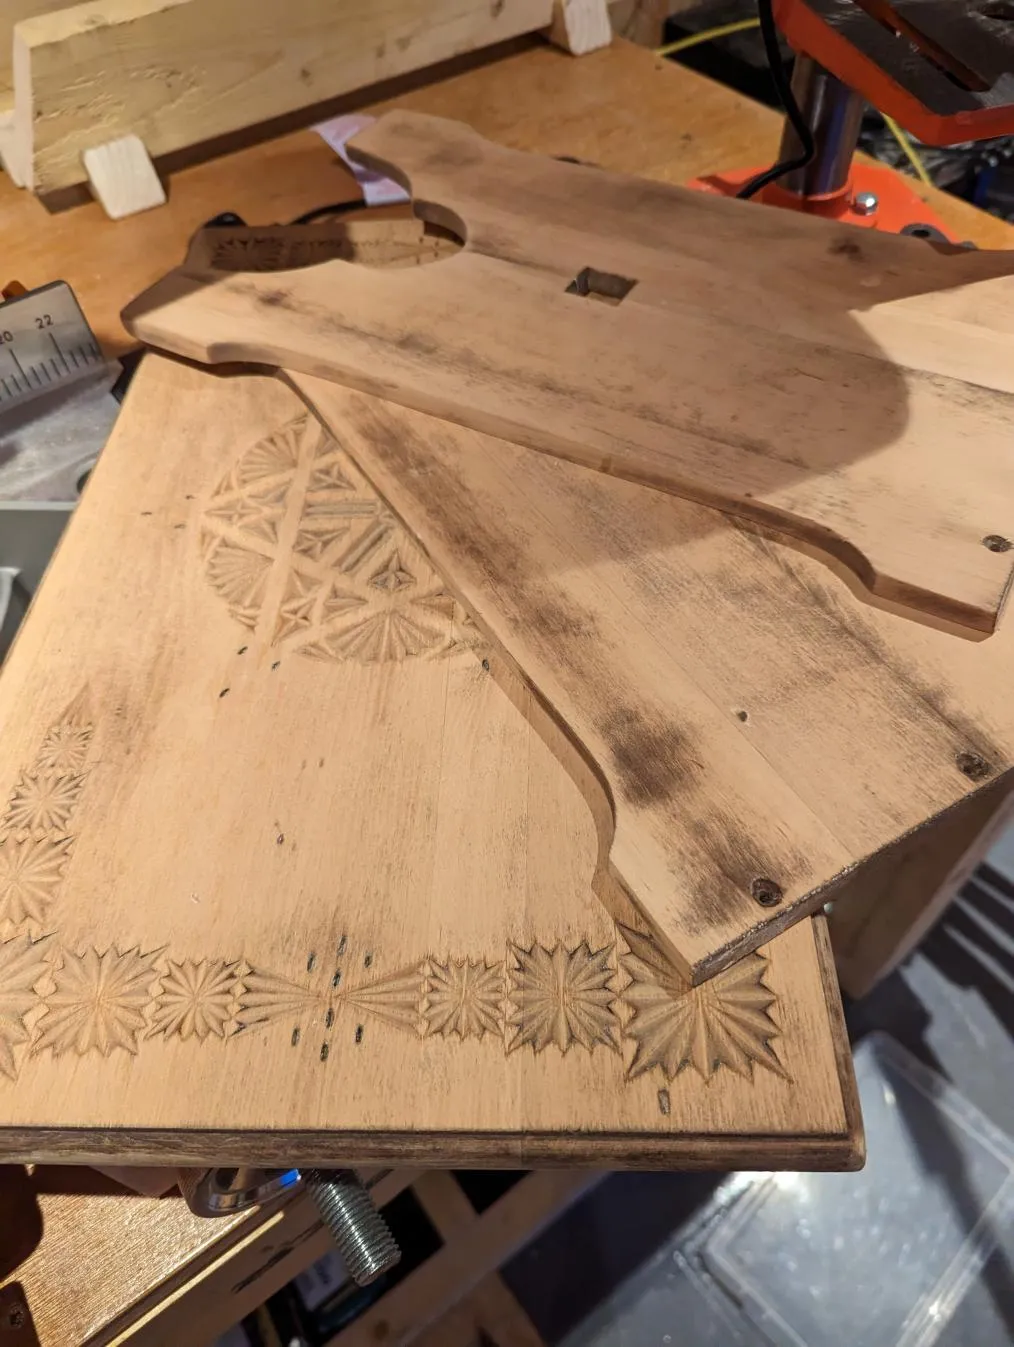
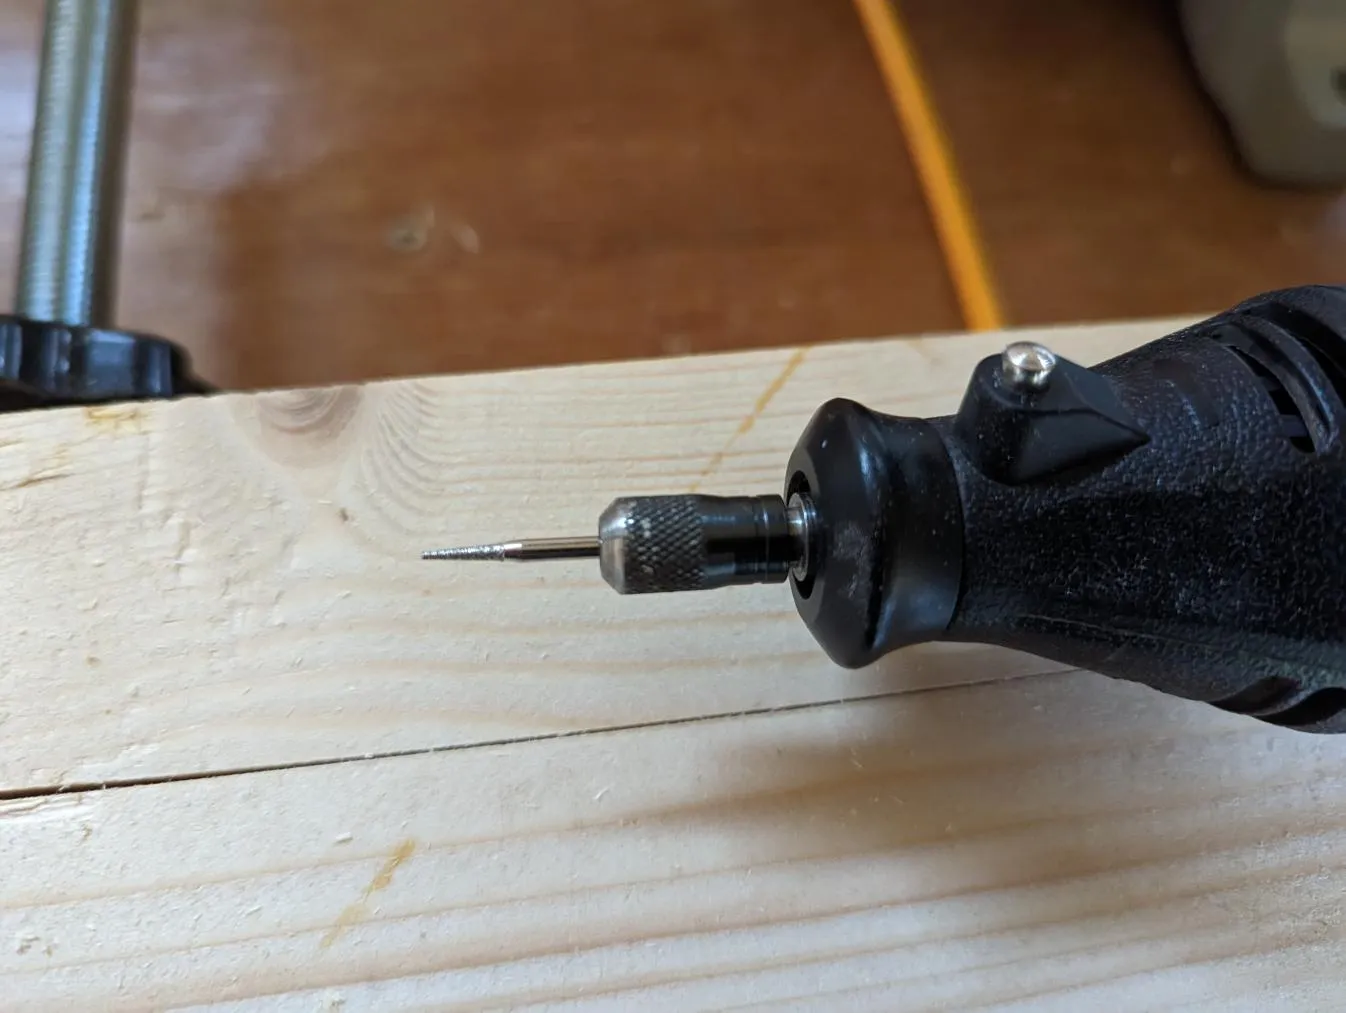
If you look at the picture of the top you’ll see some small black dots in groups of 3 or 4. These were deep parts of the pattern, maybe 2/3mm deep. The stripper didn’t touch them, and the sander couldn’t. I ended up using a diamond rotary tool to carefully clean them out:
Staining
I tried out various samples of wood stain, and ended up choosing “Dark Oak”:
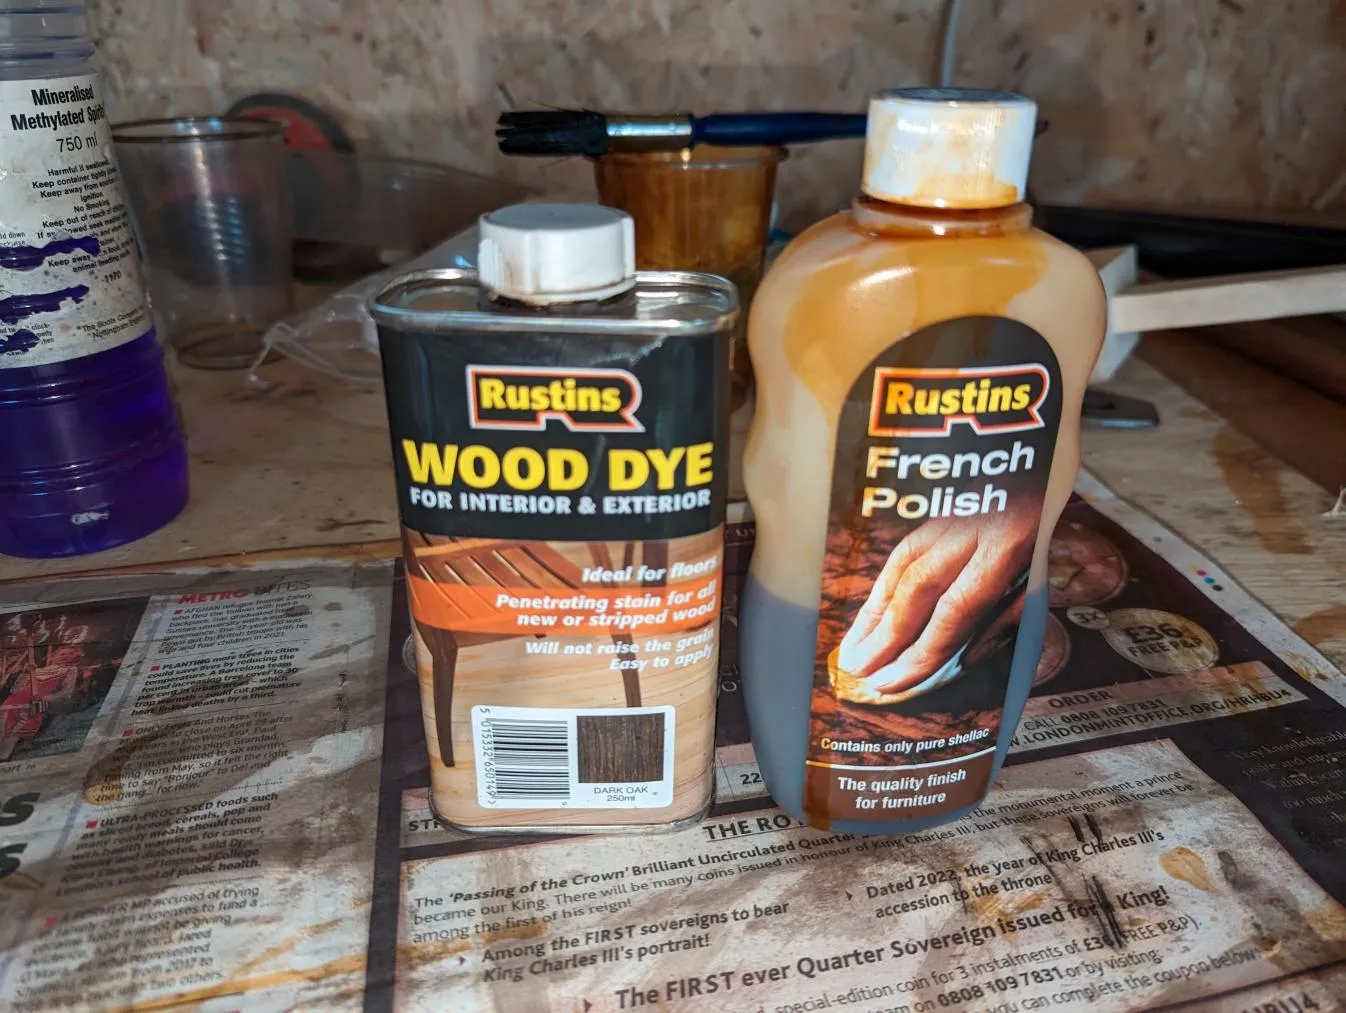
I also bought some shellac (aka French Polish) from the same place, in the hope they wouldn’t react weirdly together.
Anyway, I put three coats of the stain on the pieces:
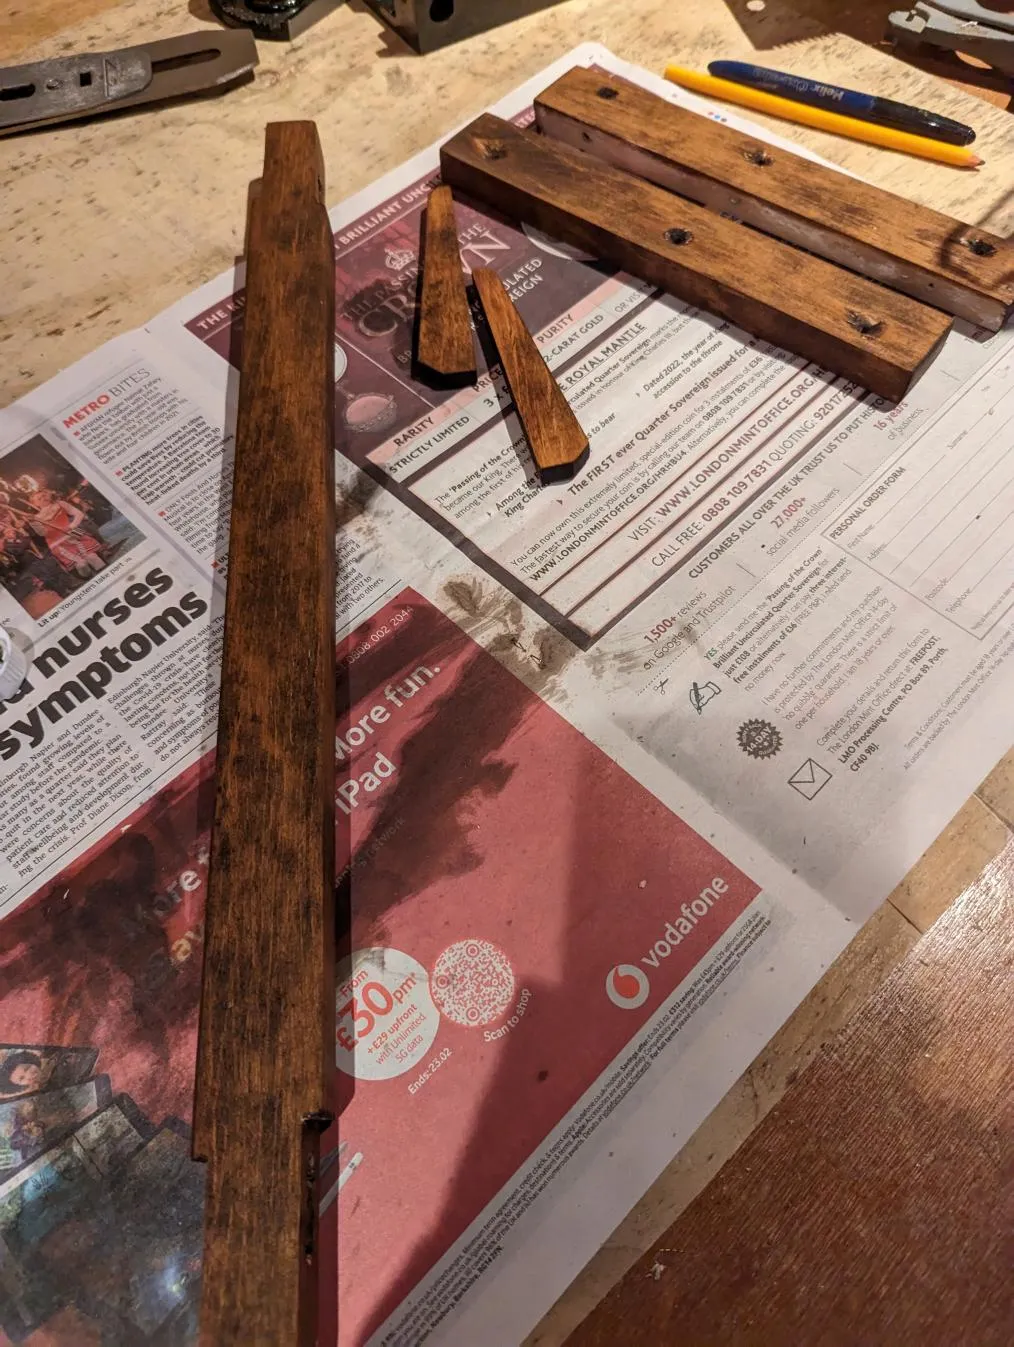
The stain went quite dull when dry, but its not the end of the story…
Shellac
I wanted to use Shellac as a final protective coat, both for protection and for the look. I decided this table wouldn’t suit the highly polished French Polish style; it looks as though it was slightly rough originally, so a few imperfections would probably work well on it. I’ve got a couple of other wee pieces from the 1920/1930s and they’re the same. Also, proper French Polishing will take quite a lot of practice.
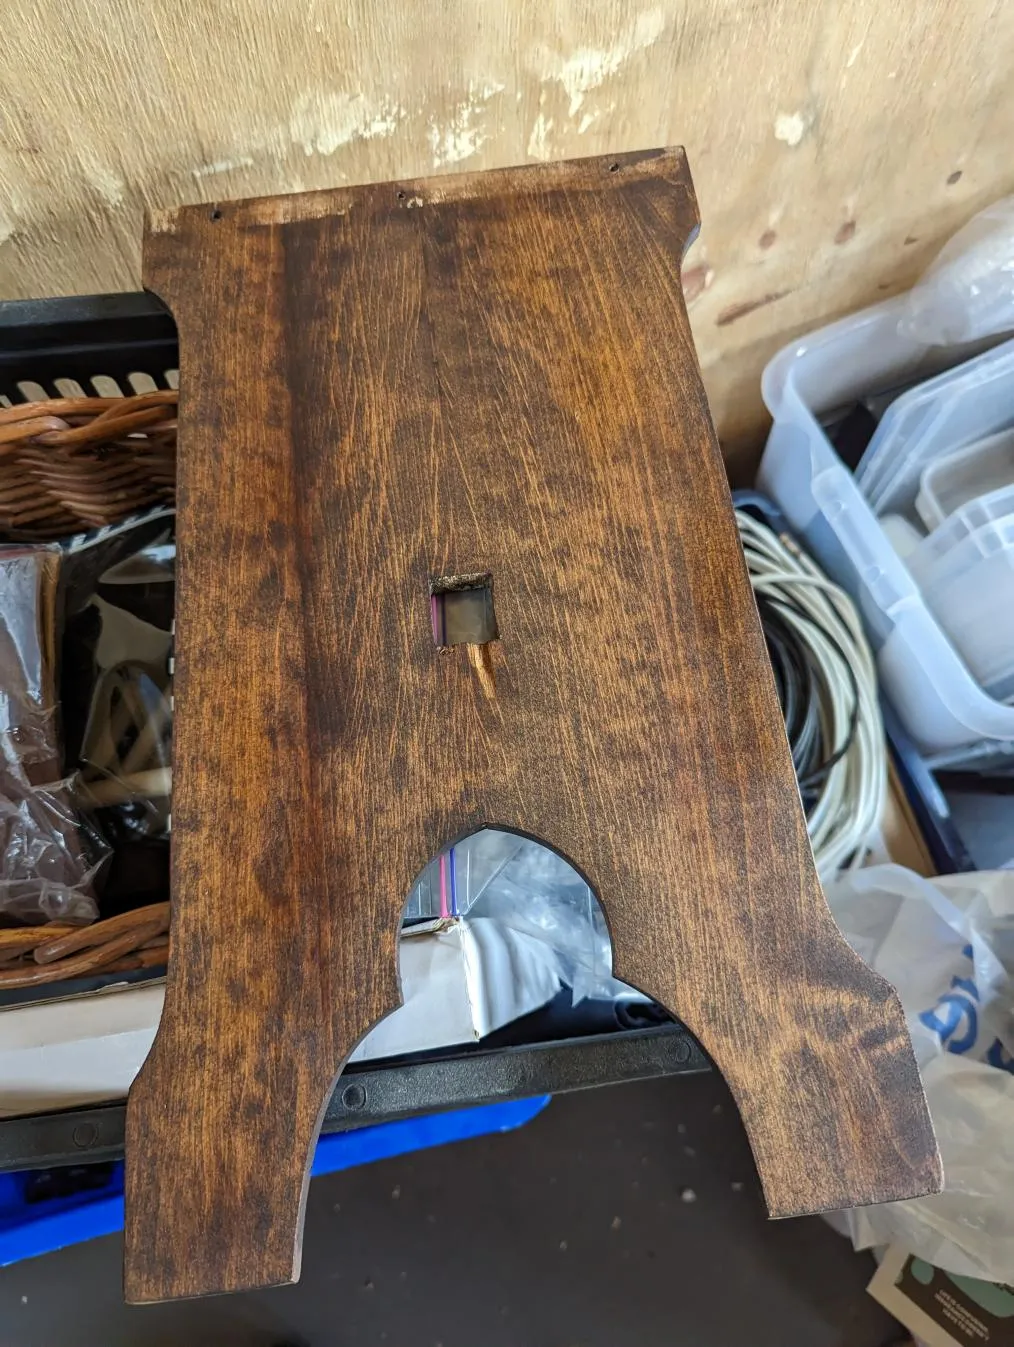
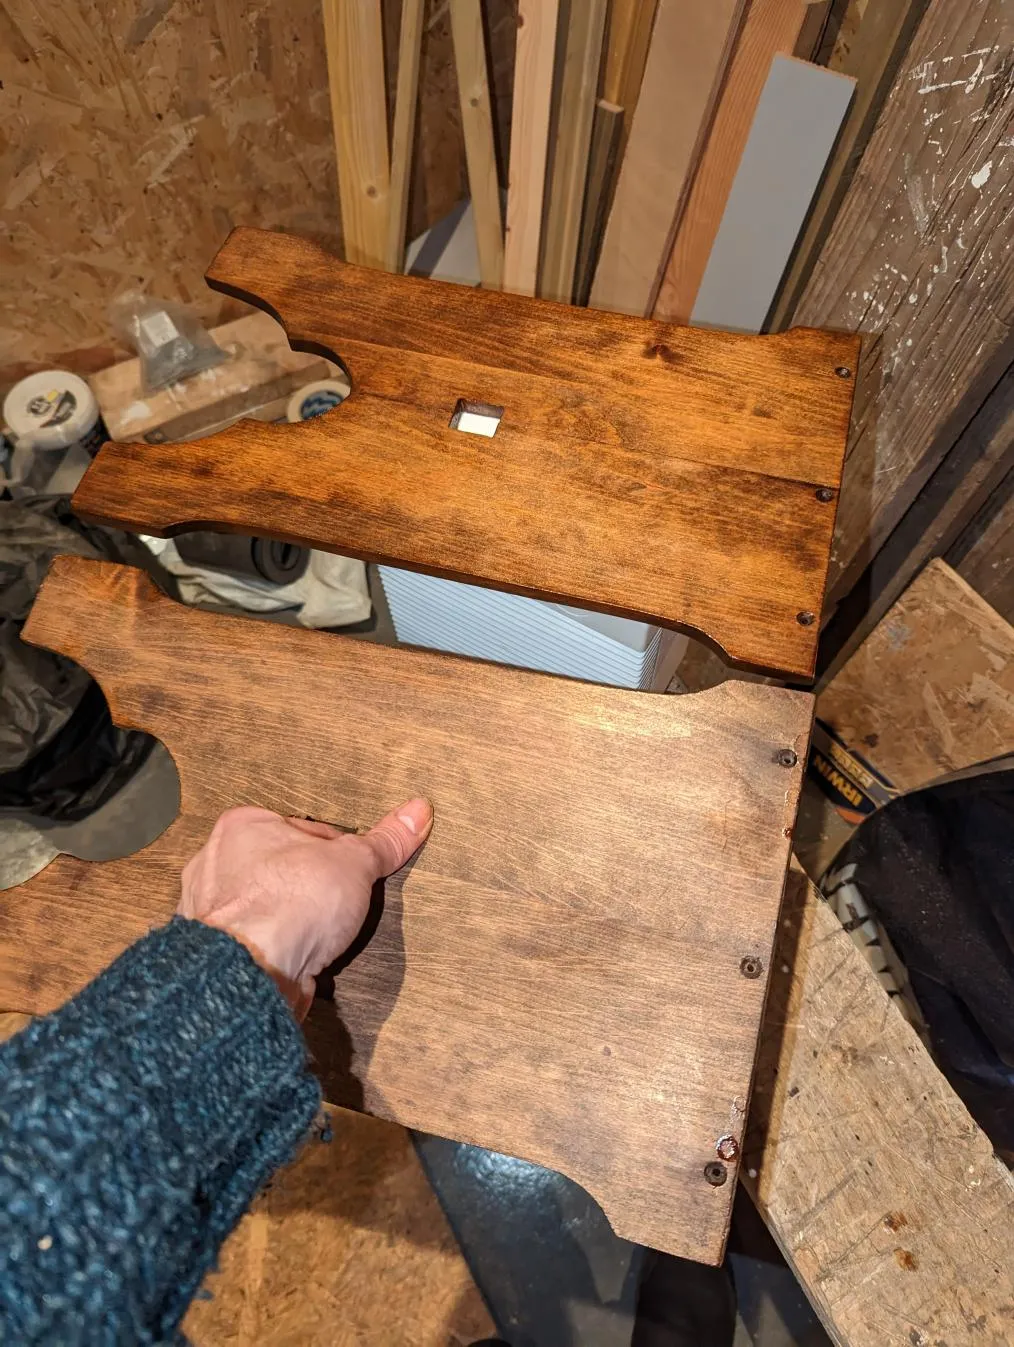
Anyway, I set to it, and applied three coats, waiting for it to dry between each. You can see the difference between the dyed and Shellaced pieces.
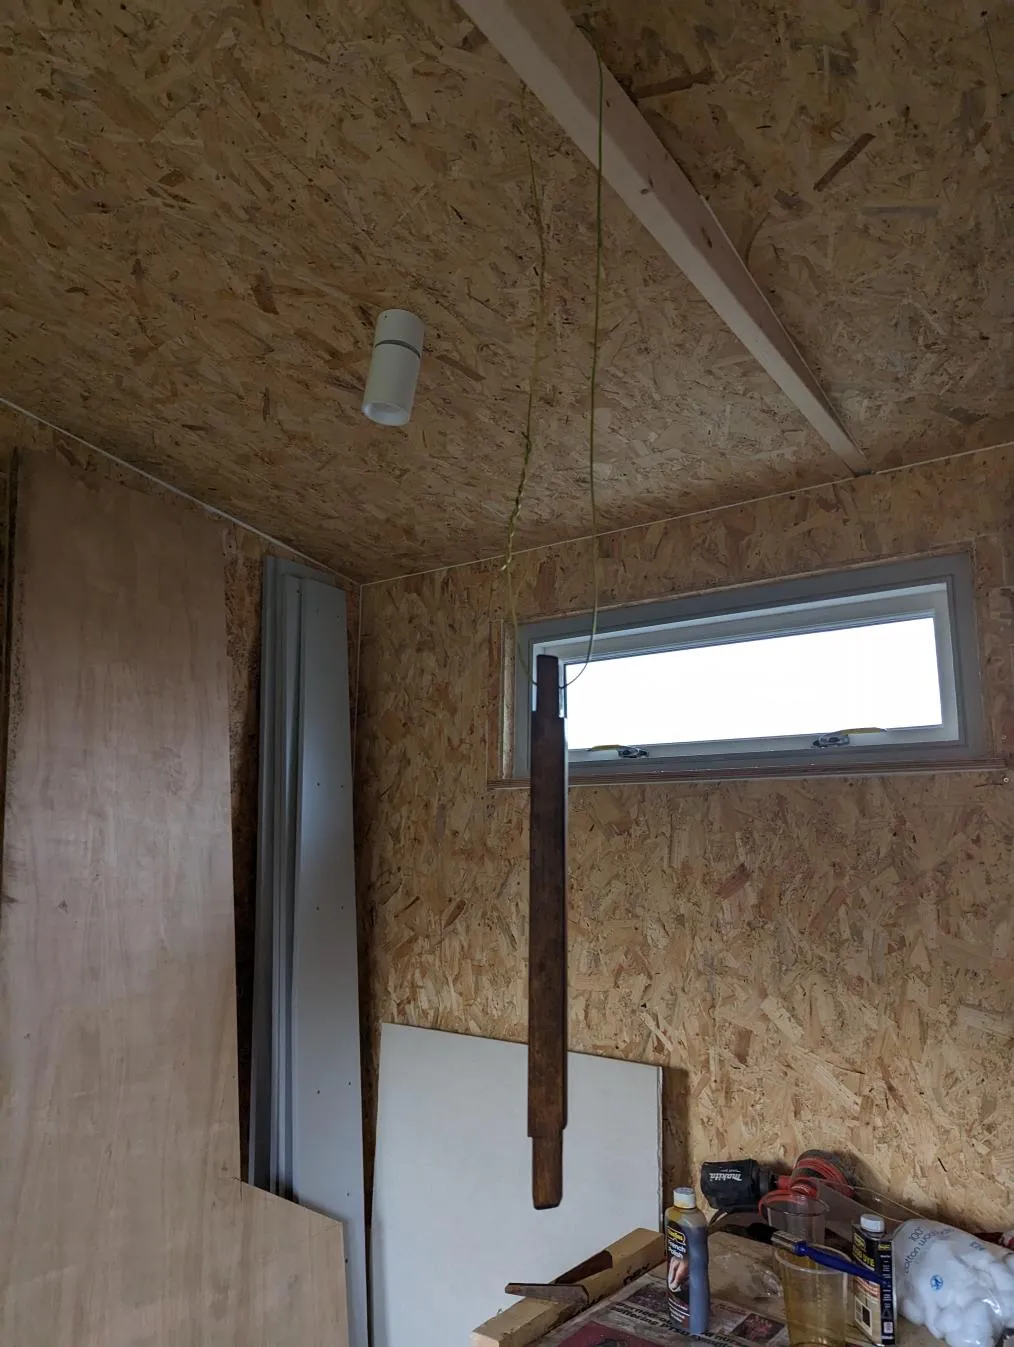
I also hung the crossbar from the ceiling during Shellacing as it needed it applied on all sides:
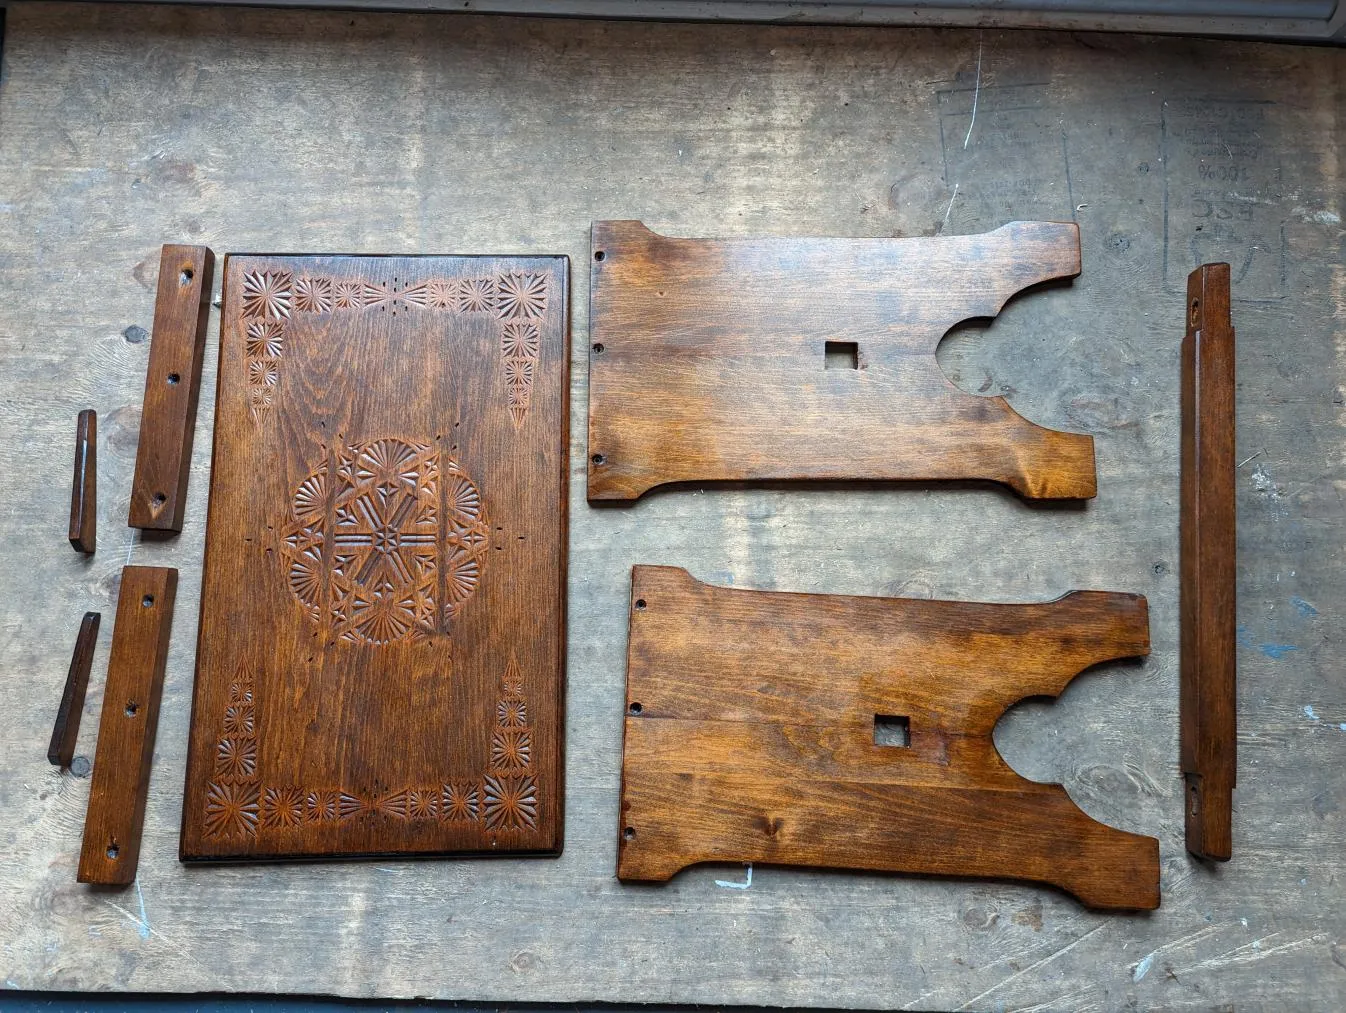
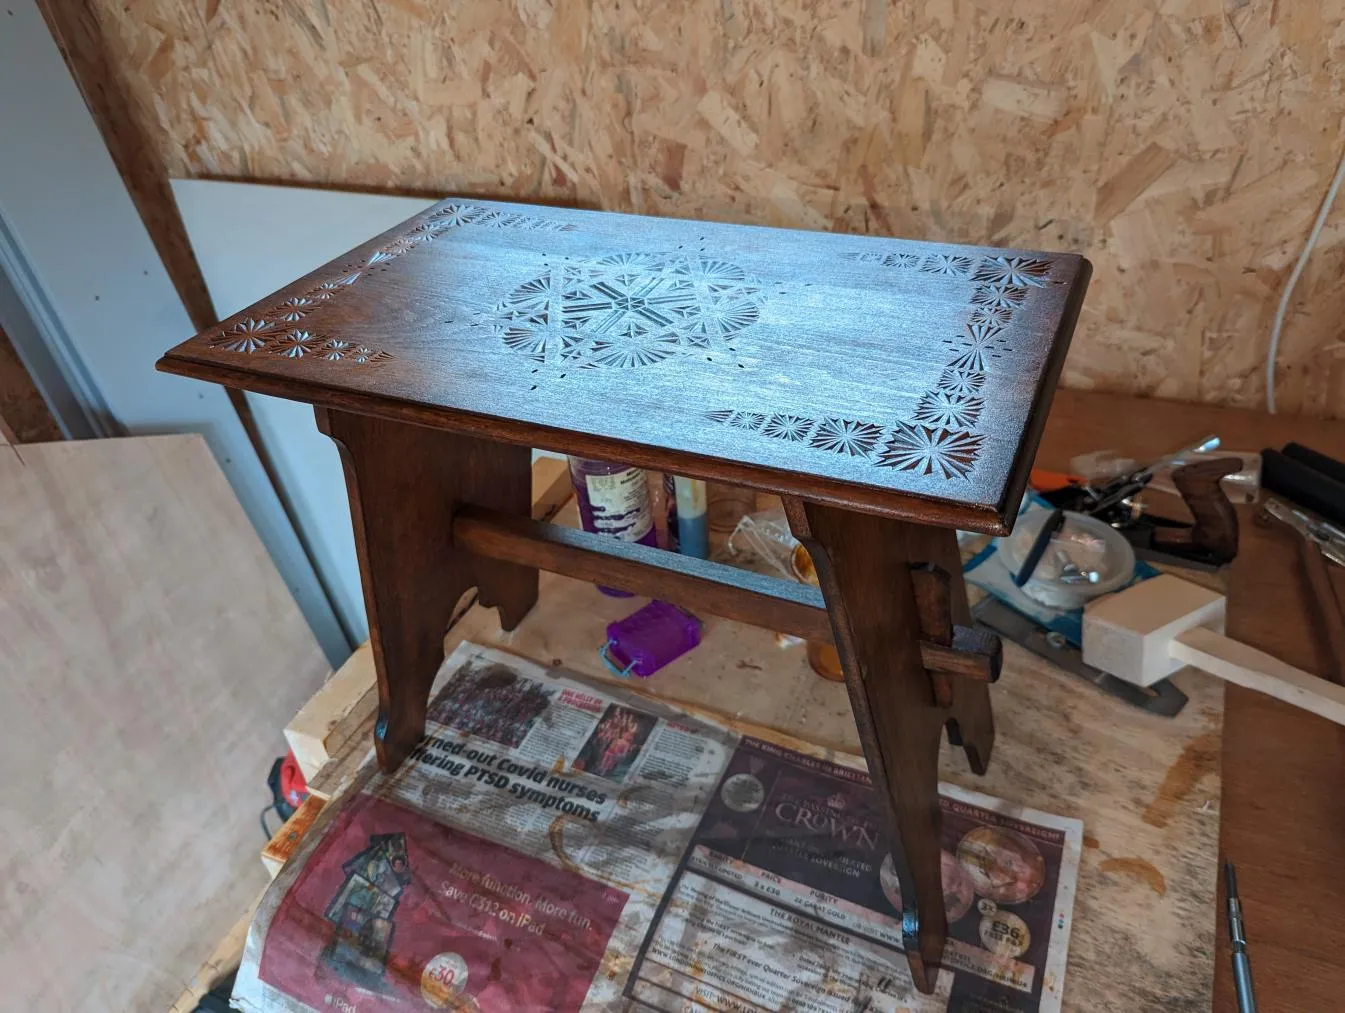
Here’s the final result of all the pieces when they finally dried.
Reassembly
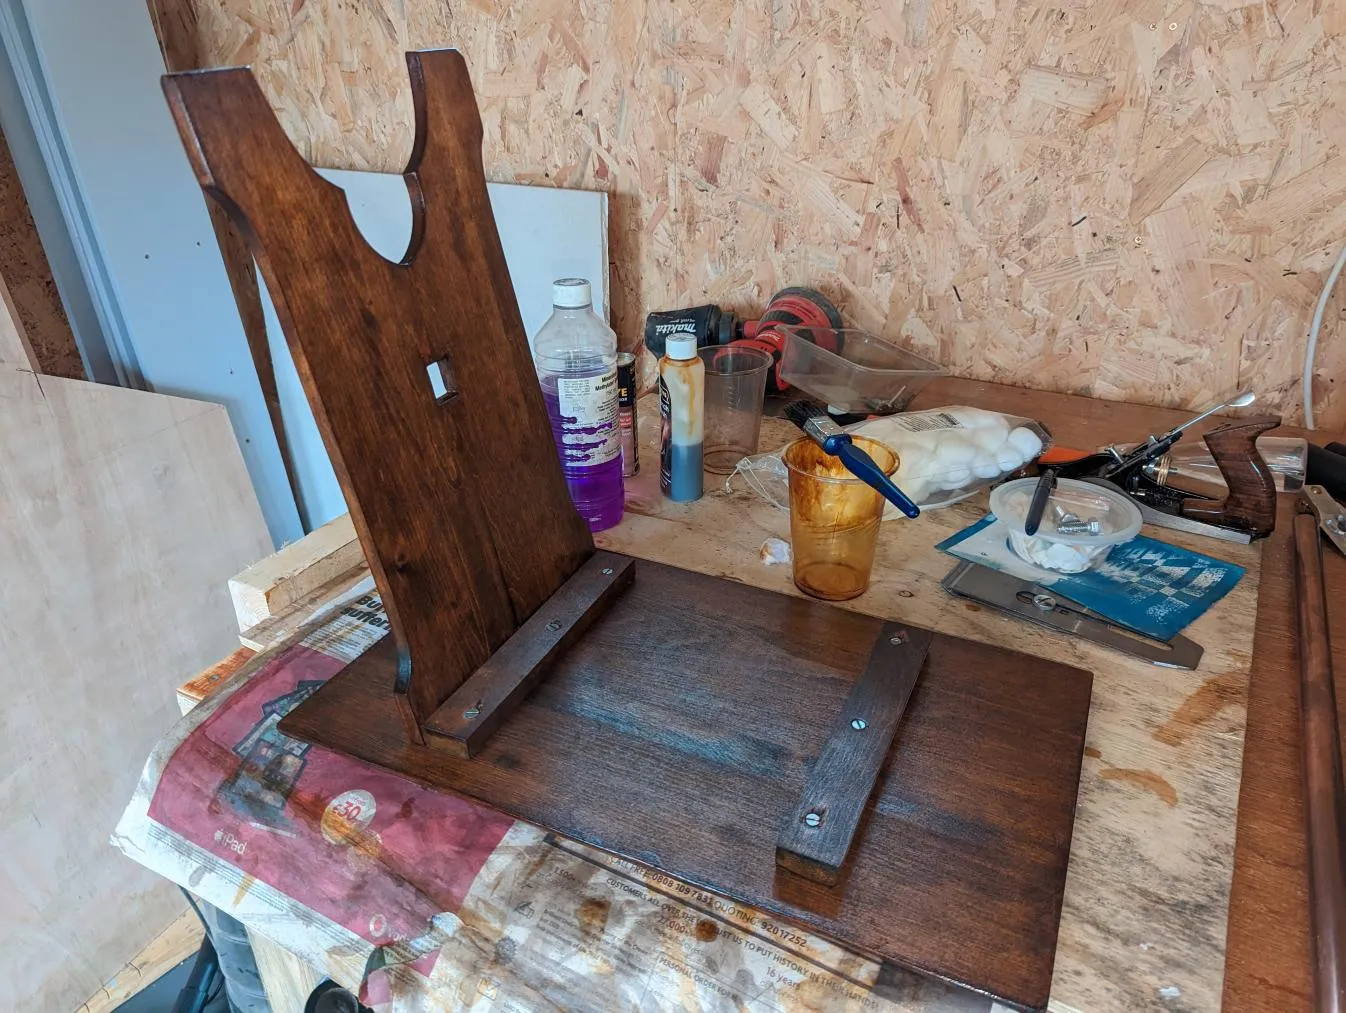
I put it back together:

Note on the middle picture, the crossbar looks slightly scratched - this was from the tight fit during reassembly: touching it up with more Shellac sorted it.
I also coated the screws with a layer of Shellac to protect them from rust.
Final Result
This is the final result:
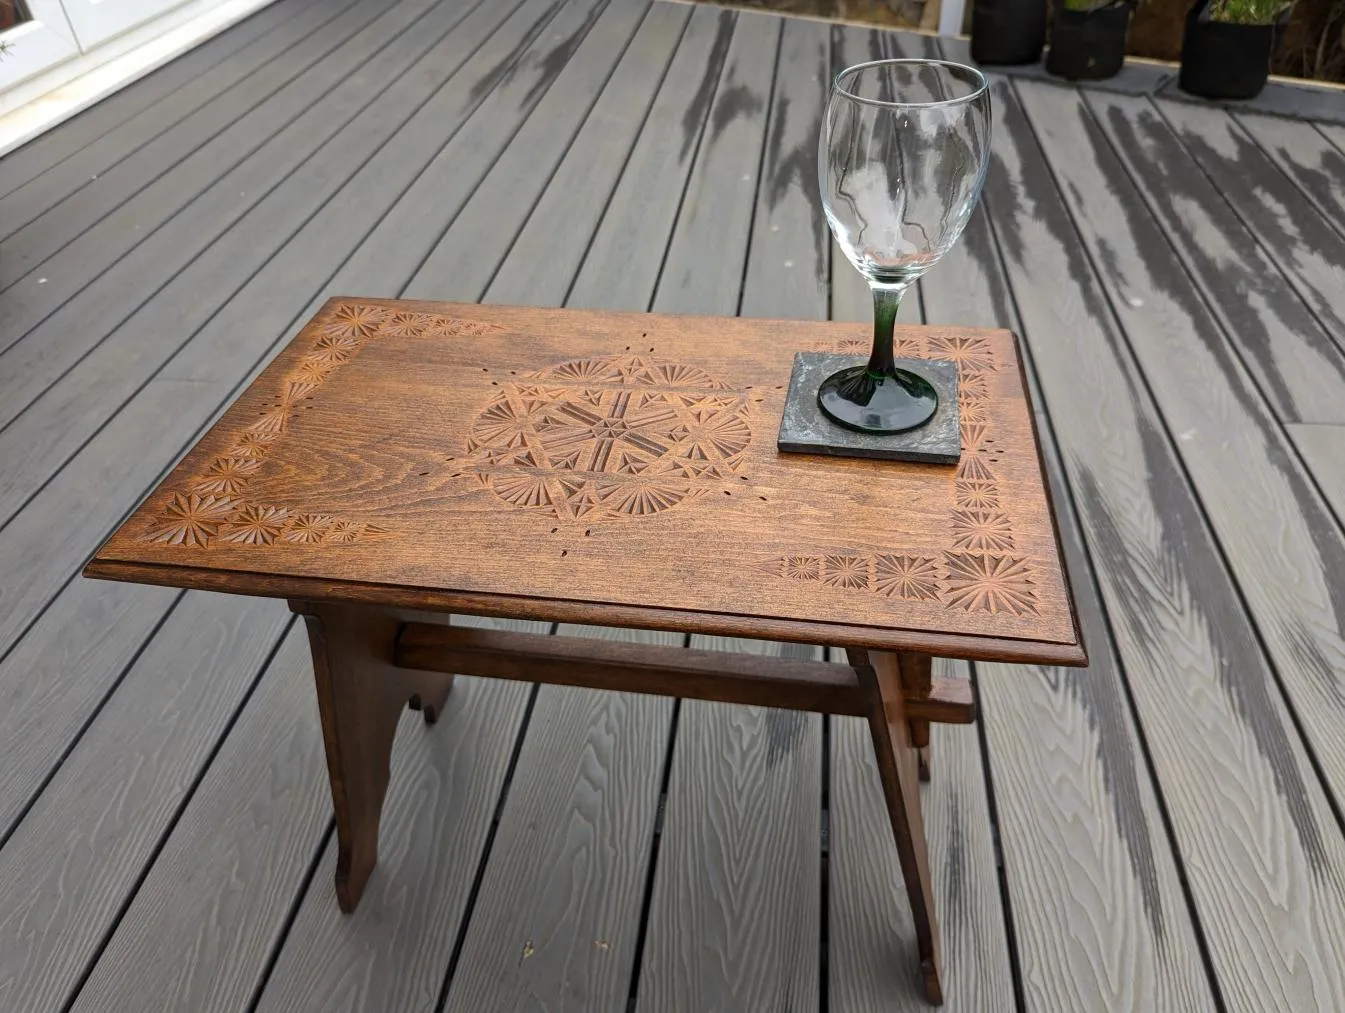
I’m really happy with how it turned out, especially compared to the white gloss version!
Issues
Breaking the leg was annoying, but easily fixed.
I noticed I’d used slightly too much Shellac (a common beginner’s problem apparently) and it had pooled/dripped slightly:
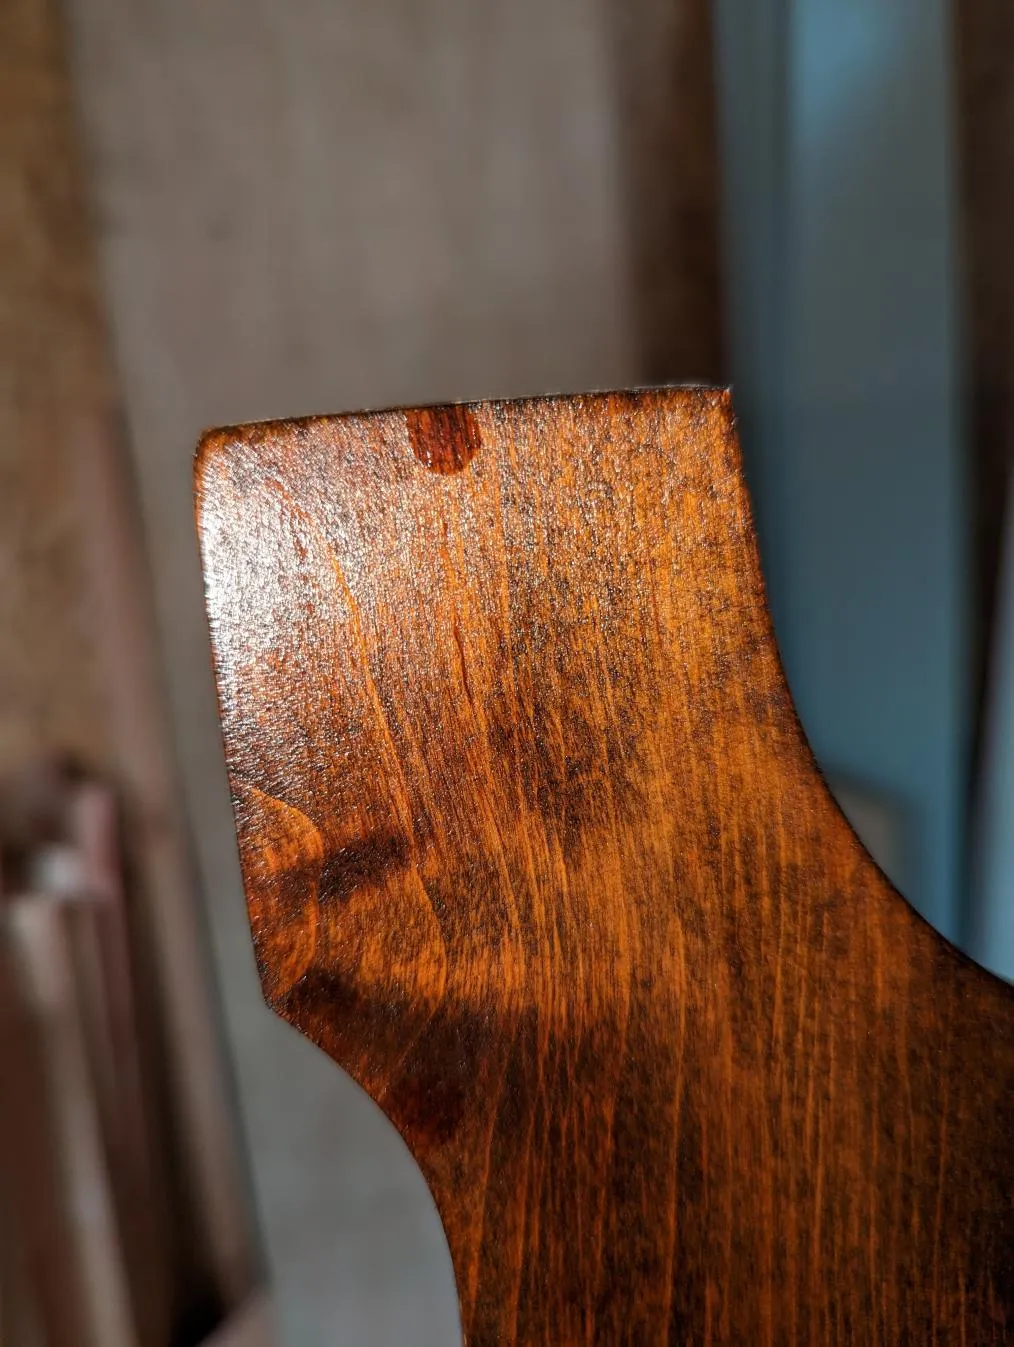
In future, I think suspending it all from the ceiling during the Shellacing process, along with using slightly less Shellac and some careful wiping should solve that. Its not really a big issue to me though; I’m very happy with the result.
Leave a comment
Comments are moderated, so yours won't appear immediately. Your email is never published.