I’ve been having a busy time in general recently, but I’ve finally got back to making things.
I’ve been meaning to play with enamelling for a while. I ordered some WG Ball transparent enamelling powders (clear+red+blue) a while back to play with.
The firing process is pretty quick: 800-810C for about 3 minutes.
Of course, my upgraded kiln controller makes things an awful lot easier: I’m really looking forward to trying some glass with it again soon!
I also ordered some circular copper blanks to enamel onto. I was tempted to just use 2p coins, but (a) they’ve not actually been copper for years, and (b) I don’t think the Queen likes it when you deface the coinage.
Attempt 1
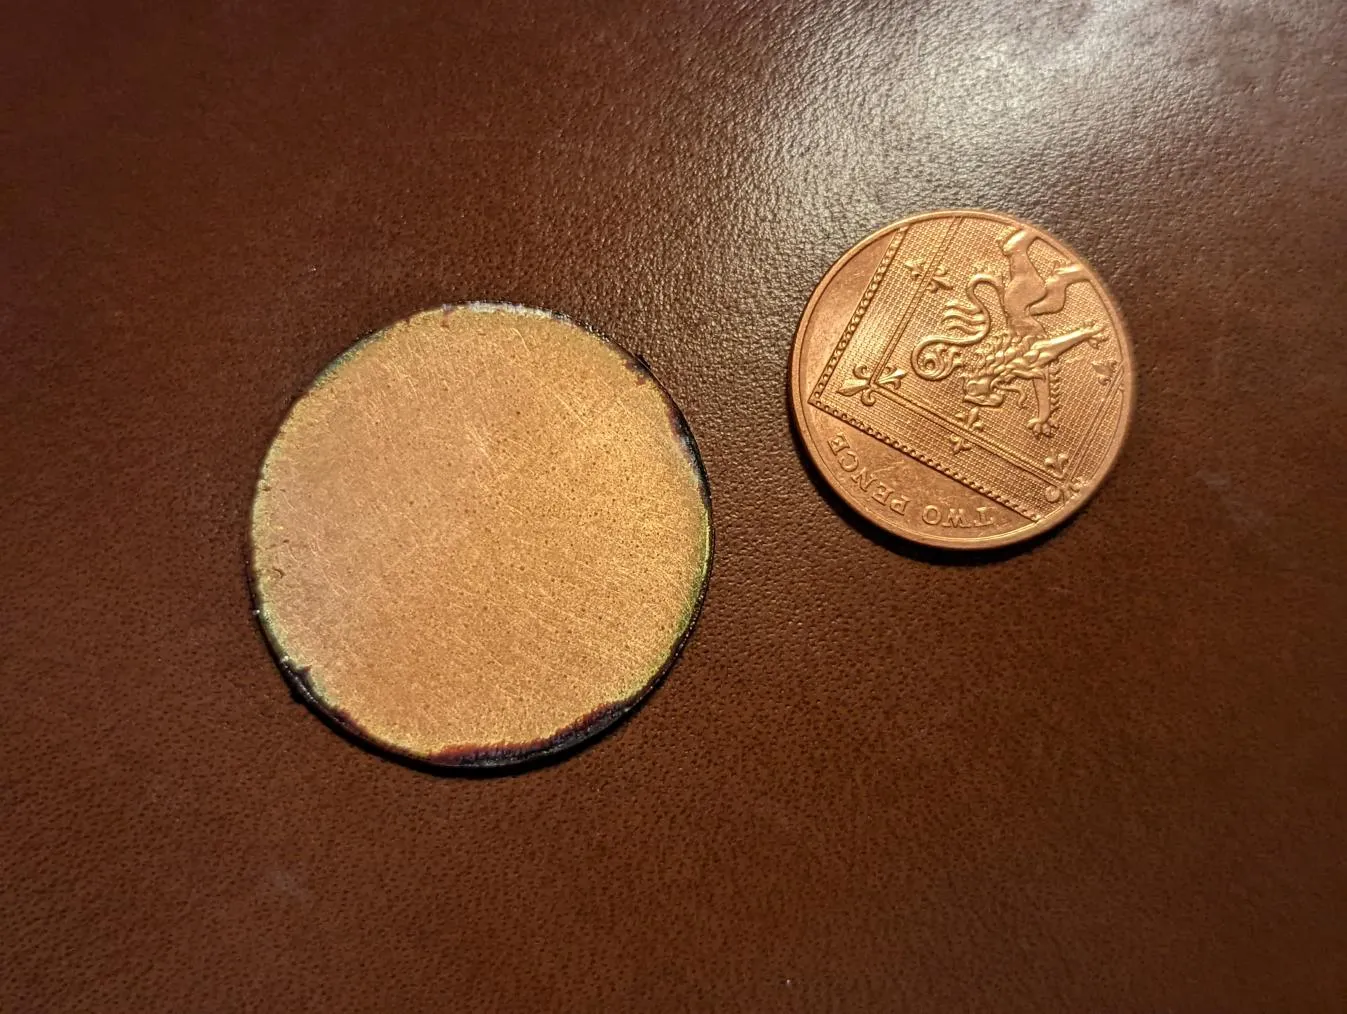
For some reason, I was worried I needed to make the enamel powder stick to the copper somehow, so I mixed up some with water and some Xantham Gum and tried enamelling that. Result.. not good:
There are some traces of enamel, but clearly I didn’t use enough. The black stuff is firescale from the firing process (800-810C).
Attempt 2
I did some actual research and found out most people just sift the enamel onto the piece and are then just really careful when transferring it to the kiln.
I’ve already got some sifters I made previously, so I did exactly that.
Result, success! Sort of.
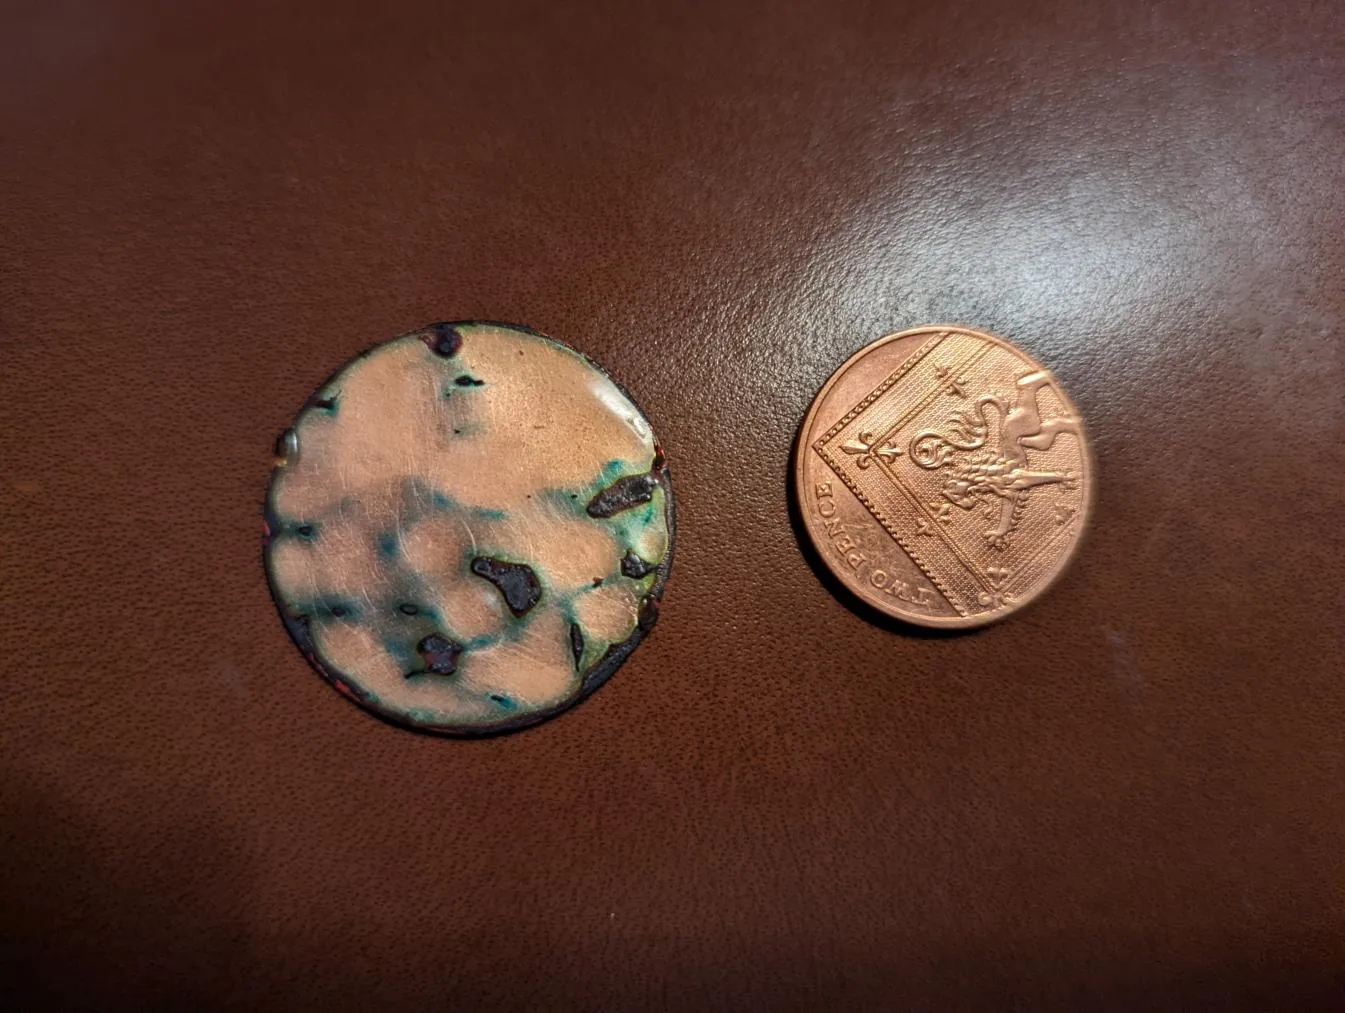
So, one side worked mostly OK, but I think I didn’t apply enough along the edges.
I had also tried to enamel both sides at the same time. The right picture was the underside: some odd effects from the enamel running I guess?
Attempt 3
OK, more research:
- Rub the copper piece with sandpaper to roughen them up slightly to help the enamel adhere.
- Clean them carefully with Isopropanol to remove any grease.
- Only fire one side at a time!
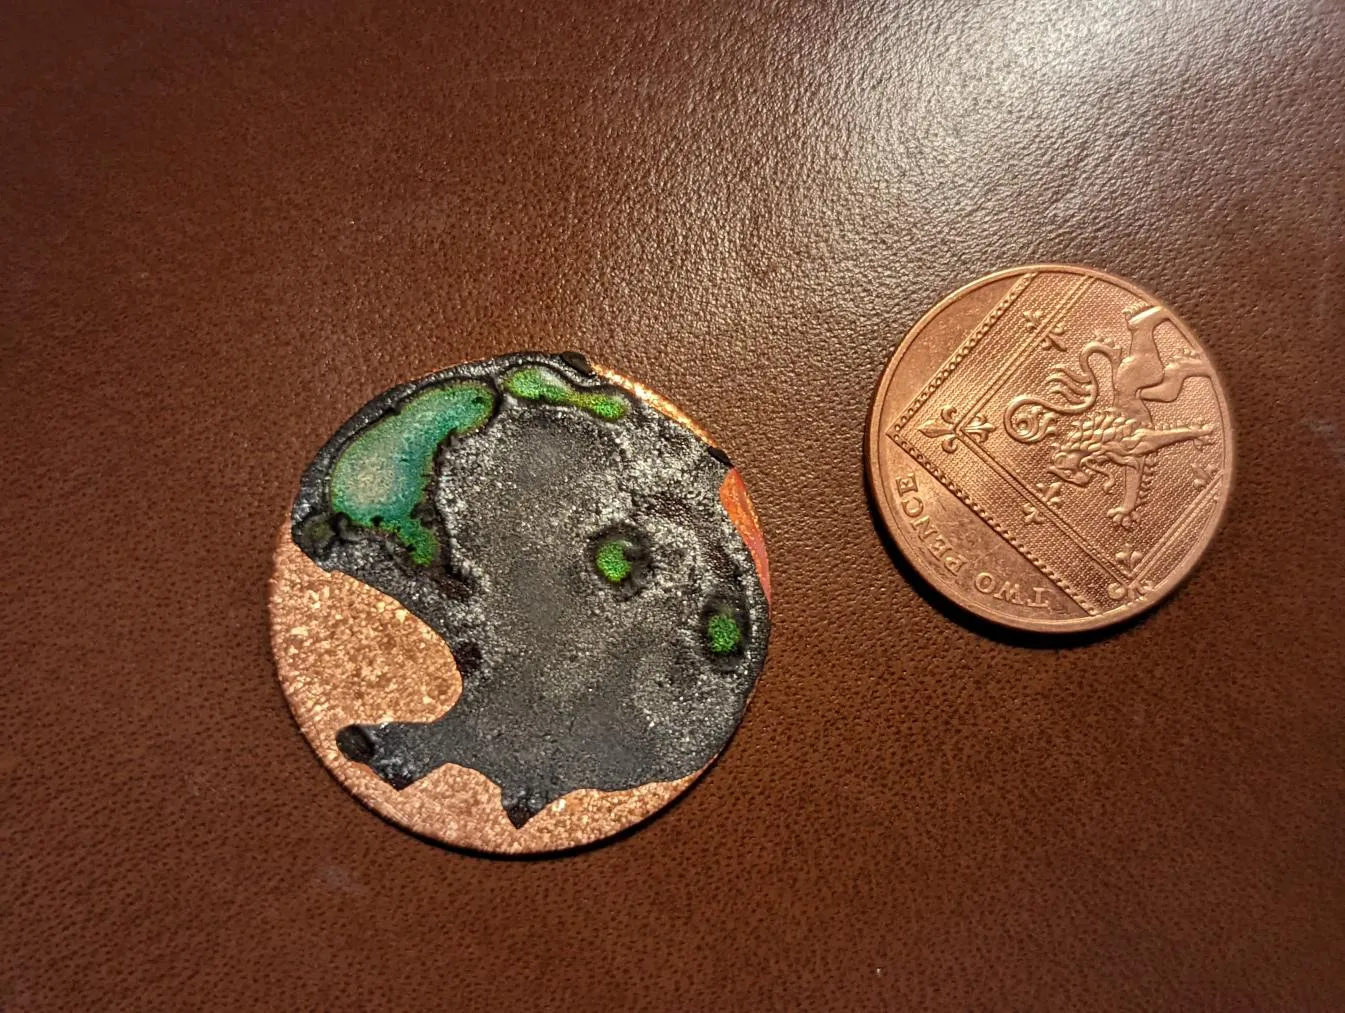
Result: Pretty cool actually!

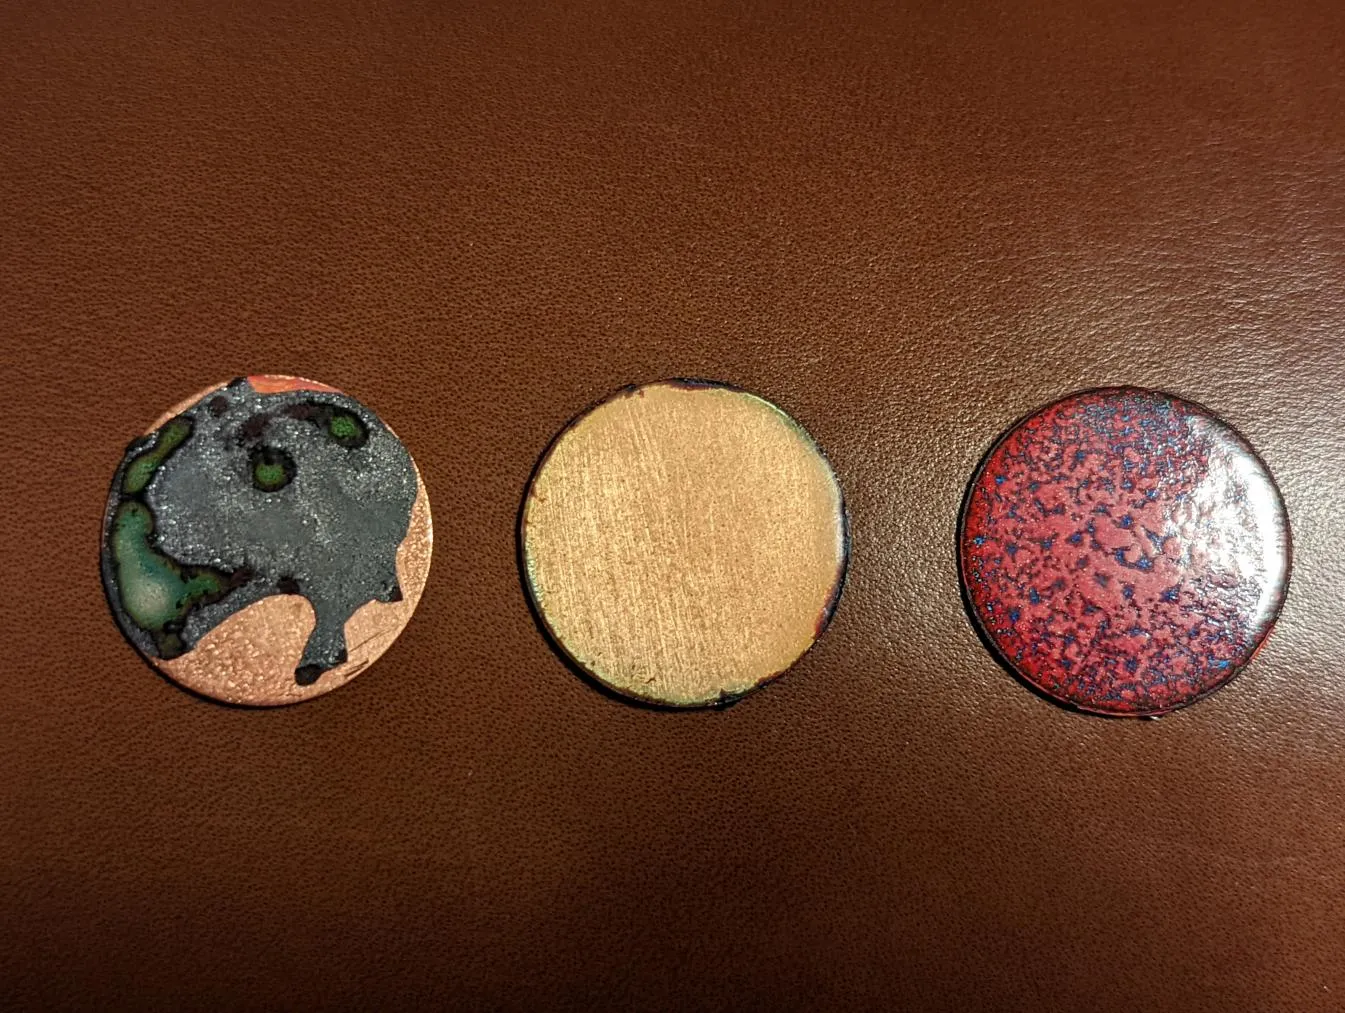
This was a multiple stage process:
- The right hand pic is the rear side: I enamelled that first.
- I then cleaned the firescale off the non-enamelled side, sifted some blue onto it and fired that.
- Finally, I sifted red enamel powder onto the blue enamel surface and then fire it again.
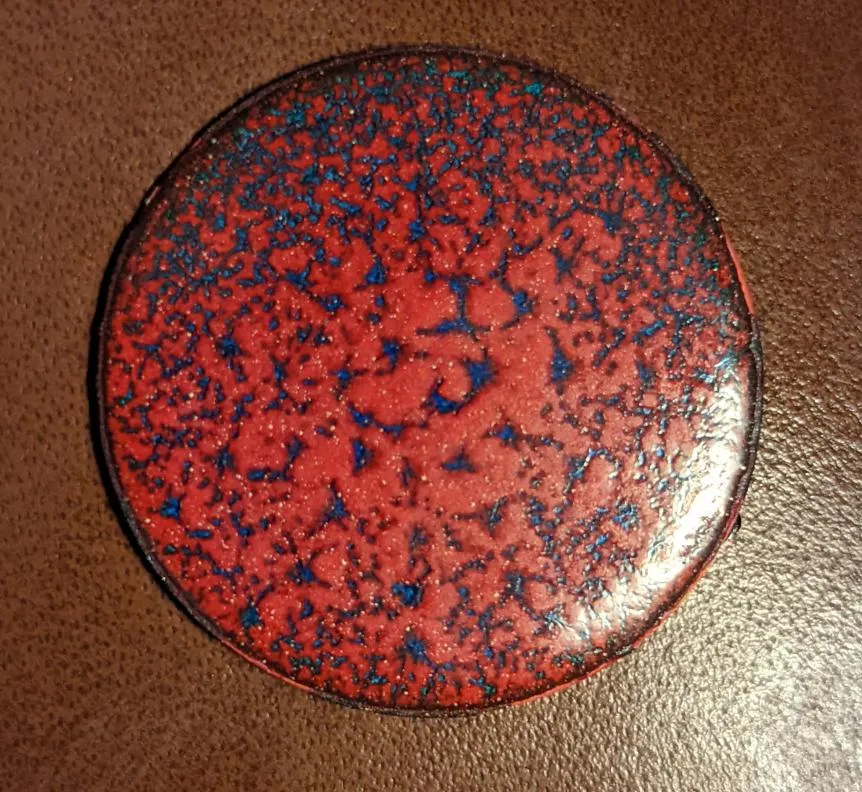
- The result is the left hand picture.
It looks really quite interesting! I did experiment with adding a manual pattern of dots to it with a needle, but I don’t think that’s the pattern I’ve ended up with. I think using transparent enamel powder is resulting in some odd effects.
The right hand pic is the rear, which has been fired three times: the transparent enamel is starting to react with the copper and is turning a blue/green colour. That’s also why there’s a slight glitch on the edge, where the enamel must have picked up a stray piece of firescale during a later firing.
More Pics
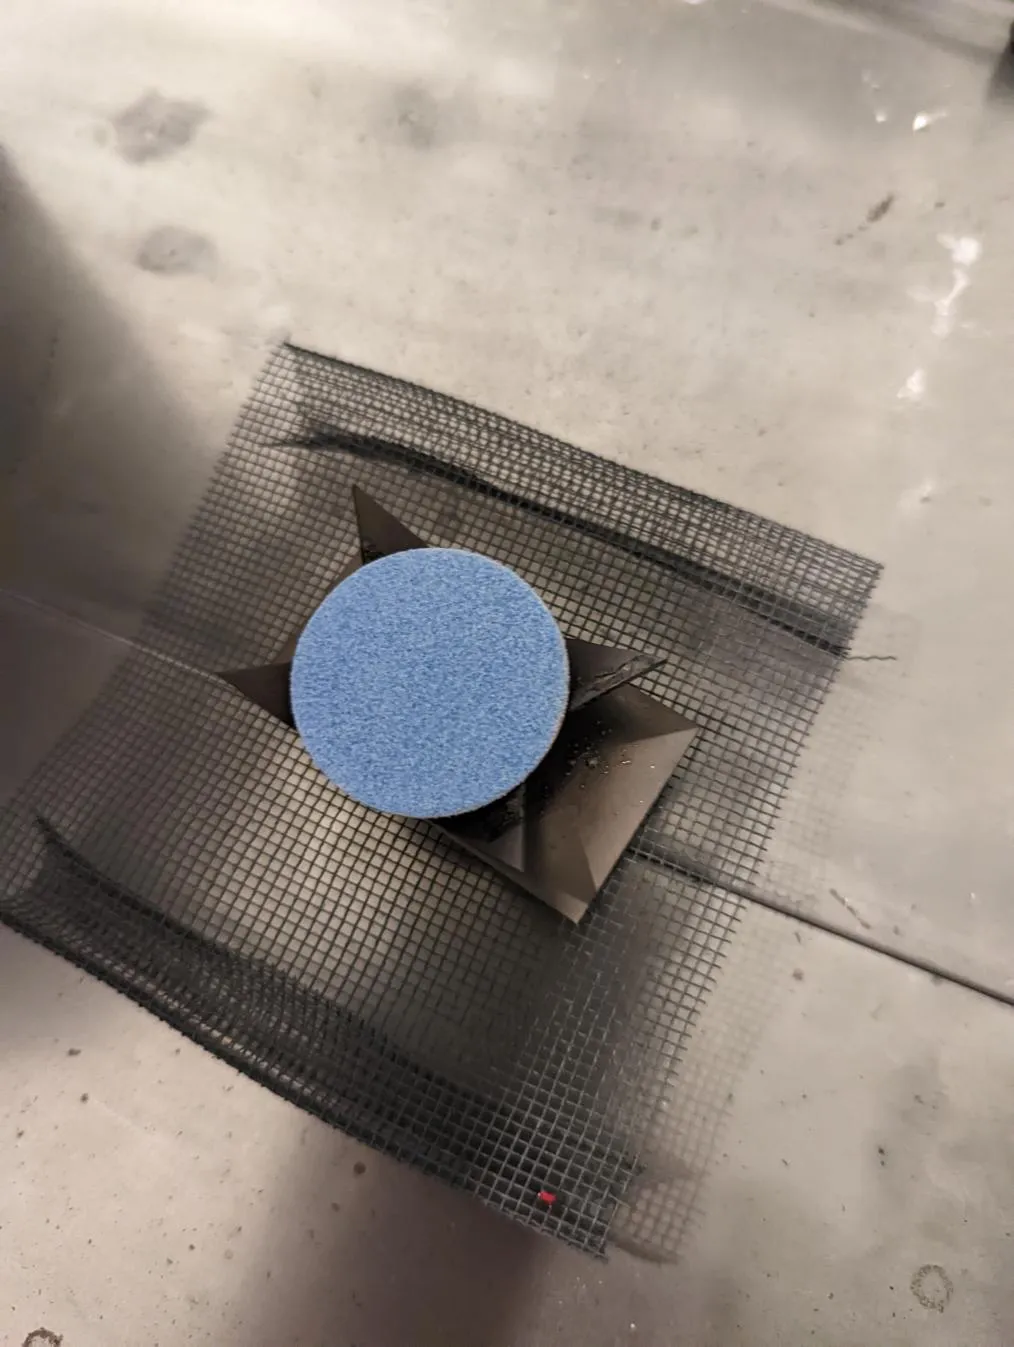
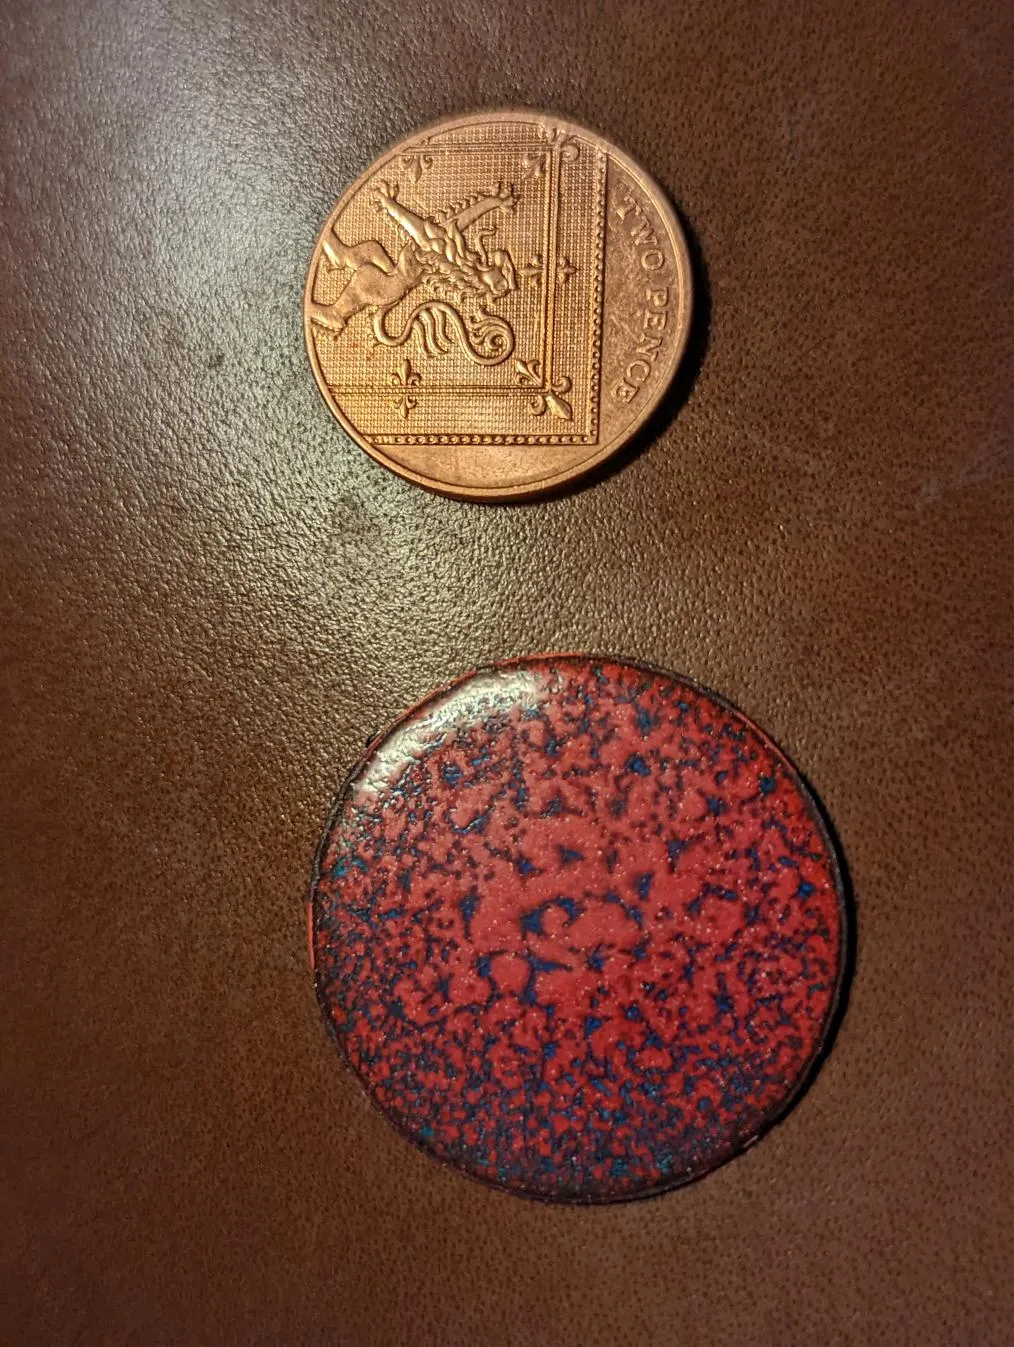
- Left: the piece covered in blue enamel powder just before firing.
- Right Top: all three pieces.
- Right Bottom: the final piece by itself
1 Comment
L Halford ·
This is really cool! I'm putting together a project to teach this to 13 year olds. How did you kiln both sides of the coin without the enamel fusing to the kiln or dripping off the bottom?
Cheers!