Been quiet on here for a while: I’ve been moving house! I’ve now got proper space for projects; I even have a studio/cabin/workshop (just don’t call it a shed!) now.
First things first though, I needed to build a workbench.
Design
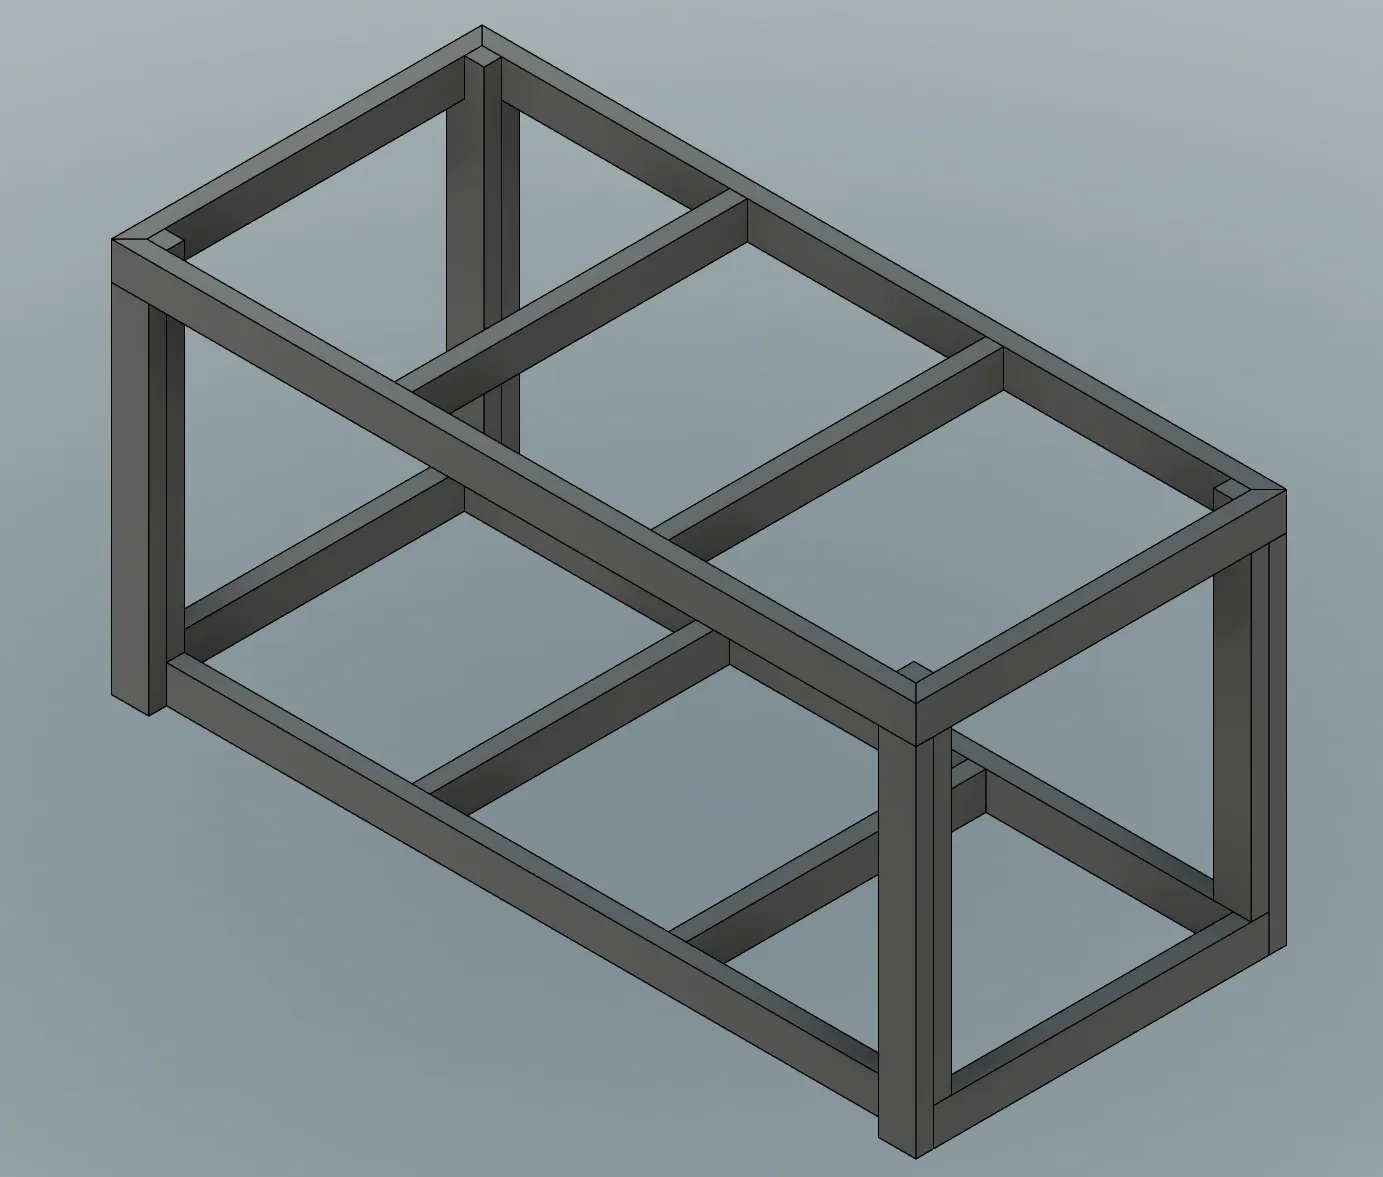
OK, time to hit Fusion 360: Workbench v1 looked like this:
… which was ok… but I’d made a common mistake for beginners: the legs aren’t actually inline with the weight; all the weight would be held by whatever holds the top horizontally onto the legs. Some colleagues at work pointed this out.
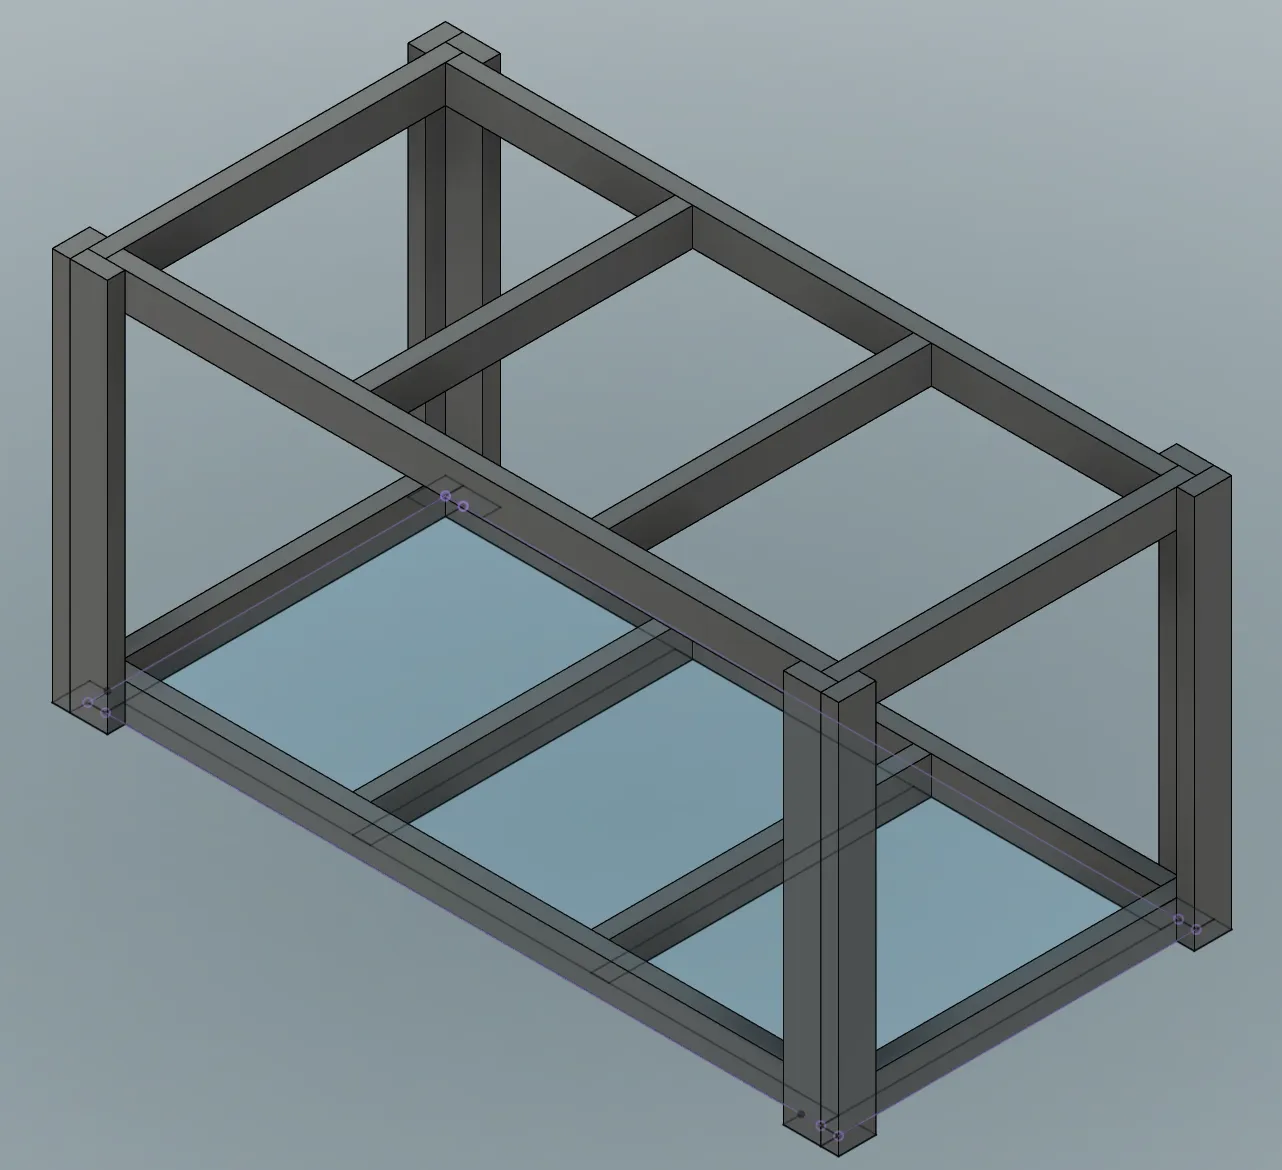
So, back to Fusion 360. V2 looks like this:
Main change is the weight is now fully supported by the half-lap-jointed legs, so it’ll be a lot more solid. But its still pretty easy to build.
I also added mitred butt joints for fun, but I decided just to use plain butt joints in the final build (made it easier to attach the legs).
There’s virtually nothing to it besides cutting wood into the correct lengths and some screws/bolts.
Materials and Tools!
Yay, shopping!
-
I ordered C24 95mmx45mm “2x4” construction timber, a sheet of OSB and a sheet of plywood from Thistle Building Supplies: seemed cheap, what I wanted and the delivery guy was friendly.
-
An Evolution R255SMS Mitre Saw from Screwfix.
-
A Dewalt 184mm Circular Saw from Toolstation.
- Top Tip: don’t get Toolstation and Screwfix mixed up when you go to collect your order :)
-
An Einhell 2342167 TC-VC 1820 S Wet And Dry Vacuum Cleaner Vacuum from Amazon: there’s gonna be sawdust everywhere!
Build!
After everything arrived, I set to building it…
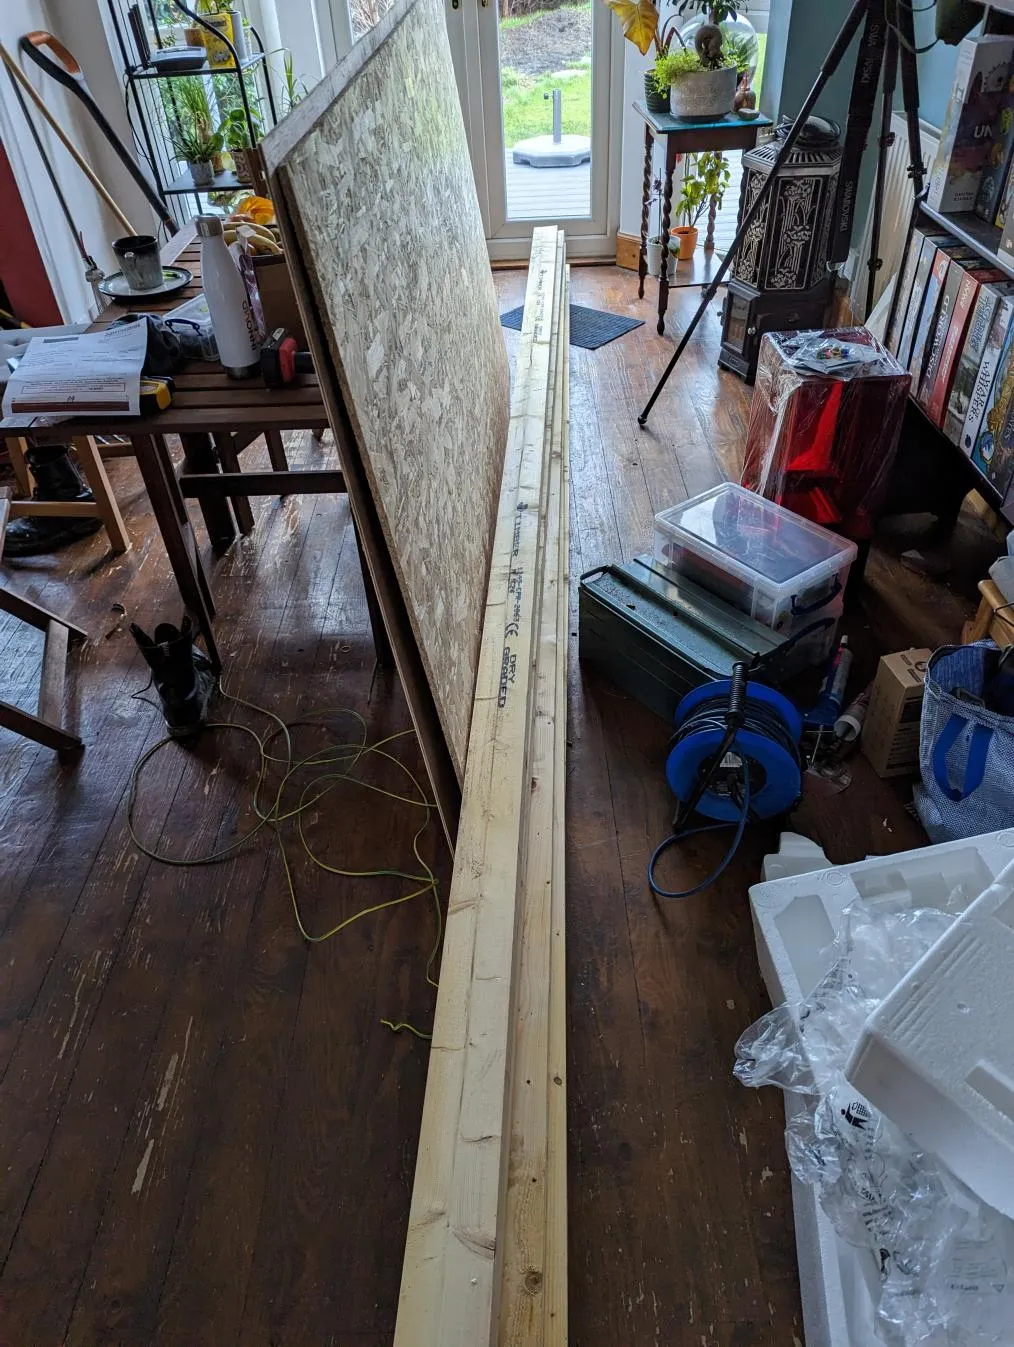
I didn’t have a workbench yet, so I had to use the kitchen floor. Which was an immense pain… but after several days work, I had all the pieces cut and started to assemble the frames and legs.
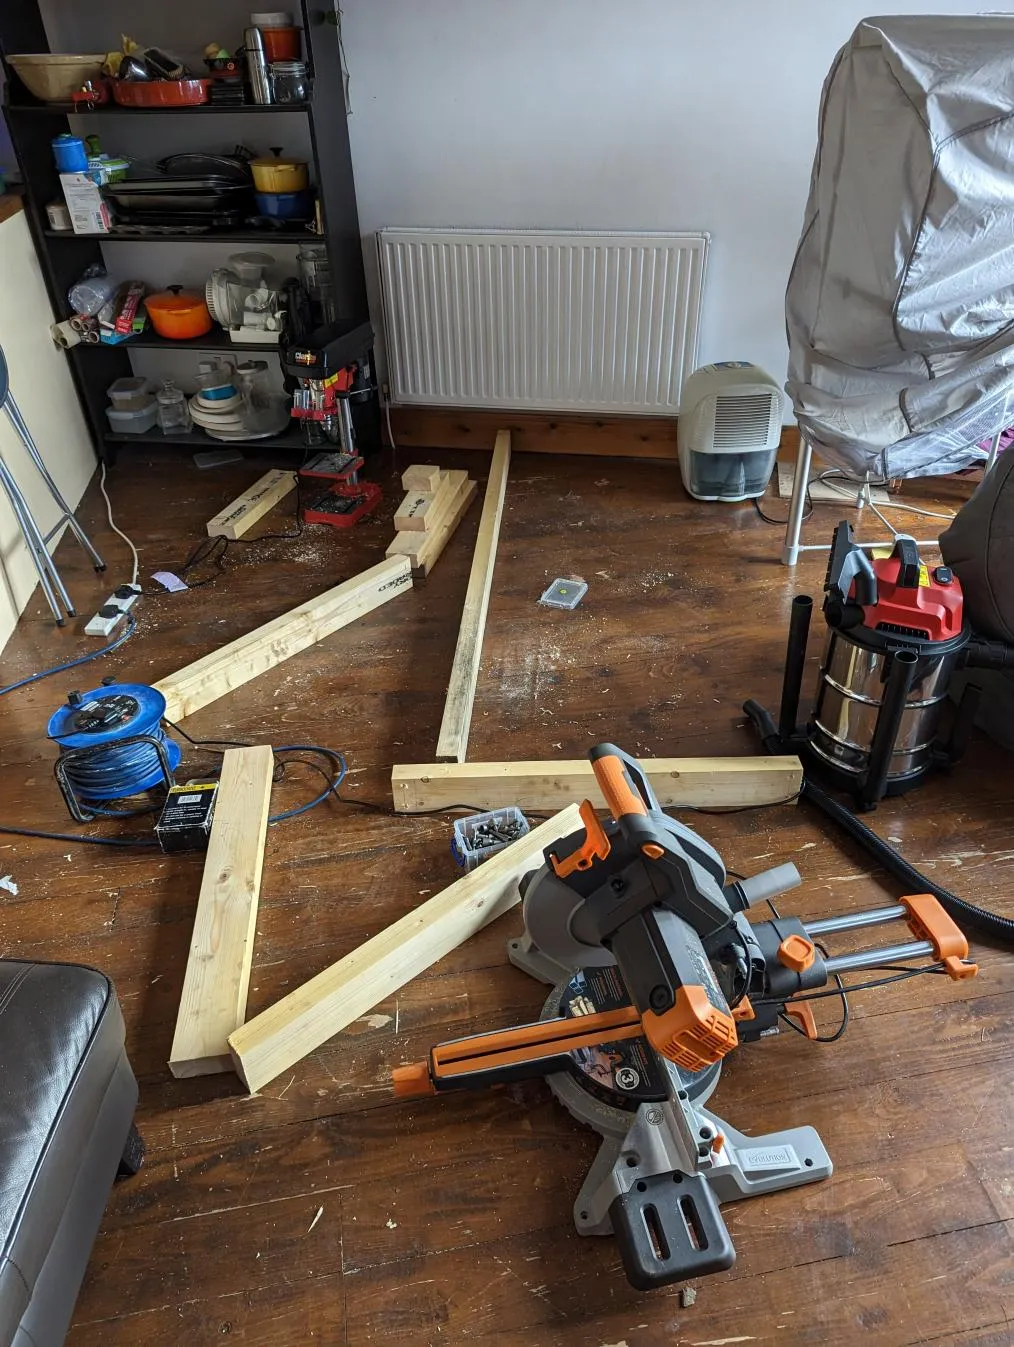
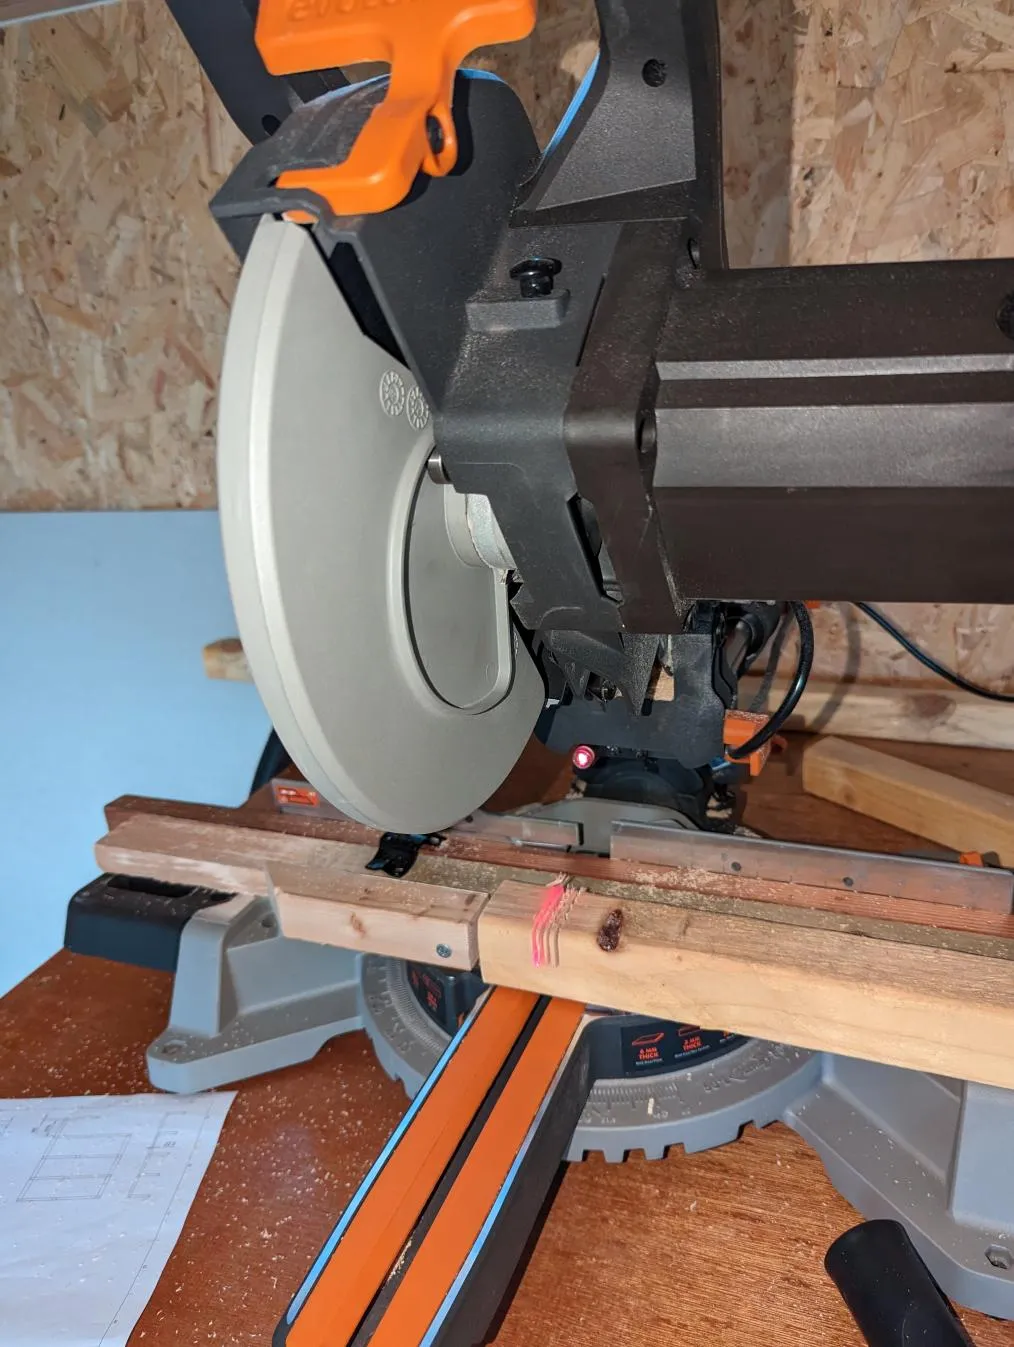
“There’s virtually nothing to it besides cutting wood into the correct lengths and some screws/bolts”… except that is, for the top: you’ll note the legs have little half-width bits poking up at the top in the design? I used the mitre saw to cut those with very close half-depth parallel cuts (this is actually a sneak peek of a project to come, but its the only pic I have of this):
Assemble!
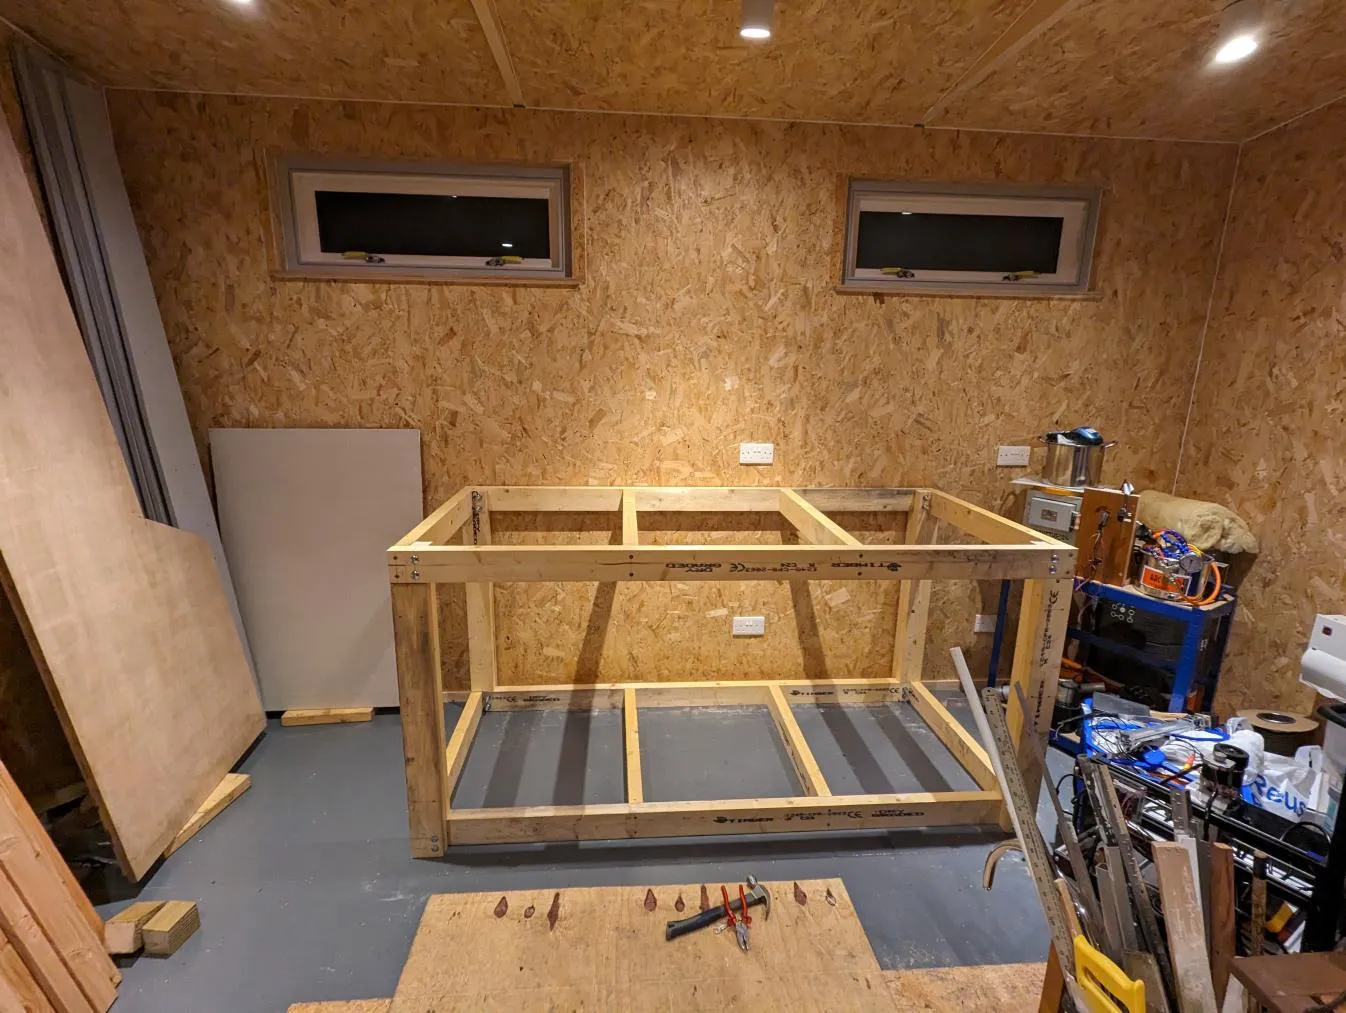
Once I’d built the pieces I lugged them all out to the studio, and assembled the framework. I used coach bolts to hold the legs/frame together, so it can actually be disassembled if necessary:
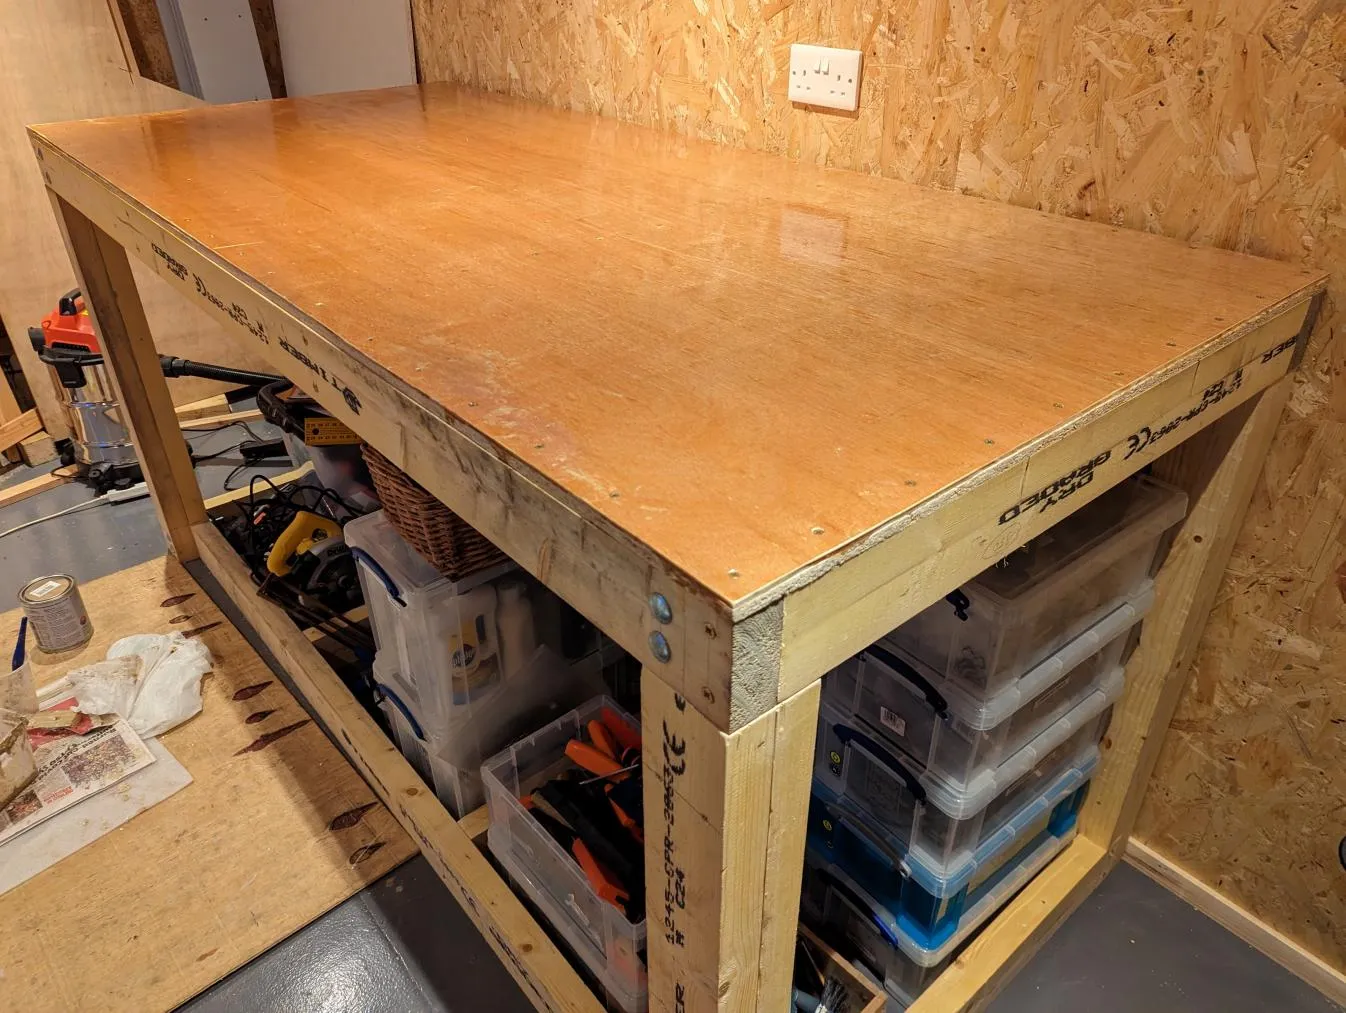
Now that I had a bench, I used it to cut the OSB/plywood to size. I used some old 90mm wood screws I had lying around to secure the top to the framework.
Finishing Off
Finally,I gave it a couple of coats of Yacht varnish to protect the top. This is the result!
Here it is with the Mitre saw on it for scale (this appears to be a pre-varnishing photo):
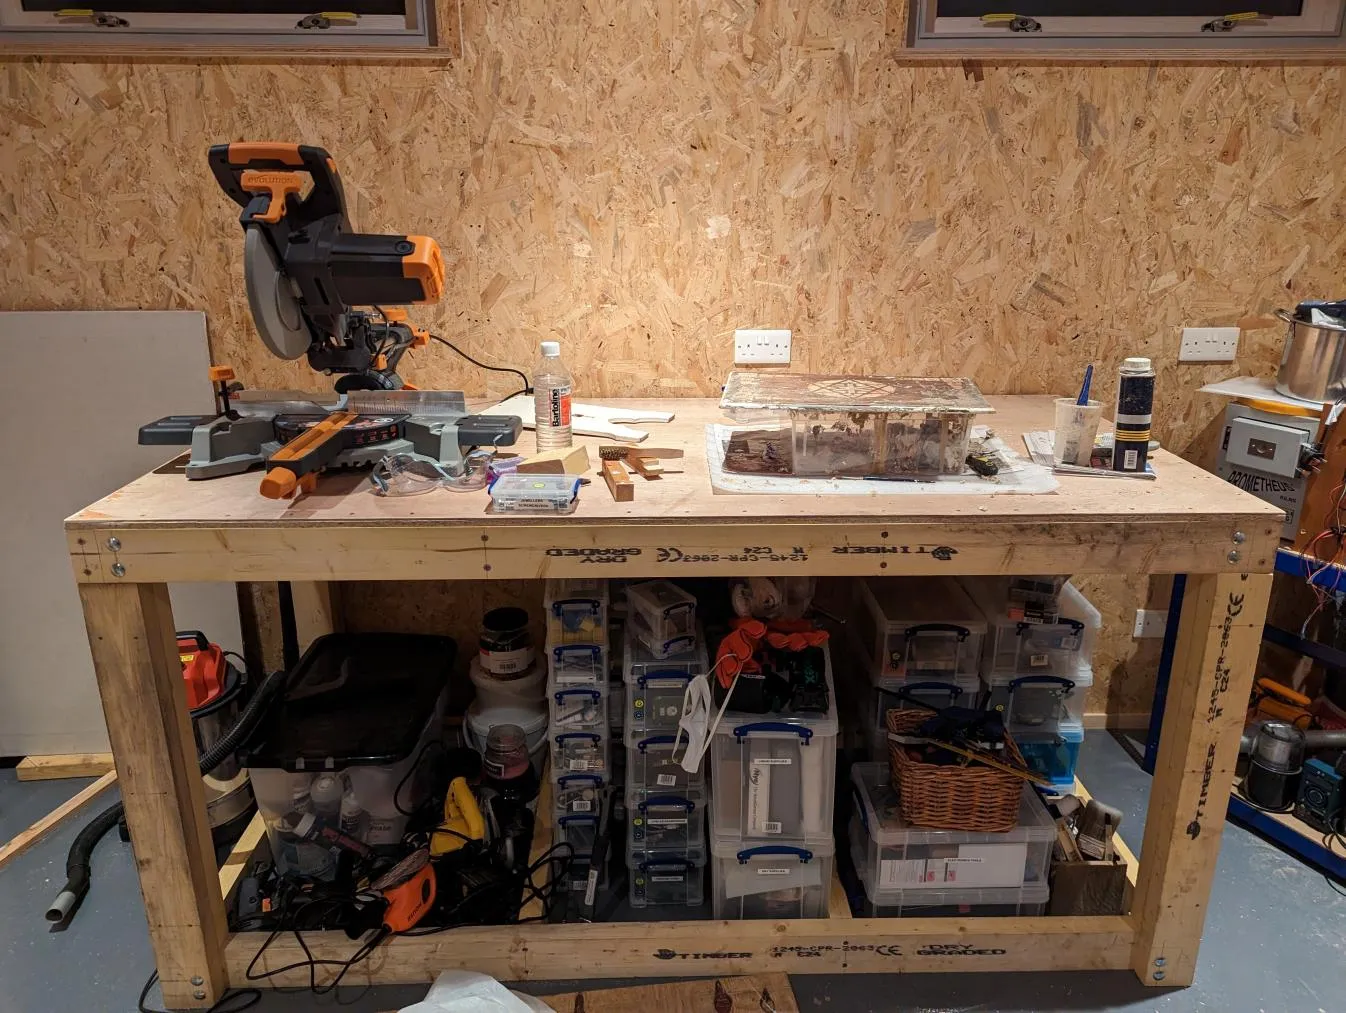
I’m pretty pleased with it! Its really sturdy and has loads of space for doing pretty much any sort of large project.
Now I have a space and a workbench, I’ve been doing more, coming soon…
1 Comment
Royce ·
Looks great, and I love your use of F360. I use it, but I feel in much more rudimentary ways.