I somehow stumbled onto this website; they sell DIY hologram kits! So I ordered one.
I’d always assumed making a hologram would be quite complicated, but it turns out it really isn’t. You basically need a laser and a photographic plate sensitive to the light from the laser.
It is hard to master and get consistent results though: I wonder how many failed plates exhibitions of holography have behind them!
The kit contains instructions, a wee diode laser, pre-treated photographic plates, and chemicals for processing the plates. You mix the chemicals with distilled water and put them in containers; during the processing you dunk the plate in each for varying times.
Somewhat amusingly, they provide the original instructions from the 1980s (before laser diodes were commonly available). They have an insert saying “we’ve just included a diode since they’re so cheap now”.
Setup

- At the left you can see the three bottles of prepared processing solution.
- Above them is the diode laser raised up on a jar, and attached to a clothespin in a small jar of salt (so that its easily adjustable).
- In the forefront are the various baths of processing solution; two of them are plain water for washing off chemicals.
I also bought a cheap green LED light strip from ebay so I could see what was doing as obviously this needs done in the dark.
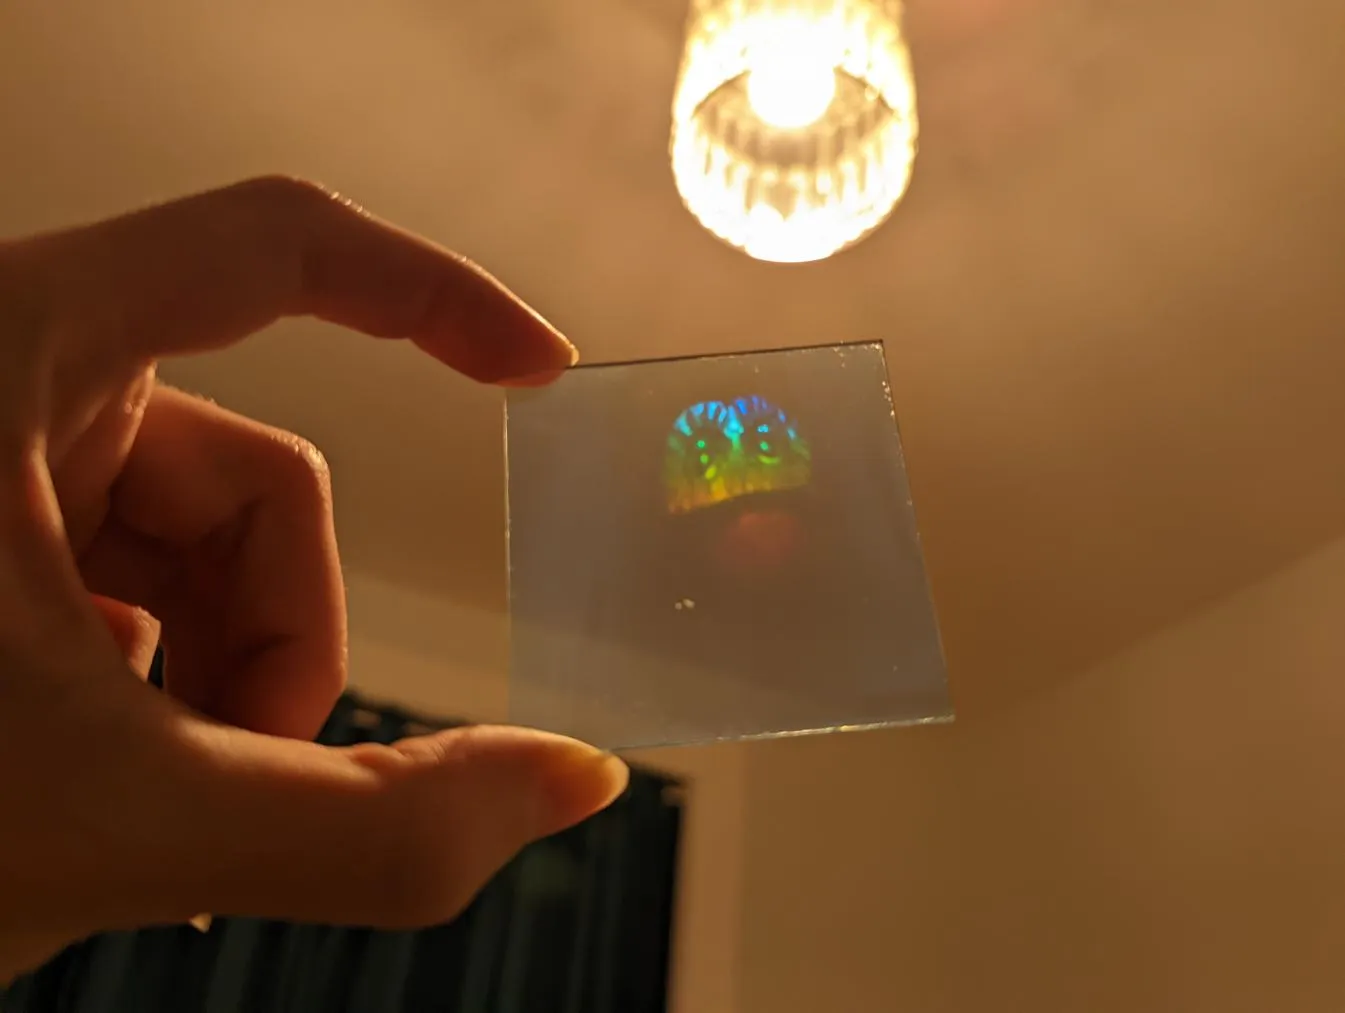
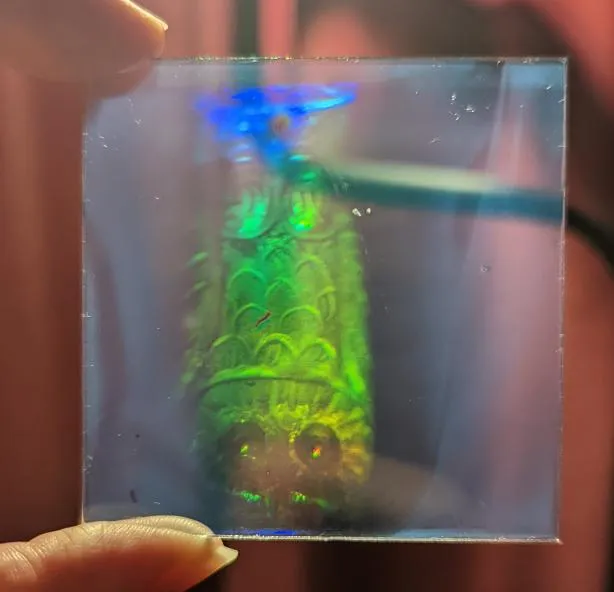
I’m using my usual “standard owl” as a subject:

Process
The process is pretty simple:
- Line everything up so the laser is illuminating the subject. You want to leave the laser on for at least 5 minutes before starting so it warms up properly.
- Vibration is a big problem:
- I waited till about 1am so neighbours weren’t moving about.
- As I was in the kitchen, I turned off the fridge temporarily.
- I held my breath when exposing the plate to the laser!
- Turn off the lights and turn on the green light.
- Block the laser light with a book.
- Extract the photographic plate and learn it against the subject: interesting to do in the dark!
- Carefully lift the book and expose the plate (I found 20 seconds worked pretty well).
- Replace the book and turn off the laser.
- Then you basically dunk it in each container:
- In the first, wash it till the plate turns back.
- Rinse off.
- In the third, wash it till the plate goes clear again.
- Rinse off.
- Finally, rinse it in the last container (which contains wetting agent), and set it to dry.
- Wetting agent modifies the surface tension of the water to prevent streaking during the drying process.
Result
The results are surprisingly encouraging given this is my first attempt at making a hologram, and also at any sort of photographic development.
They’re really bloody hard to photograph though!
Thoughts/ Improvements
- The kit is pretty good, the instructions really clear, and its possible to get good results on first try.
- It’s interesting to do, but it is kinda fiddly; I’ll probably try a few more though.
- I swapped out the water trays with some much larger boxes so I could wash the plates more effectively.
- The plates have darkened somewhat over time so I am clearly not quite processing the plates for long enough.
- Finding the right angle to see them is extremely tricky: the viewable angle is very small.
Leave a comment
Comments are moderated, so yours won't appear immediately. Your email is never published.