PMC clay, or Precious Metal Clay clay(sic!) is a mixture of tiny metal particles with an organic binder. It allows you to mould metal objects by hand at room temperature, then sinter them into solid objects once they have dried. Its pretty awesome stuff!
The original PMC clays were silver or gold. More recently, there have been “base metal clays” such as copper available. The big advantage of these is cost: if you screw up during your initial tests, you’re not wasting silver or gold. I also quite like the look of copper.
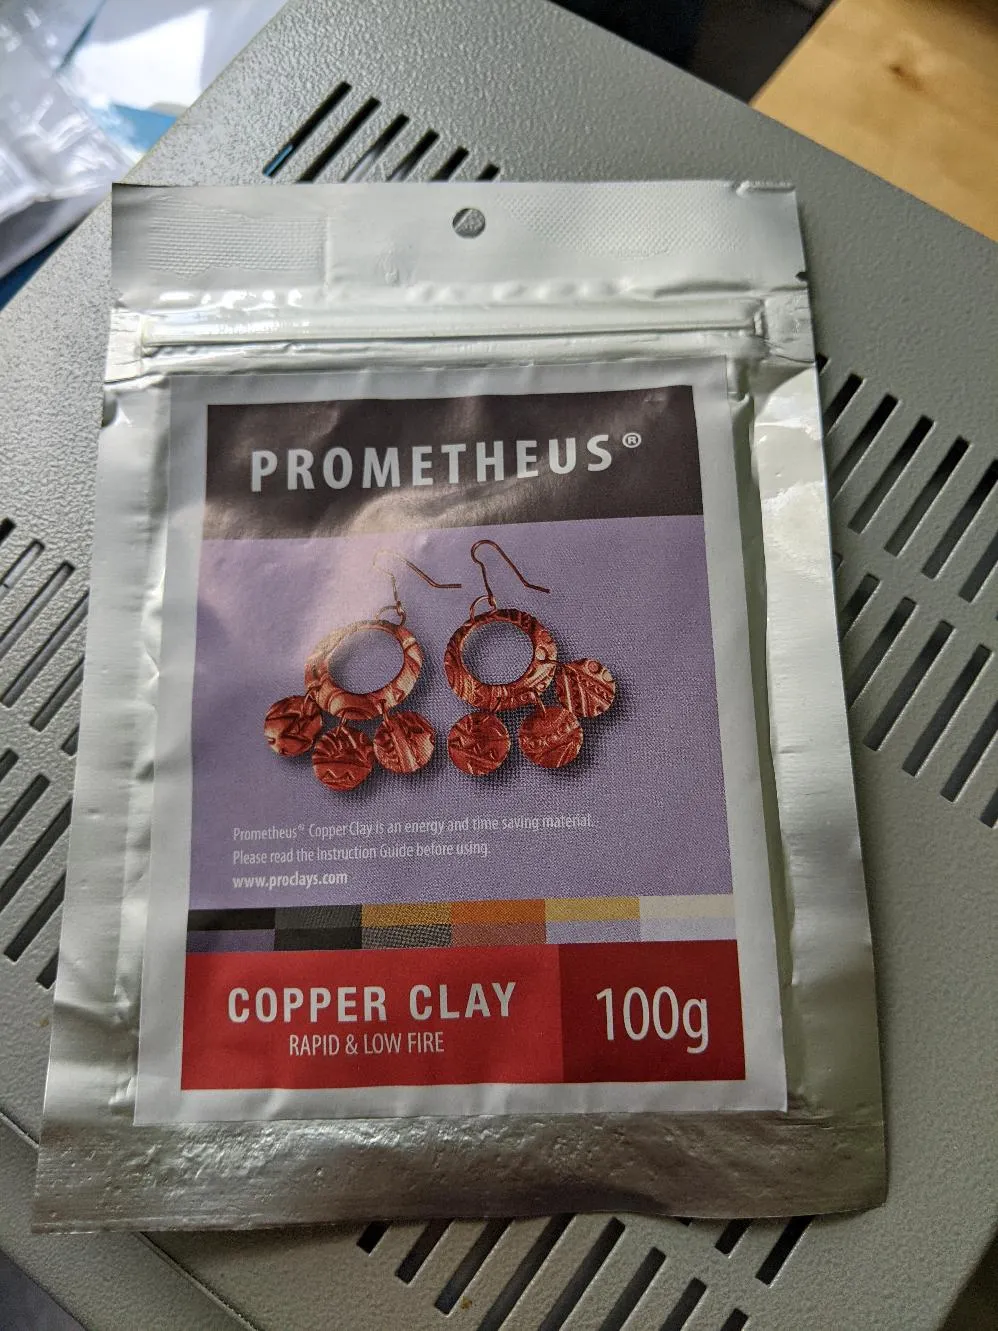
Prometheus Copper Clay is one of these PMC Copper clays, produced by a company in Turkey (they also made my kiln).
My thanks to the very helpful staff of metalclay.co.uk, for providing firing advice.
Moulding it
There are many youtube tutorials on doing this, but the basic process is:
- Get the clay out of the sealed container (you don’t want it to dry out prematurely).
- Roll it out flat - you can use a thin layer of Olive Oil to prevent undue sticking.
- Add designs/etc.
- Wait for it to dry overnight (I tried drying it faster, but it tended to crack).
- Smooth any rough edges off with sandpaper.
- You can even join separate dry pieces together with more wet clay! (though wait for it all to dry again before firing).
- Fire it!
“Conventional” firing method
I chose to try the so-called “Conventional method” first:
- Preheat the kiln to 920C.
- Put the piece in it for 30 mins on steel mesh.
- Take it out and quench in water
However, I simply could not get this to work. The pieces looked rough, had not sintered properly, and could be broken easily with fingers. They looked like this:
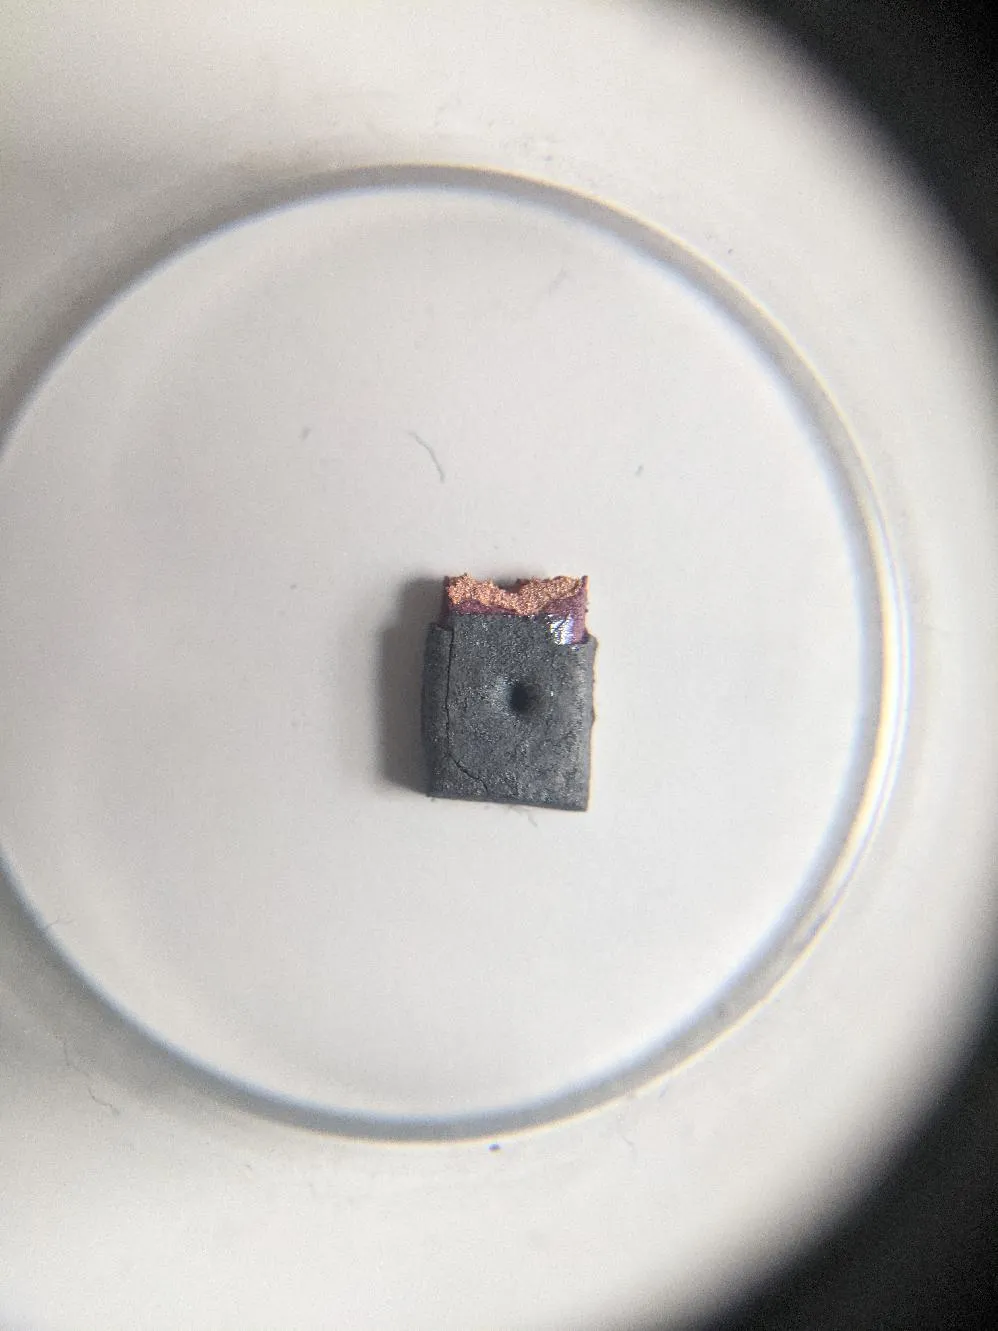
Notice how they look really crumbly. You can actually see particles if you zoom in.
I tried varying the kiln temperature to 930C/940C/970C, with no change.
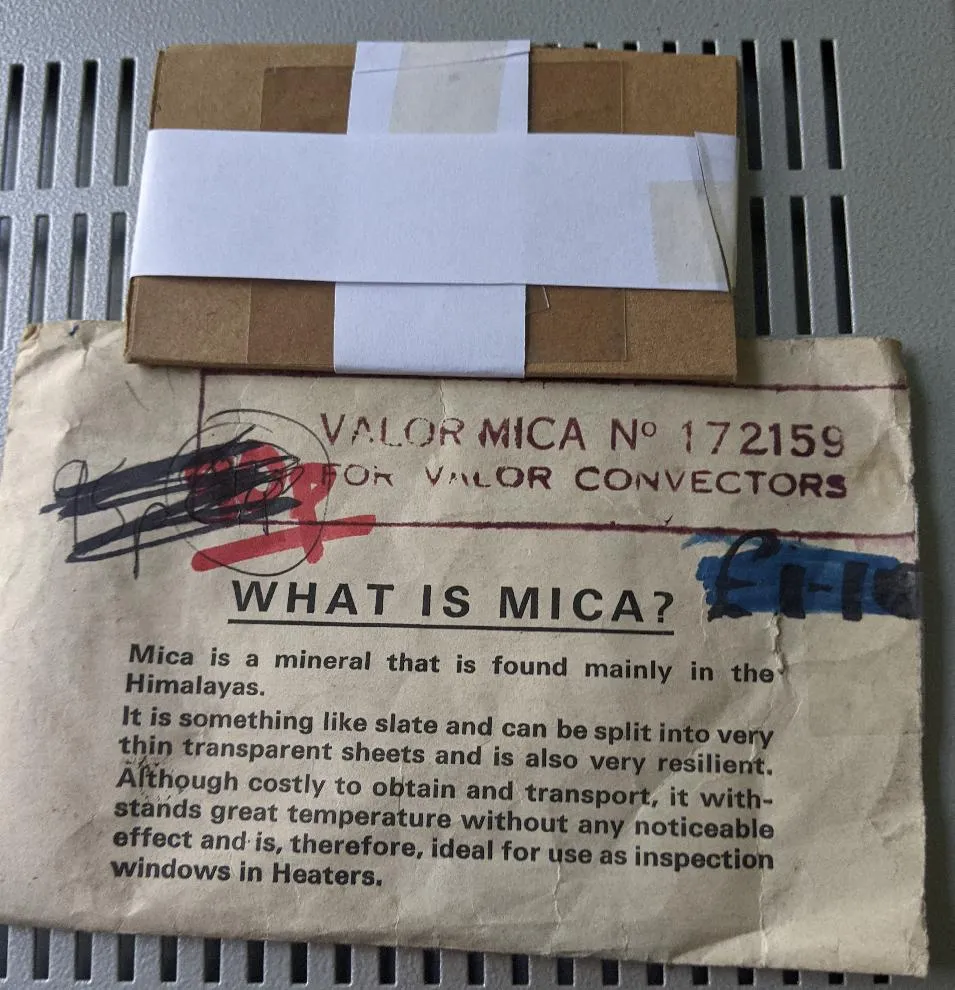
I hypothesized that maybe too much oxygen we getting in via the Kiln’s “peephole”, so I bought some cheap mica from ebay and installed it as a mica window. No luck here either.
Finally, I worried that maybe my alternative kiln controller was at fault, so I installed the original one again to cross-check: same problem.
“Two Stage” Firing method
This is the traditional way to fire copper clay:
- Mould it and let it dry as before.
- Fire it at 500C on steel mesh for 10 minutes to burn off the organic binders.
- Take it out and let it cool down.
- Place it in a steel box filled with activated charcoal and fire at 850C for 90 minutes. Make sure to place the box near the back of the kiln since it will be cooler by the door.
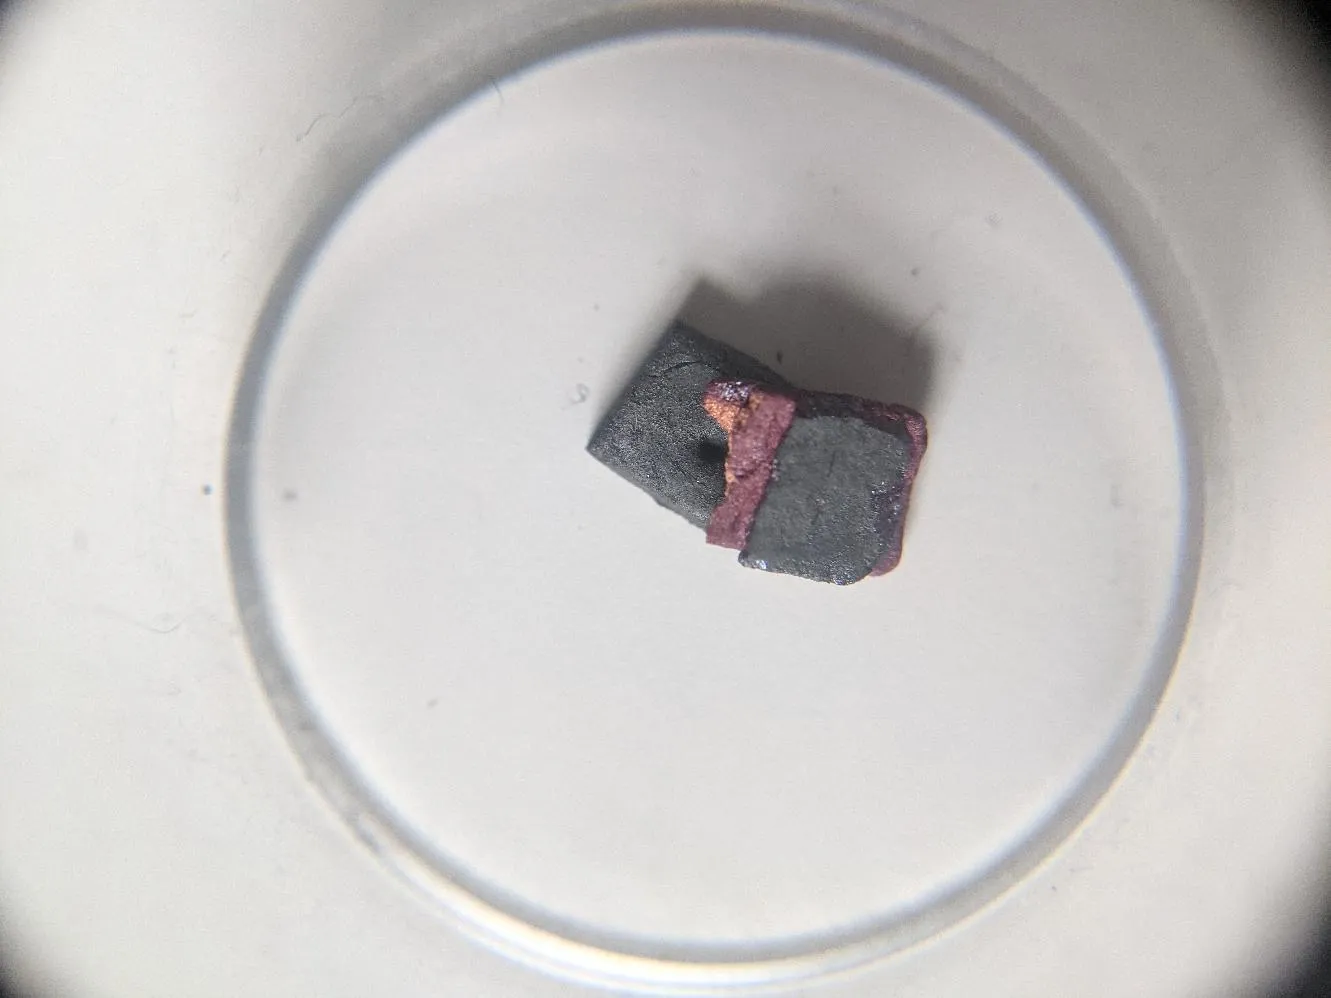
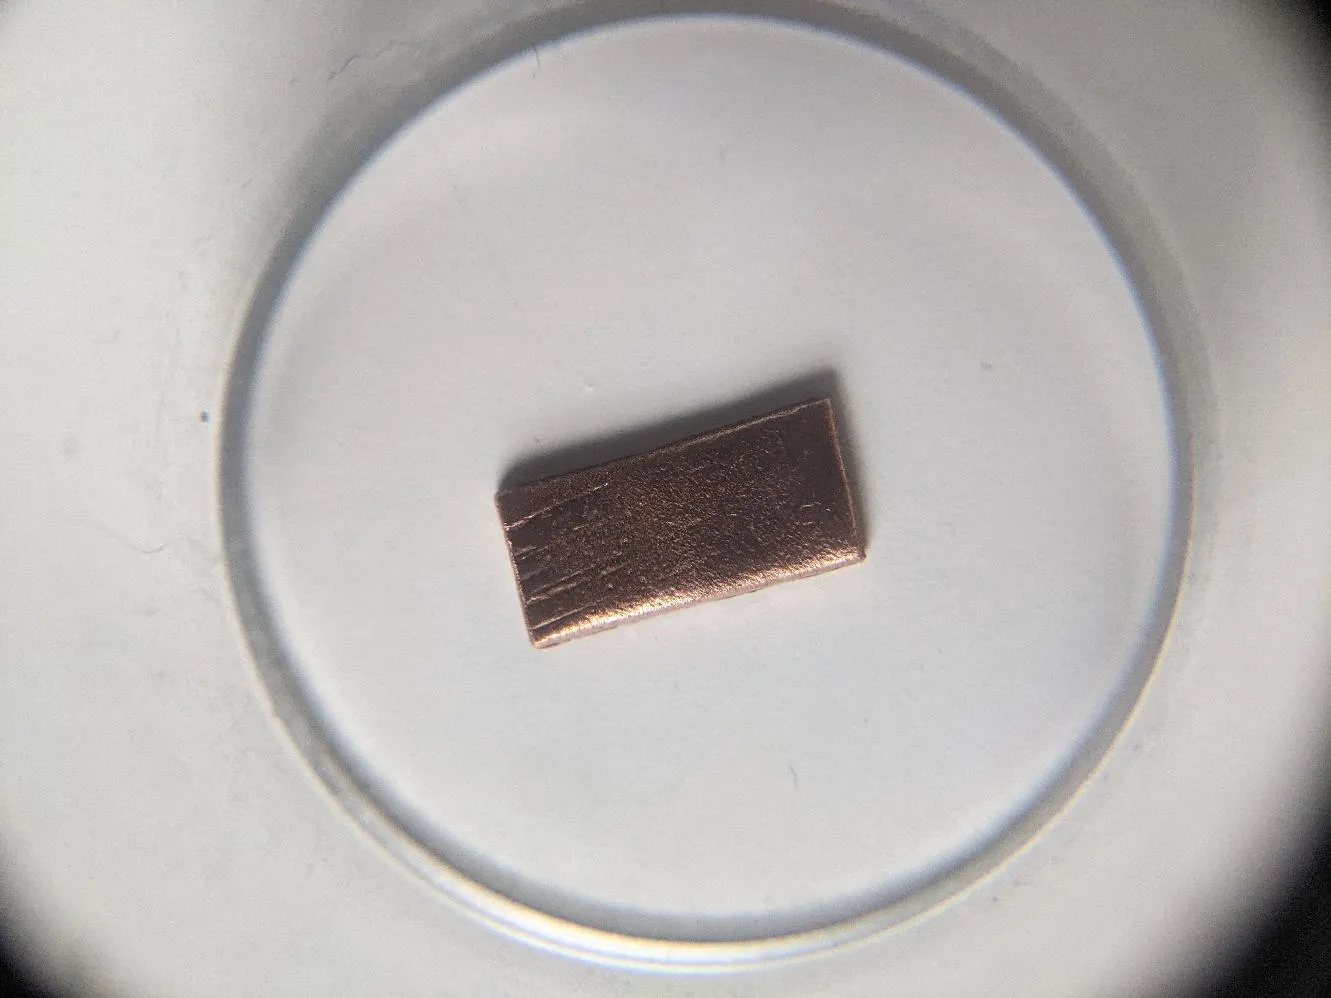
I’m very pleased to say I’ve had 100% success using this method. A fired piece is a solid copper object, which can be bent as you’d expect. There was also very little firescale with this method:
Conclusion
There are multiple videos on Youtube of people using the same kiln I am, with Prometheus Copper Clay, and the Conventional method, however they are all a few years old.
I notice that Prometheus now recommend the “Two Stage Method” on their website rather than the Conventional method.
My conclusion is that maybe something has changed in the formulation that means the Conventional method no longer works.
Basically these clays are similar to the situation with 3d printing filament: you need to test each filament to determine the correct temperature/parameters/process. You need to do the same with these clays.
Its not a big problem, the two stage process is still really easy, and I’m getting great results. In fact, I get minimal firescale with the two stage method, so I feel it is much superior, especially if you’re etching a pattern into the clay.
Weirdly, I found very few resources discussing this on the internet, hence this post to hopefully help others in future. I’ll post an article on the detailed two-stage process later.
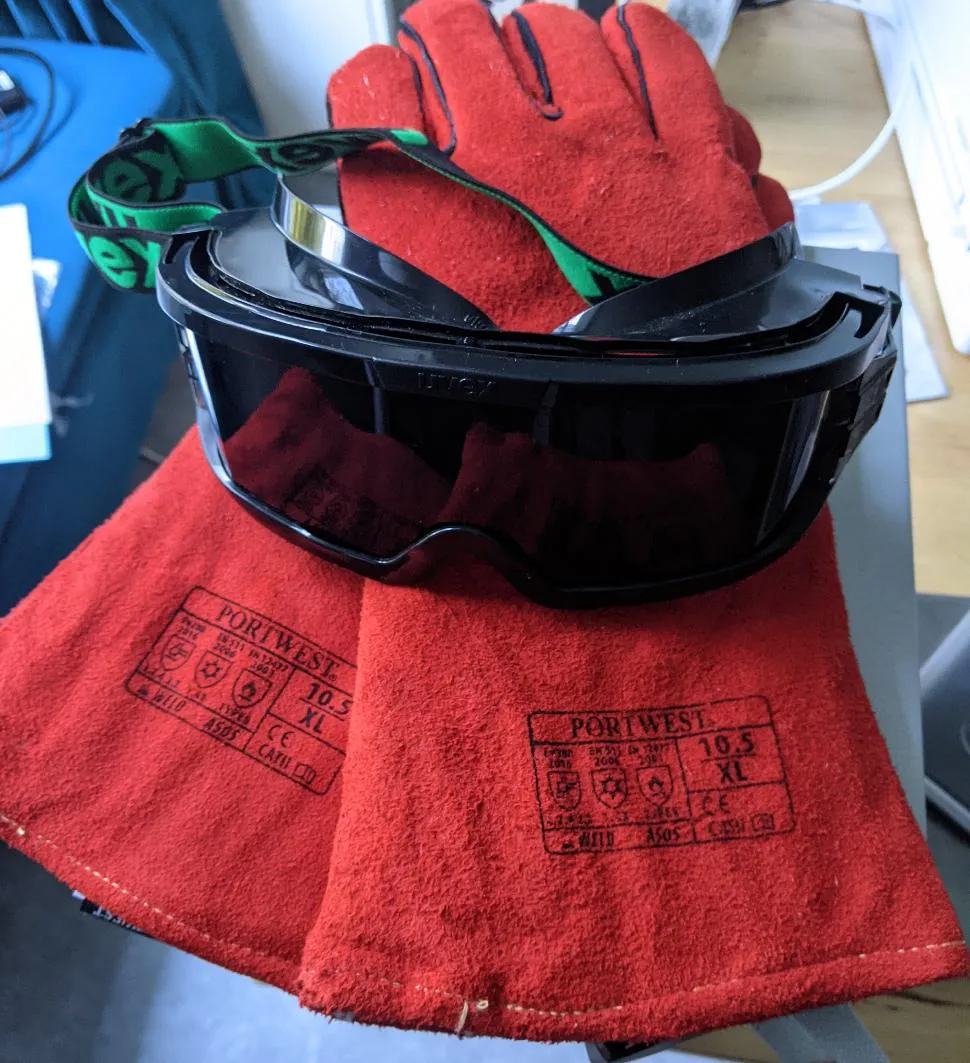
Incidentally, although the hole in the kiln is called a “peephole”, I would strongly recommend never looking through it when the kiln is hot: infra-red radiation can damage your eyes. I personally always wear infrared-safe welding goggles and gloves when dealing with a live kiln:
Leave a comment
Comments are moderated, so yours won't appear immediately. Your email is never published.