This is the process I’m now using: its had 100% success so far.
This post is stitched together from various pieces; I unfortunately didn’t take pictures of the complete process for a single piece.
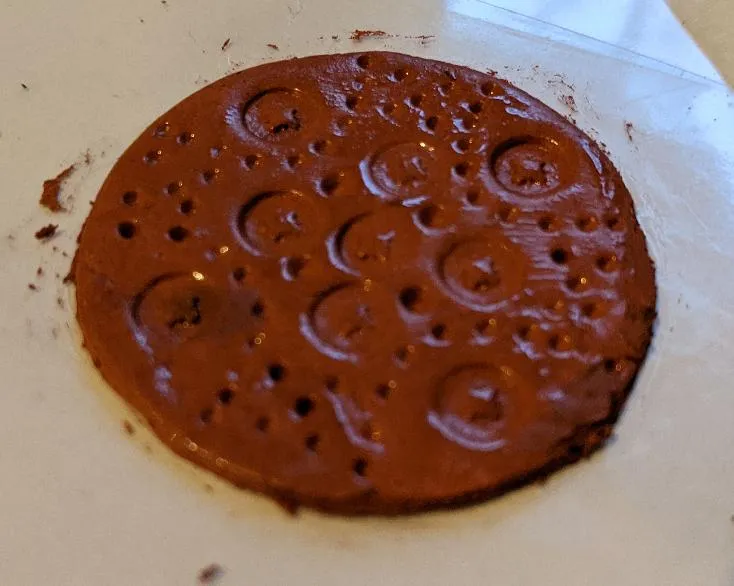
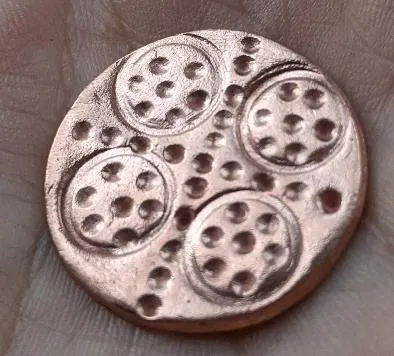
Step 1: Roll out and mould the clay
I’m working on a smooth piece of board with some acetate film stuck to it.
I used a small amount of olive oil to reduce any unwanted sticking.
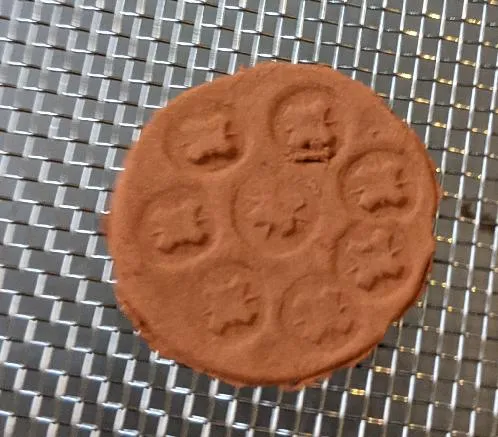
Step 2: Wait for it to dry
I left it to dry overnight. This is important so you don’t have steam during the firing process, which will cause your piece to fracture/distort.
The piece will automatically detach from the acetate film during the drying process.
I tried speed-drying a piece with some Calcium Carbonate, but it caused cracks: Leaving it to dry naturally avoided this. I’ve not tried gently heating it yet.
Advice from various tutorials is to try putting the piece on a cold mirror: if its not quite dry yet, vapour will condense on the mirror.
At this point, you can post-process the piece - smooth off any rough pieces with sandpaper, drill holes, etch a design, or even use more wet clay to join multiple pieces together (although wait for them to dry again!).
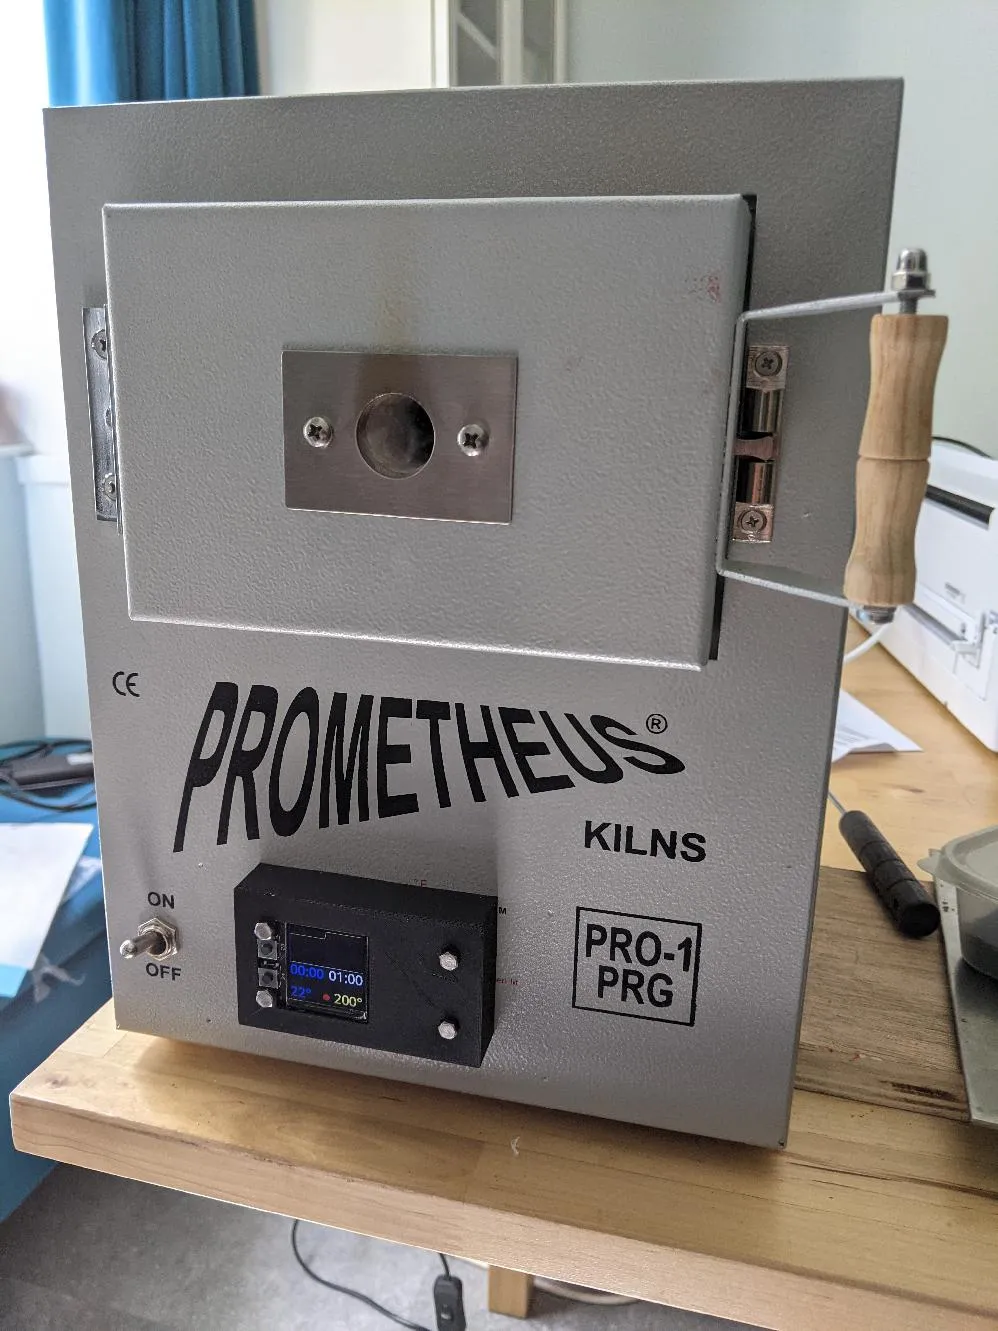
Step 3: Fire at 500C for 10 Minutes
Put your dry piece on some stainless steel mesh.
Heat your kiln to ~500C
Put the mesh in it it and wait for the kiln to return to ~500C. Wear googles/gloves!
Wait 10 minutes.
Remove the mesh, place on a heatproof surface, and wait for it to cool down.
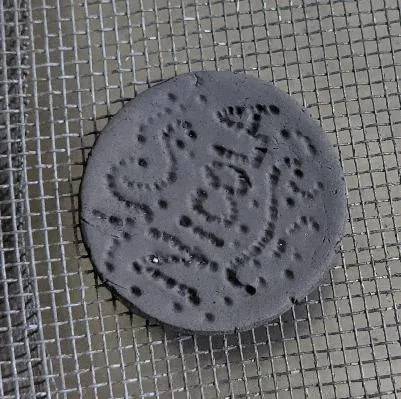
This stage has burned off all the PMC organic binders and caused the outside of the piece to oxidise slightly. It is not sintered yet. The piece will be very brittle, so take care handling it!
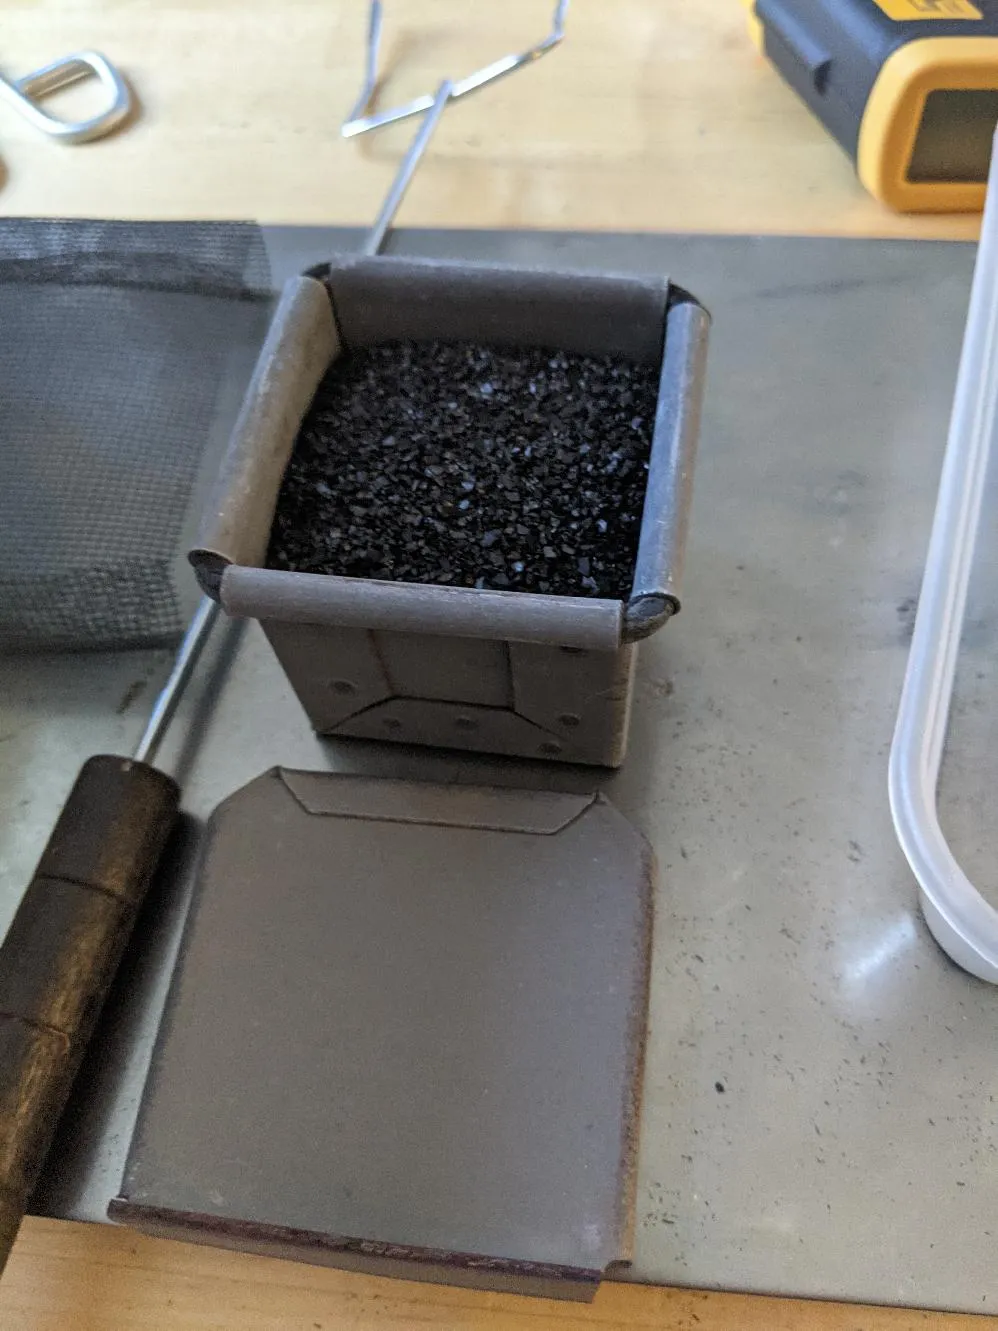
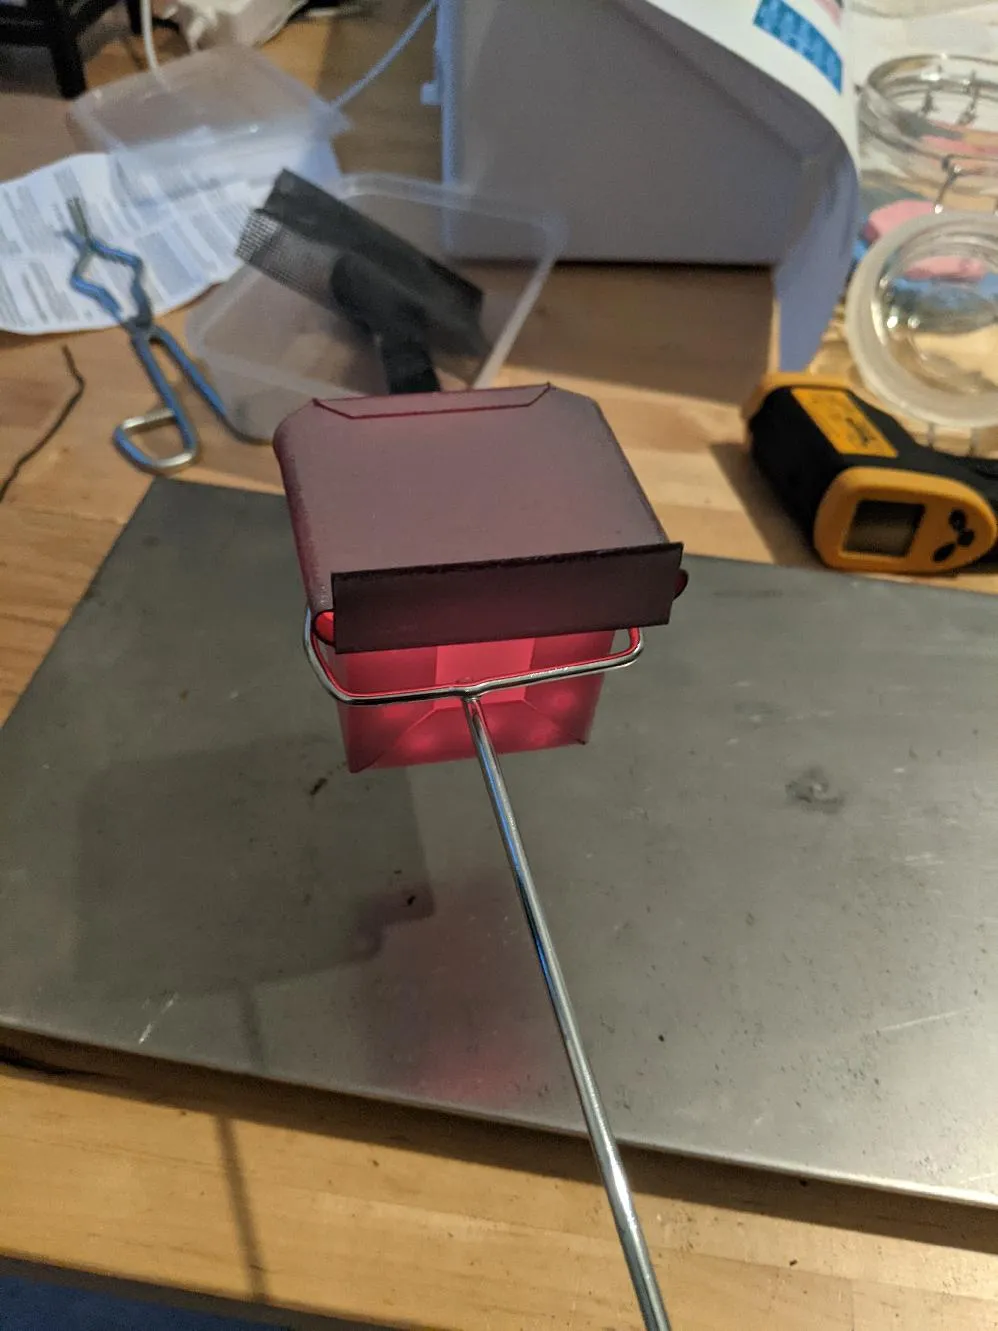
Step 4: Place into a steel container with activated carbon/charcoal
I bought a neat little steel container with a lid for firing. I also bought some “activated coconut shell carbon” specifically for metal clay.
The activated carbon is to remove most oxygen during the firing process: instead of the metal of your piece oxidising, the carbon will burn instead.
Why activated coconut shell carbon? Apparently coconut shell has small pores in it which makes it work really well for this purpose.
Can you reuse the activated carbon across multiple firings? I’ve been doing so, but I’m not sure how long it will last. Time will tell!
The activated carbon for PMC clay seems to have a bit of a price markup on it, but I’m not sure if its really that special . At some point I need to experiment and see if you can use the much cheaper varieties generally used for air/water filtration.
Anyway, I filled my container 2/3 of the way with activated carbon, put the piece in, then filled up to near the top with more carbon. Finally I slid the top of the steel firing container on it.
Step 5: Sintering!
Fire your kiln up to 850C and wait for it to approach that temperature.
Place the steel firing container in it.
Wait for it to regain ~850C.
Leave it firing at 850C for 90 minutes.
Step 6: Remove from kiln
Once the time is up, take the piece out of the kiln and place on a heat resistant surface to cool down.
I tend to hold it in the air for a short while while the container is still visibly glowing hot.
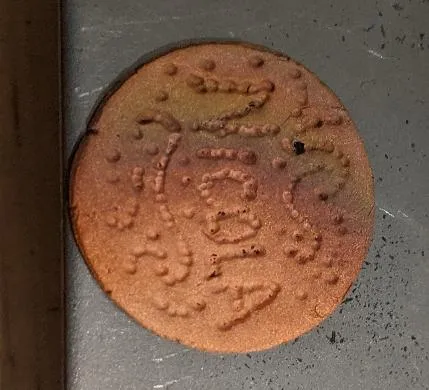
Step 7: Remove the piece from the carbon
Once you’re sure the piece is cold, remove it from the container/carbon.
It will be slightly oxidised, and sometimes has some interesting colour effects:
Step 8: Pickle it!
To clean up the oxidation, you want to pickle your piece in pickling solution.
You can buy this, but I just made it myself with the following recipe:
- Cheap white vinegar
- Some salt
- A squirt of 3% hydrogen peroxide.
Drop your piece in the above and shoogle it a bit. The oxidation will vanish and you’ll be left with a dull copper piece.
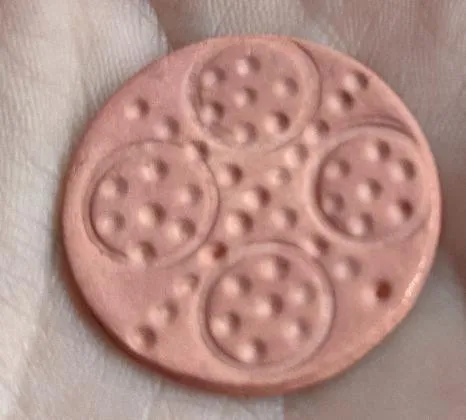
Step 9: Burnish it
To get a shiny piece, you need to burnish it. You could use a steel wire brush by hand. In my case I used my Dremel with a steel brush tool attached.
A few passes with that will polish the surface up nicely!
Done!
Now its time to do some more cool stuff with the piece.
I’ll put up a post of some tools I found useful during this process next.
Leave a comment
Comments are moderated, so yours won't appear immediately. Your email is never published.