This is a slightly older project, but since I’m waiting for the new knitting machine design to print, I thought I’d write it up.
One of our standard lamps needed a new shade, so I decided to make one!
Ingredients
- 2mm + 3mm transparent Perspex (from Edinburgh Hacklab)
- Copper Leaf (from Ebay)
- “Size” (gilding adhesive) to glue the copper leaf onto the perspex.
- TENSOL 12 Acrylic Adhesive.
- Laser cutter.
- Brushes.
A Note On Acrylic Adhesive
I was originally just going to use superglue to hold it together. However, superglue tends to make perspex look foggy: It emits chemicals during curing that don’t play well with perspex. You can reduce this by ventilating it well during curing, but I still wasn’t happy with the results, especially for a piece that needs to look good.
Some research showed you can get Acrylic Adhesive which actually dissolves the perspex and melts it into a single object. No fogging problems whatsoever!
However! Bonding perspex can cause stress fractures to appear between the bonded pieces. This results from invisible internal stresses within the pieces. As you’re literally melting two pieces of perspex together, the stresses on the different pieces then interact badly.
This didn’t really seem to impact me as the contact points are quite small. However, if you need to, you solve this problem by annealing the perspex pieces prior to applying the adhesive: basically heat up the perspex pieces to 80-85C and let them cool back down to room temperature.
You have to do something similar (albeit at higher temperatures) when you’re making glass pieces to avoid them spontaneously shattering.
Note: It emits some rather unpleasant volatile chemicals during curing, so always use it in a well ventilated area!
Part 1: Experimenting with Copper Leaf on Perspex
I picked up a couple of small perspex offcuts from Edinburgh Hacklab and stuck some leaf to them.
I left them alone for a few weeks and investigated how well it had stuck. It kinda had, but it hadn’t quite dried properly: if you smooshed it hard with your finger, it would move about slightly.
Since I was doing this project over a few months, I ended up leaving it for longer. Eventually it actually does set properly, just there’s a long phase where you have to be careful. Perspex is not really the intended material for the Size (its probably expecting something more absorbent like a wooden picture frame), but it does eventually work if you leave it long enough.
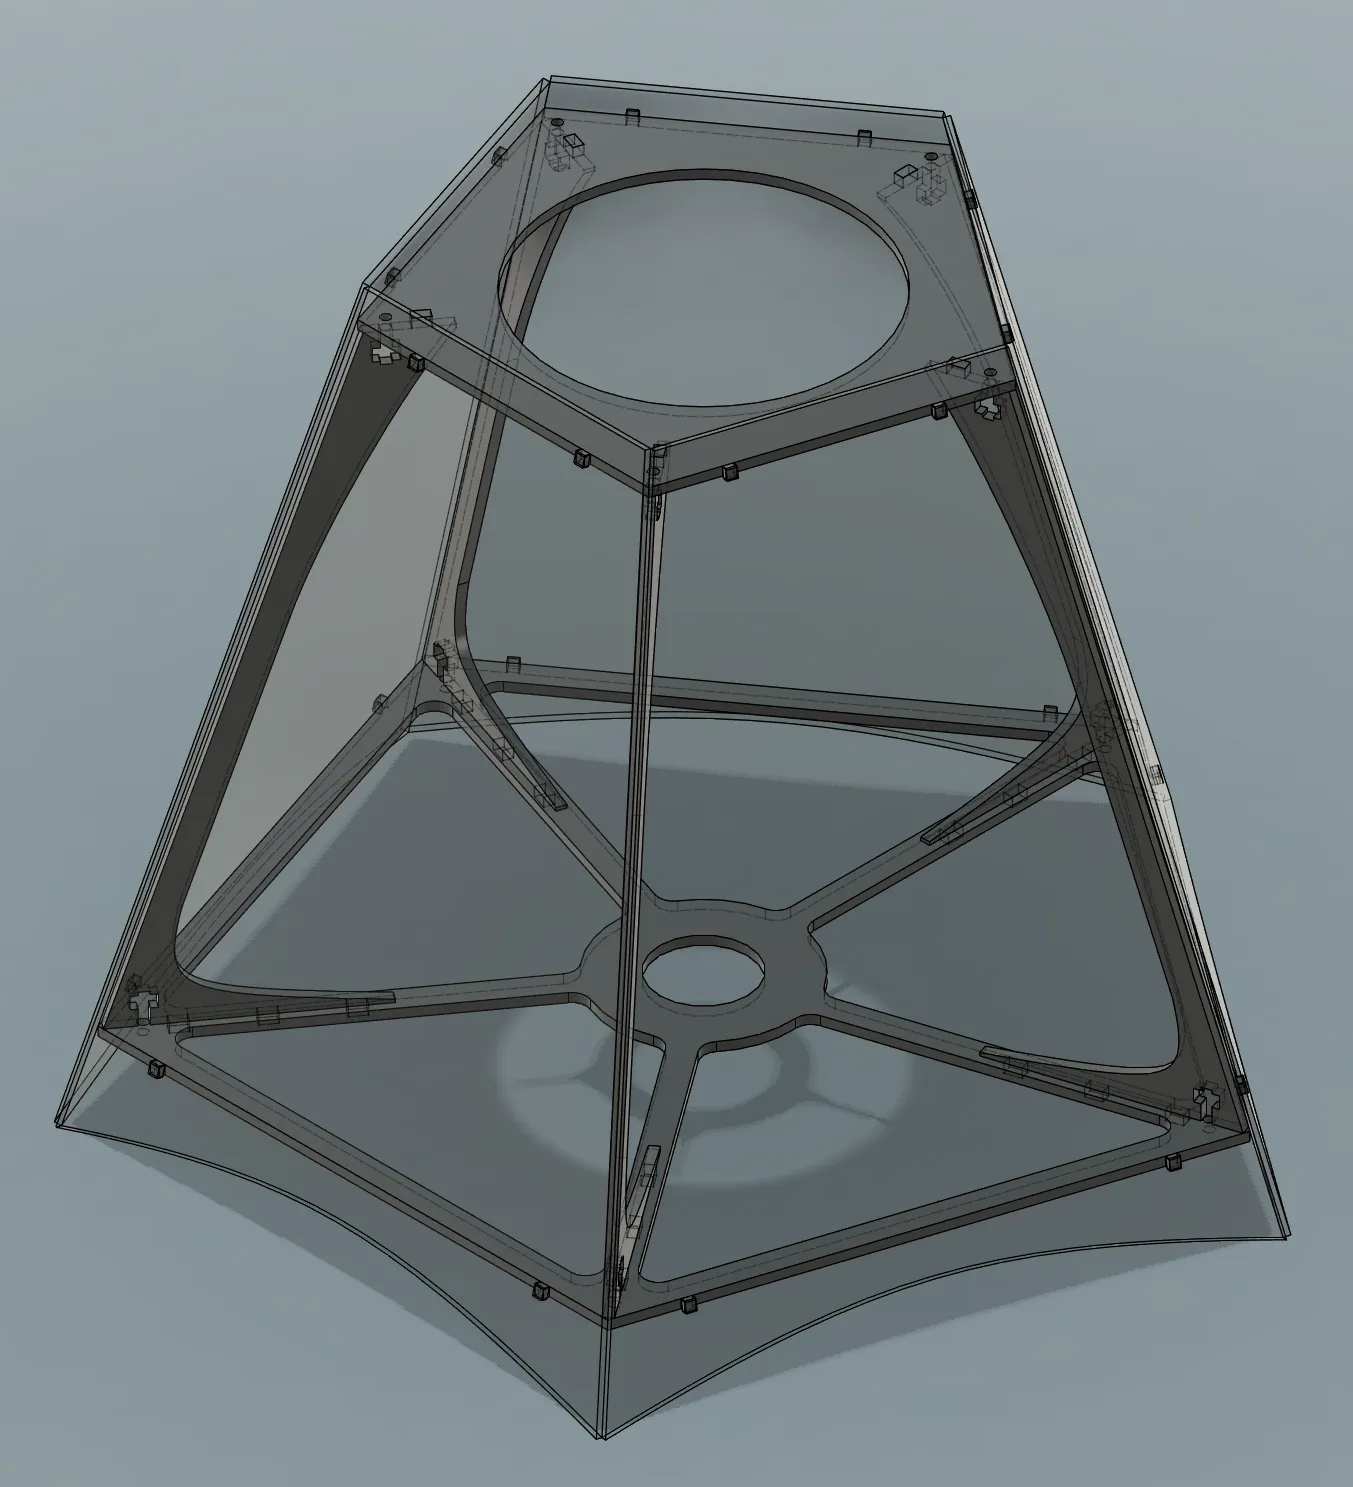
Part 2: Designing the Structure
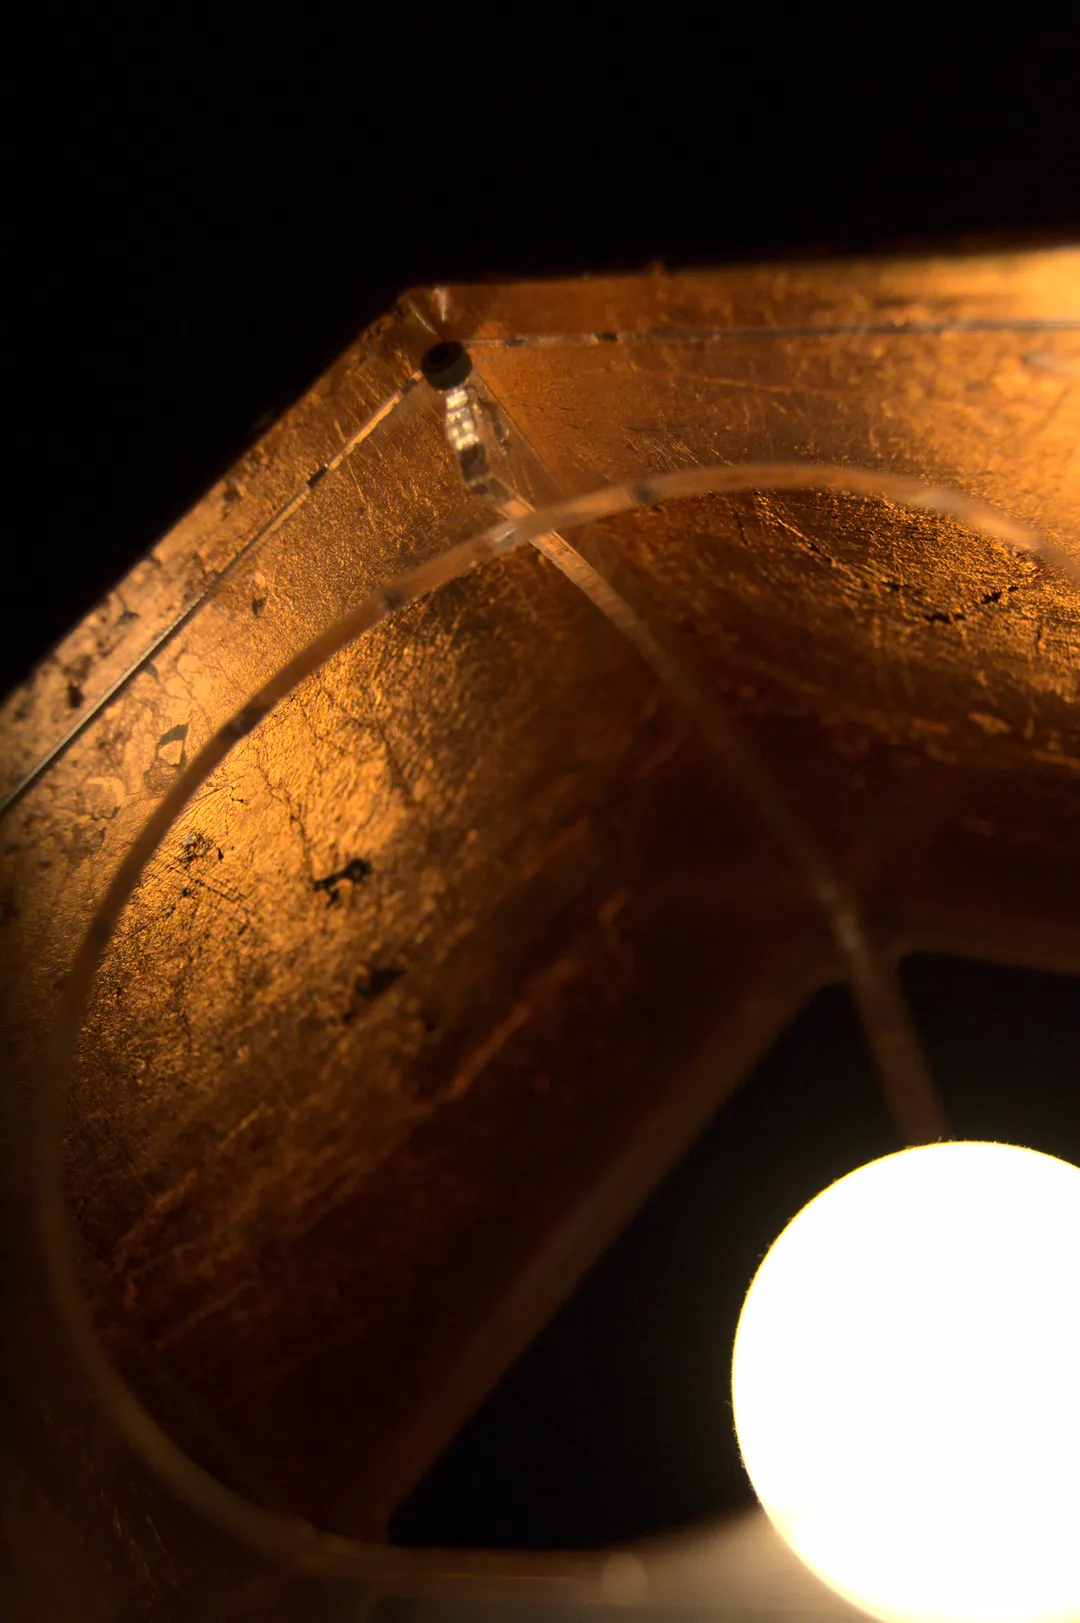
Well, I hit up Fusion 360 again. I designed a substructure held together with bolts.
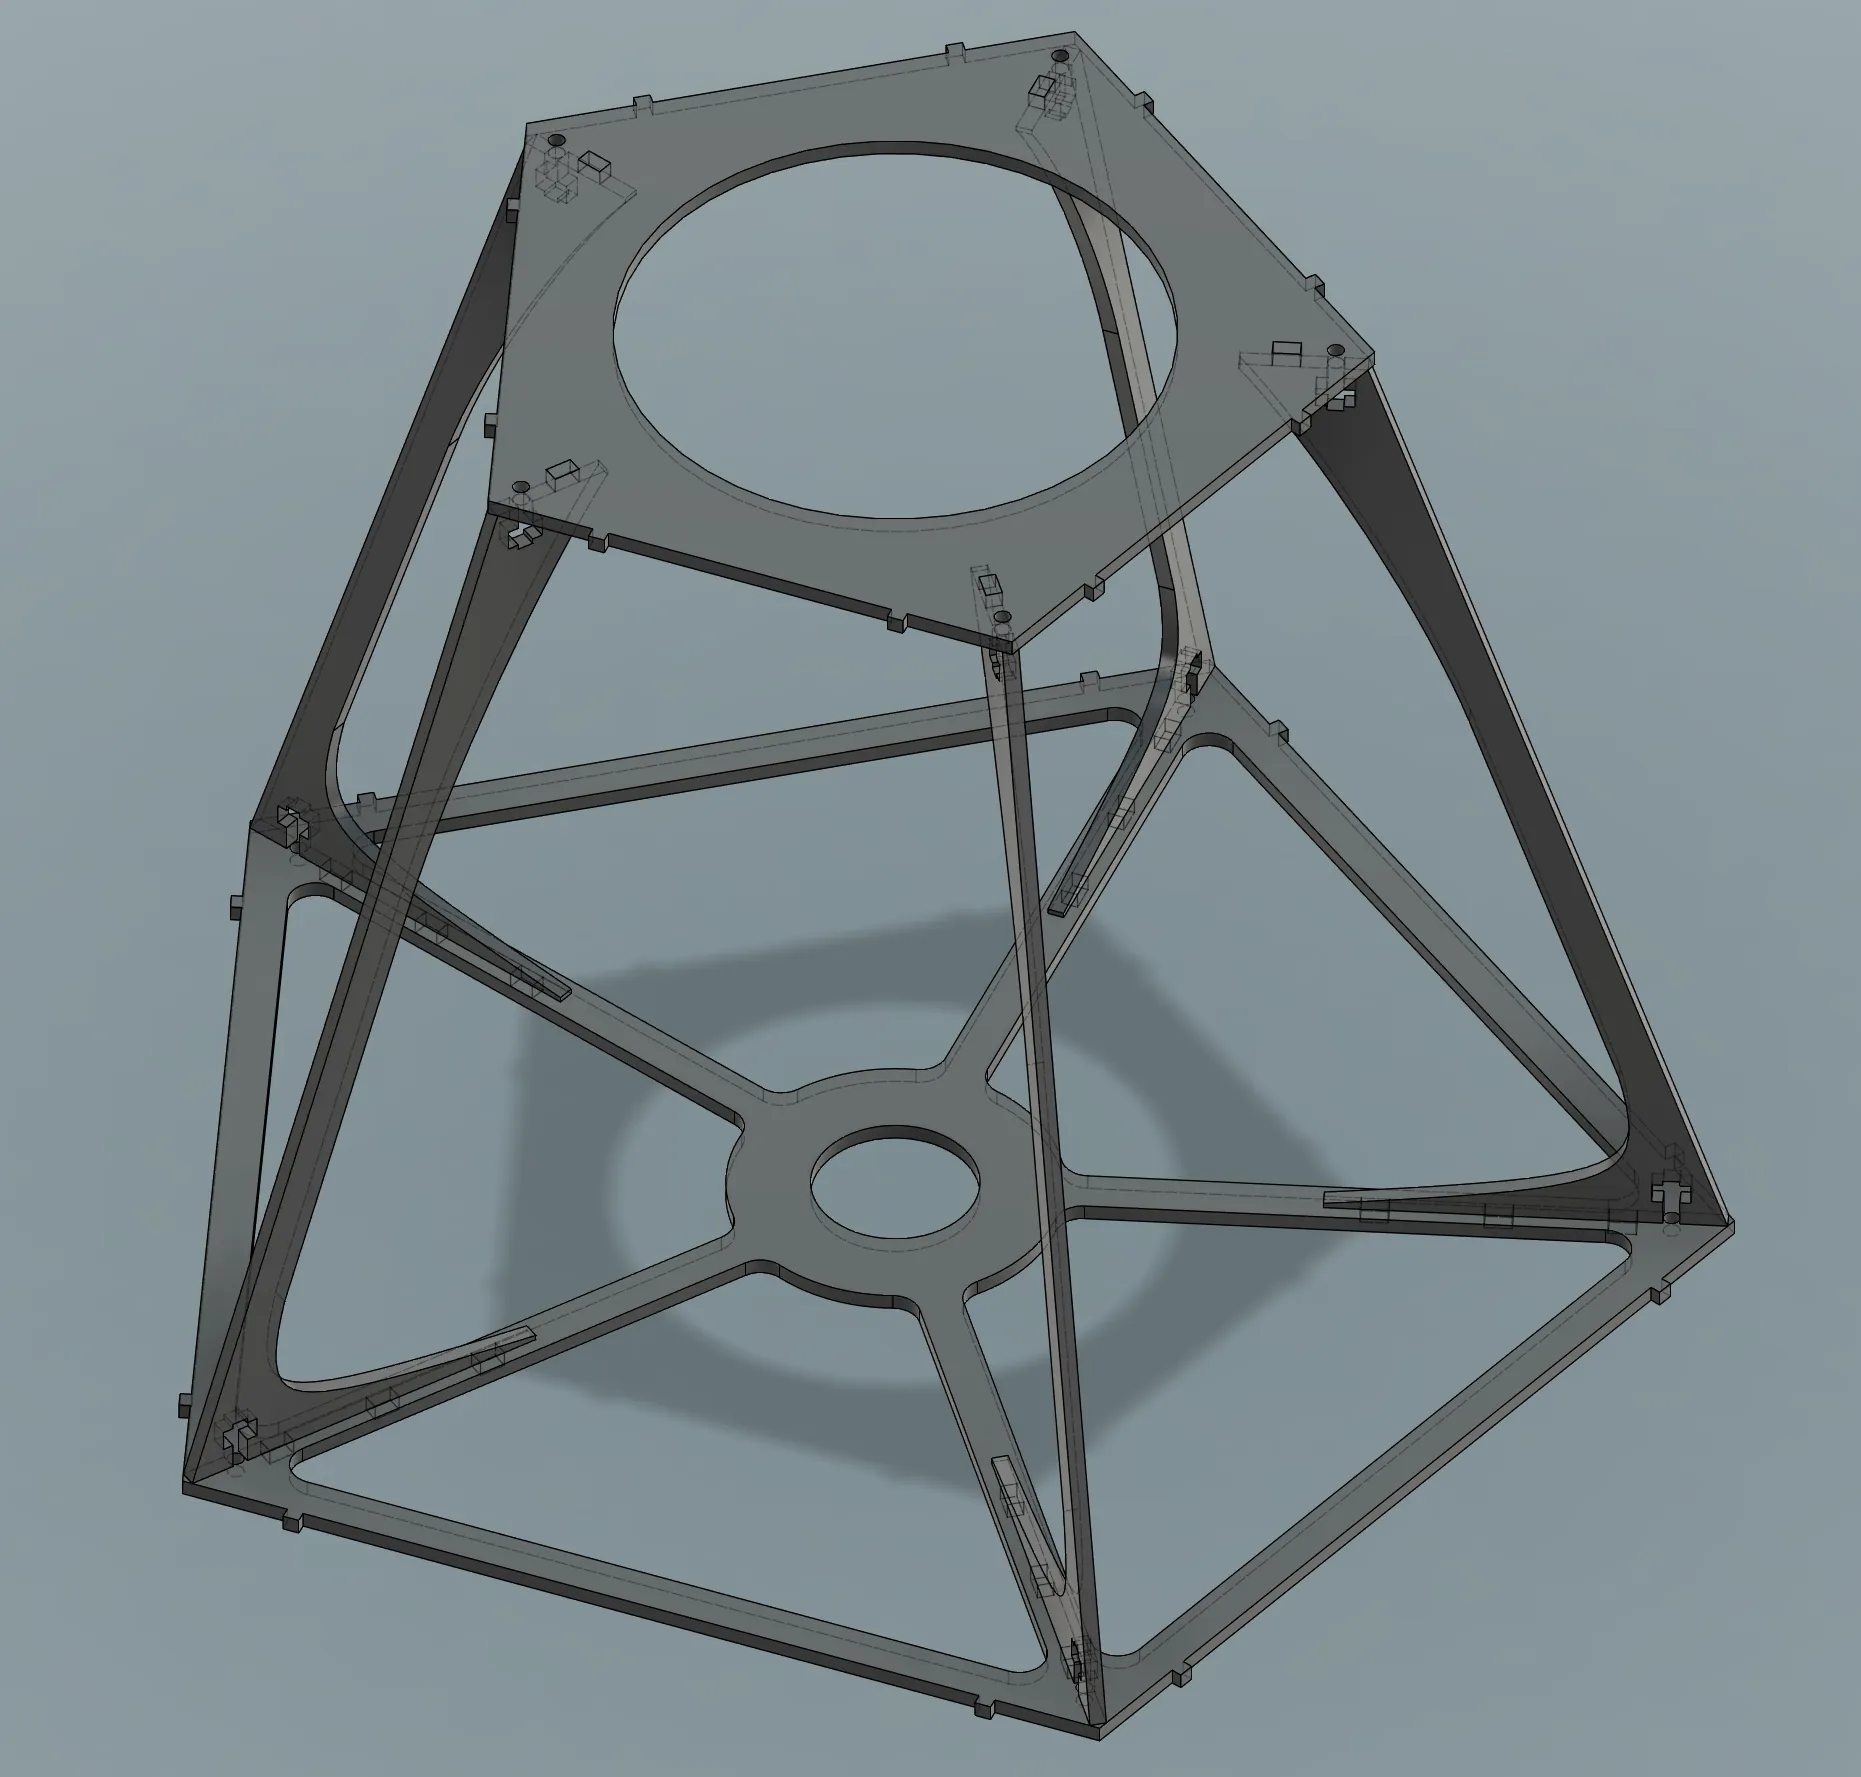
Then, I attached some larger panels by the small “prongs” you can see sticking out above. These are just held on by more Acrylic Adhesive.
Part 3: Laser Cutting
I used the Hacklab laser cutter, and cut the substructure pieces from 3mm perspex.
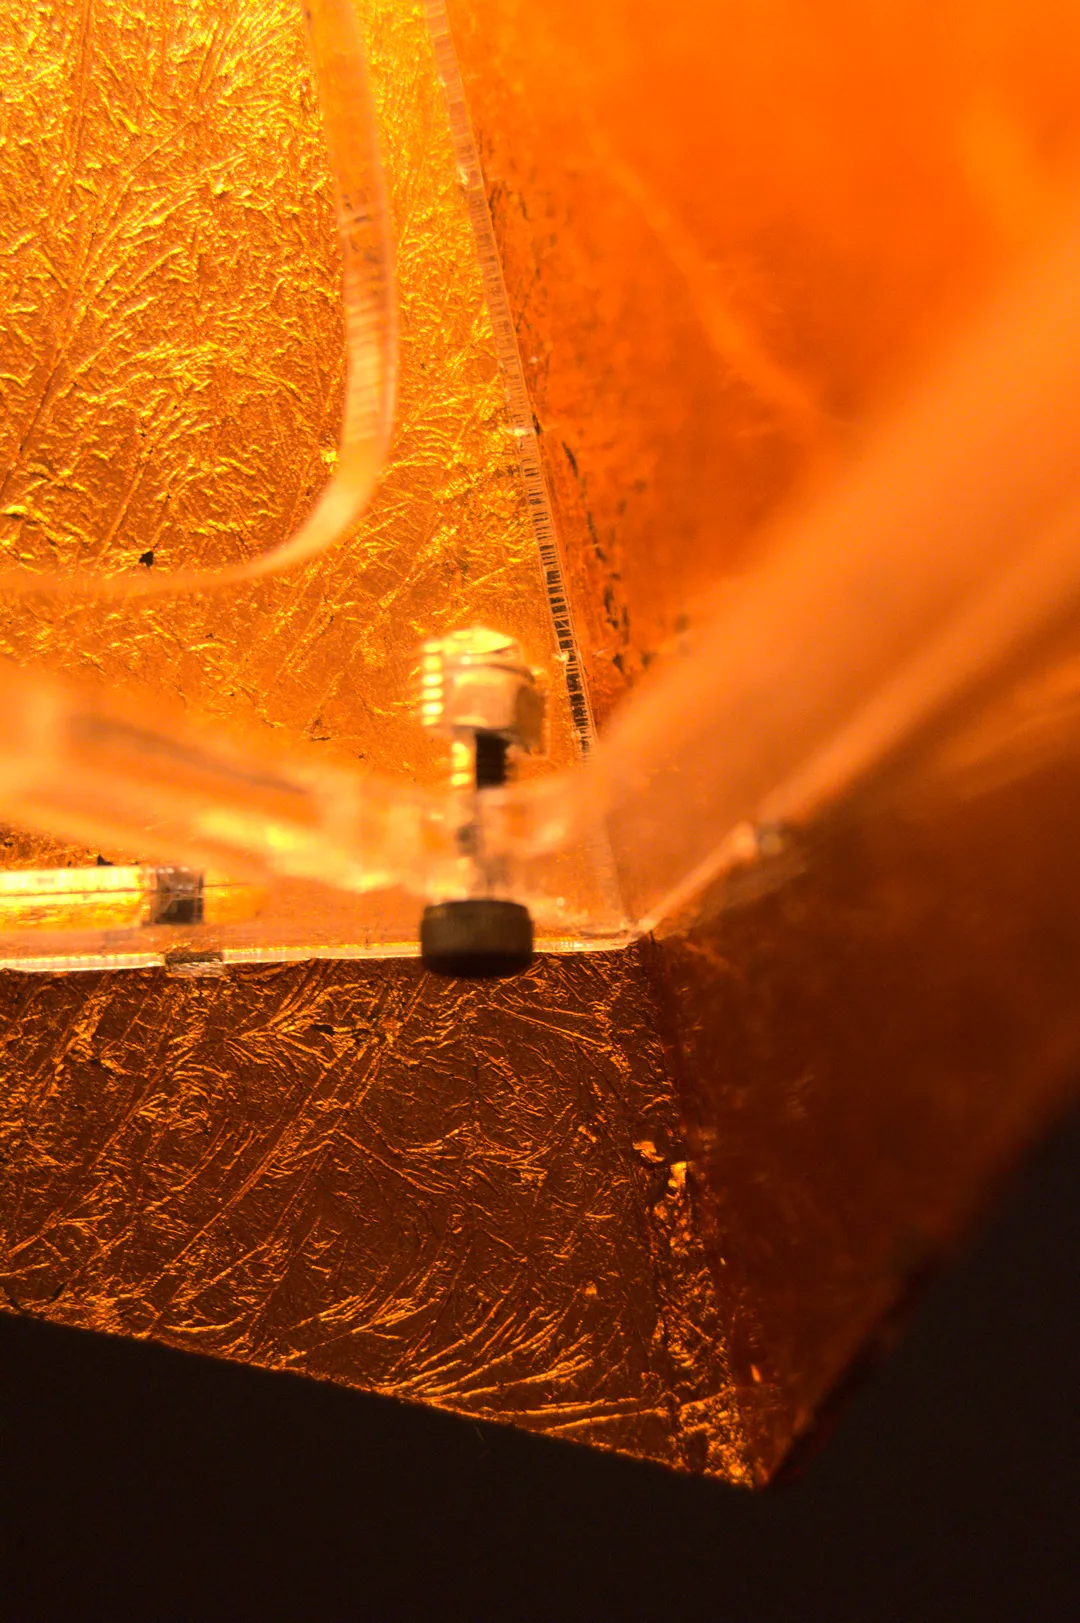
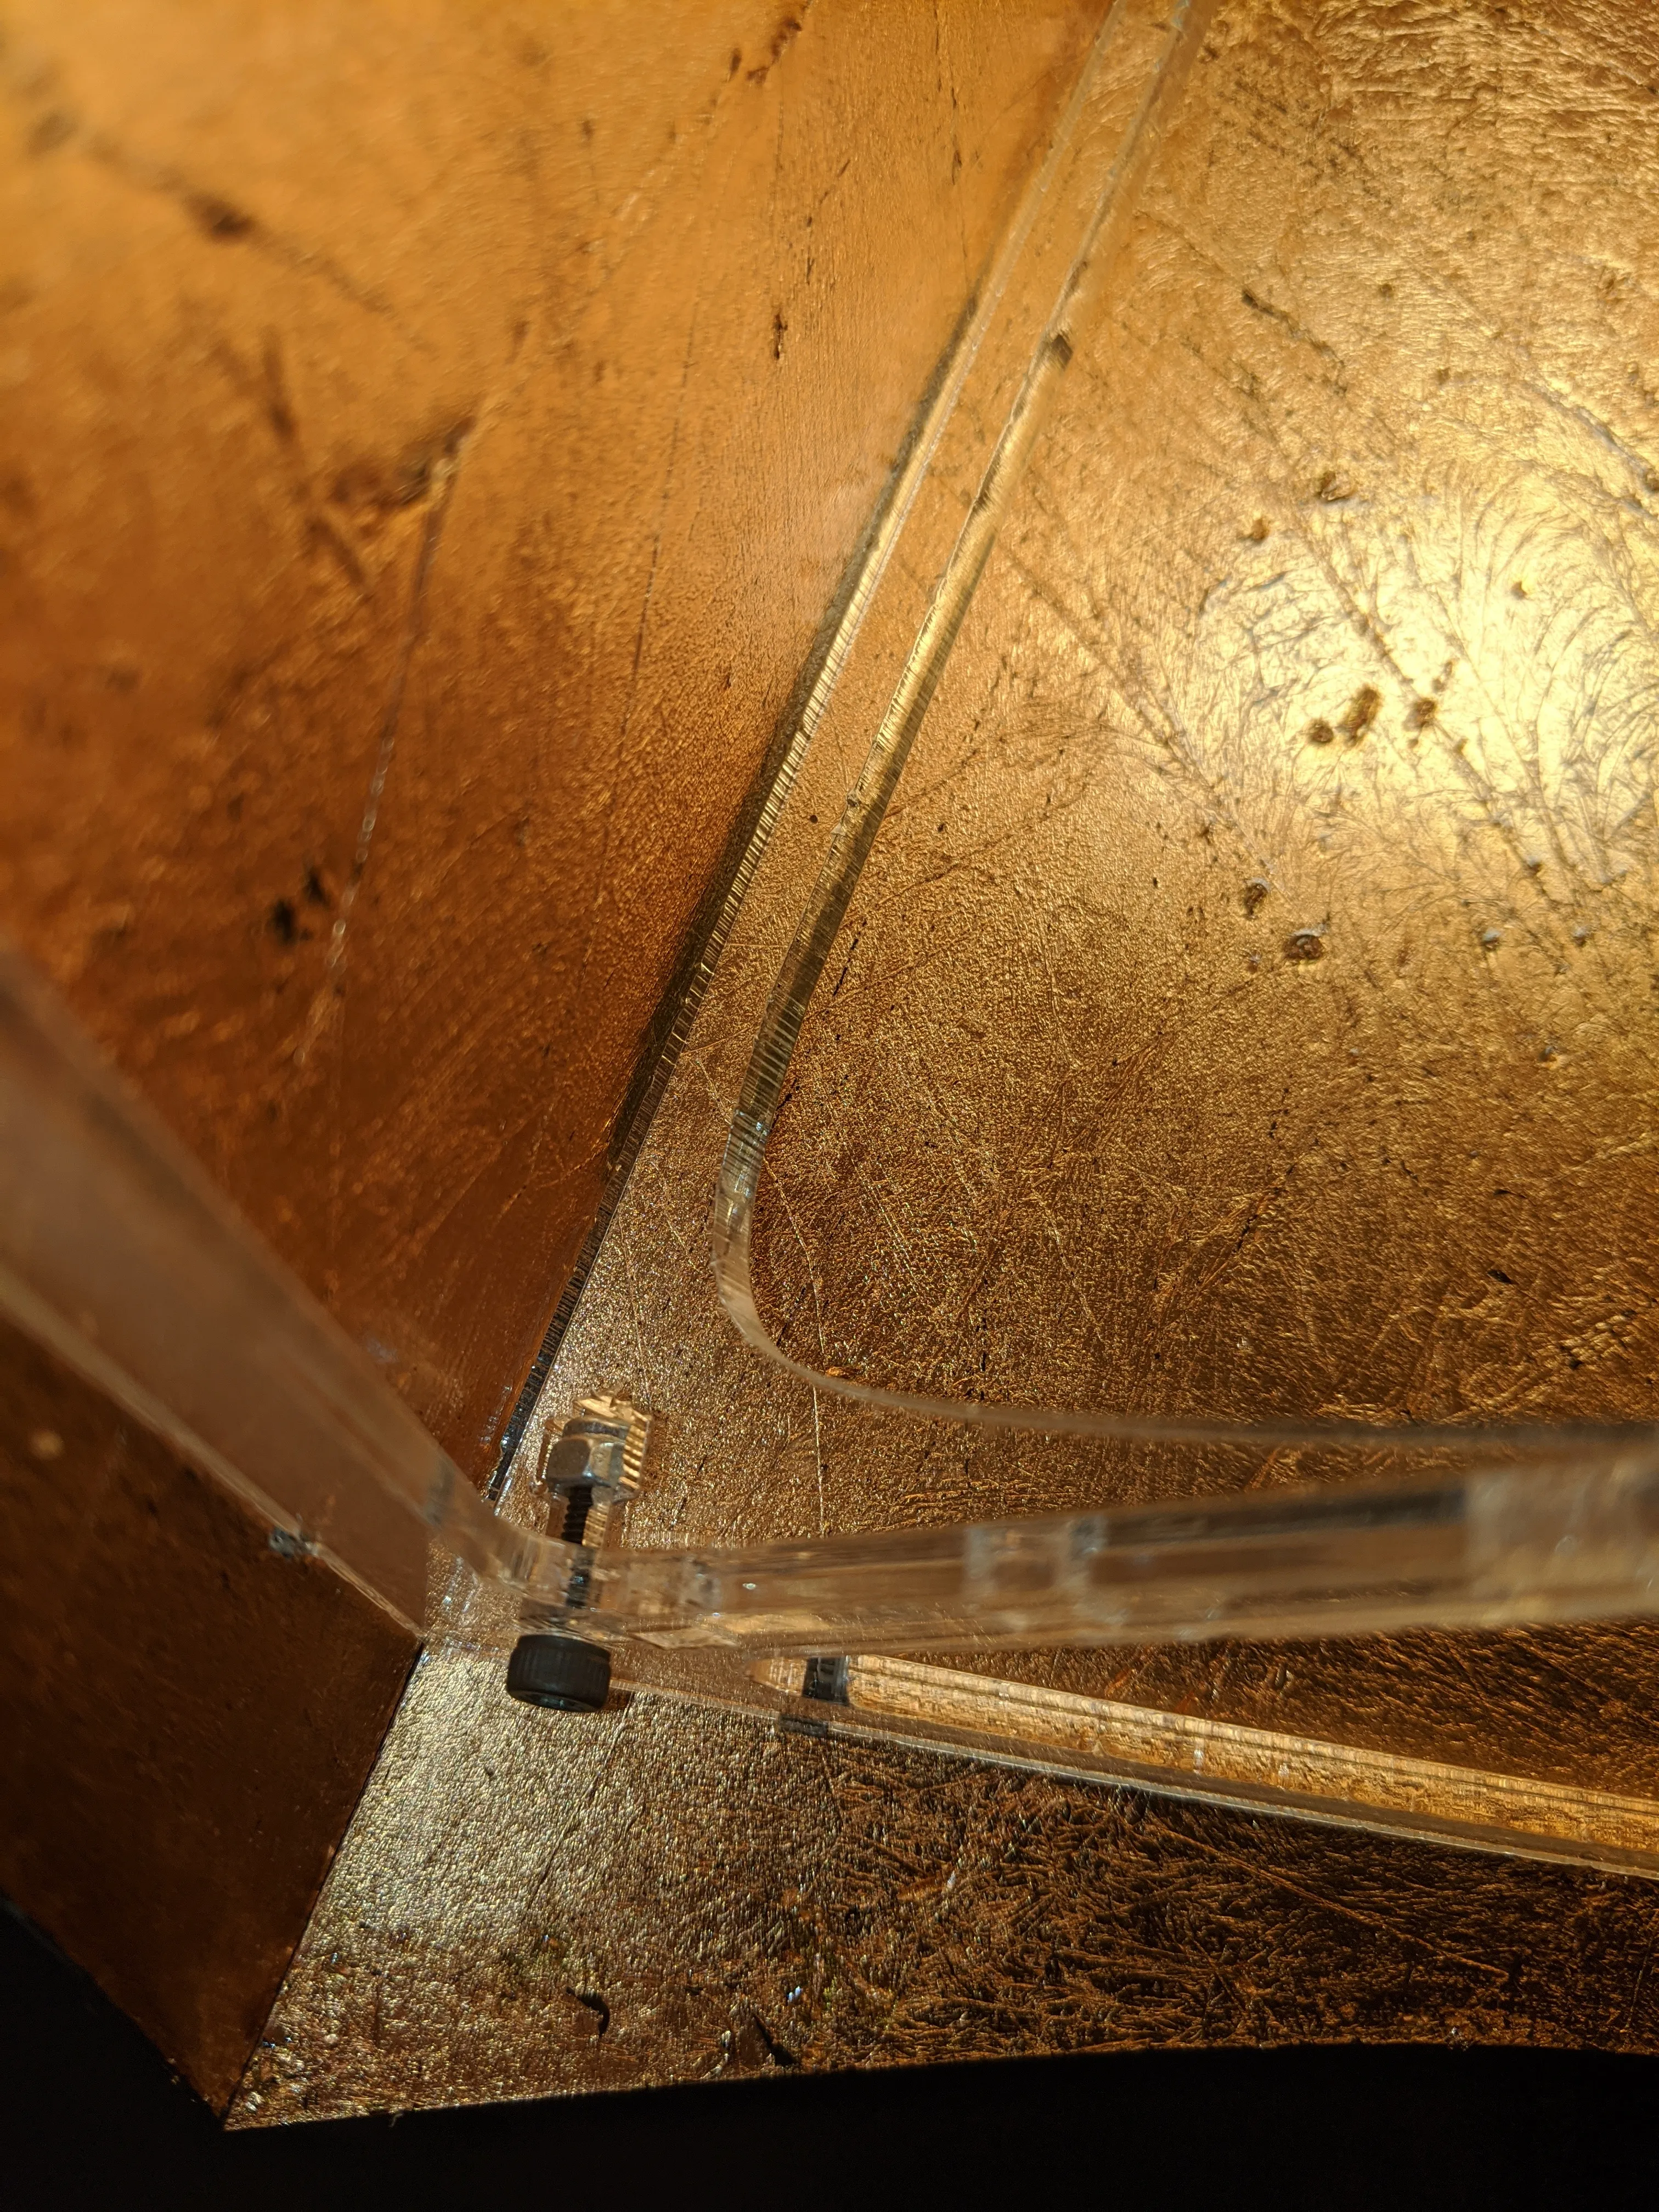
I bolted it all together with M3 bolts + M3 Nyloc nuts:
Finally, I cut the five panels from 2mm perspex (to make it lighter) and got ready to gild!
Part 4: Gilding
This took five weeks to do: I didn’t want to take up a huge amount of space at the Hacklab as its a shared space. I also didn’t really enjoy the gilding process much as it was a bit fiddly (and I’m very inexperienced at it!). Doing one a week on Mondays was enough!
The process was basically:
- Coat one side of the perspex with Size.
- Take sheets of copper leaf and carefully lay them down.
- Gently brush the leaf so its fully stuck down.
- Finally, coat the leaf with another layer of Size. You probably wouldn’t do this if you were traditionally gilding something, but I wanted it to have an extra layer of robustness. For a lampshade, it looks perfectly fine.
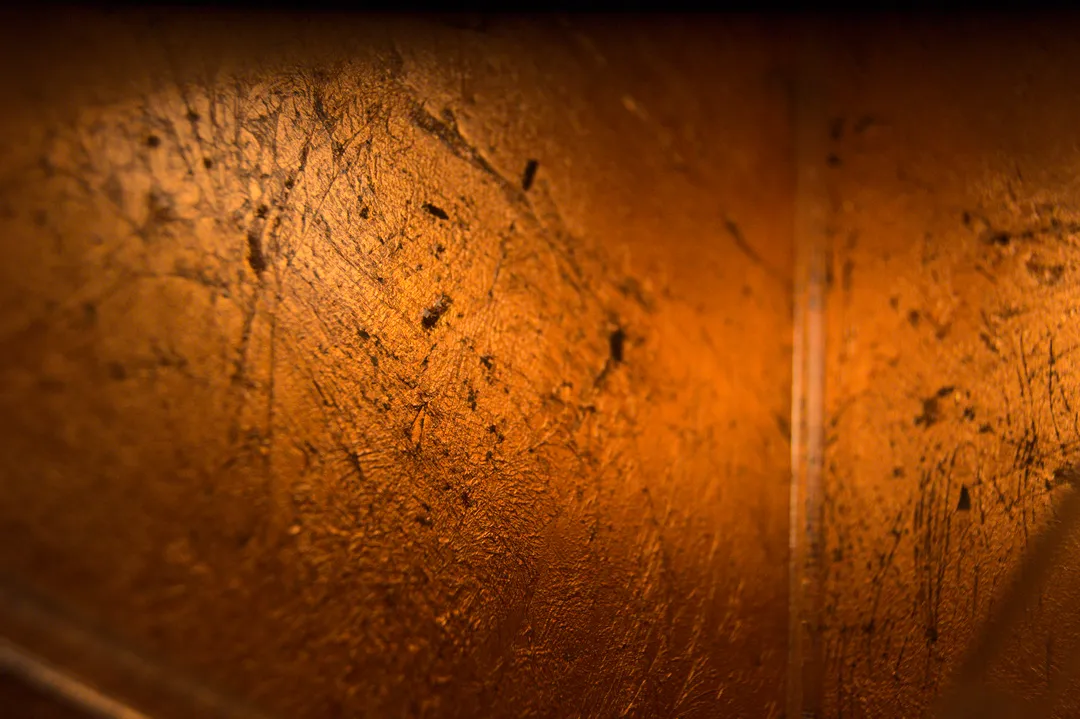
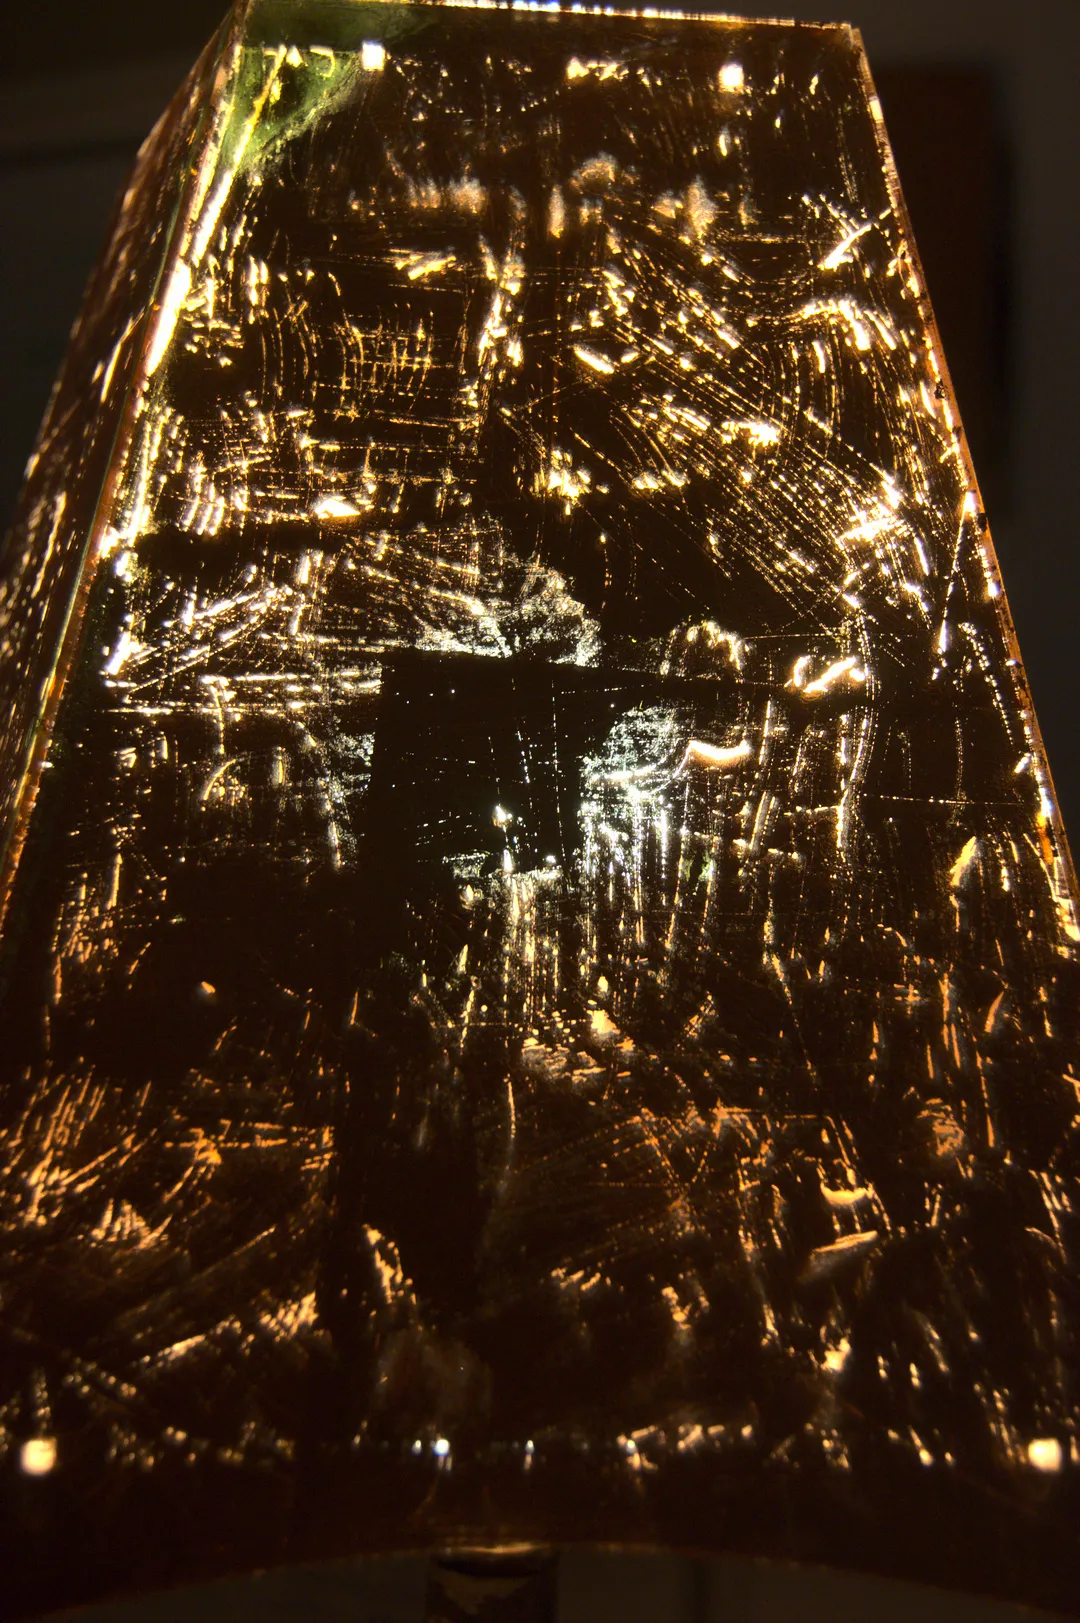
The brushing process caused scrapes and holes to appear in the sheet as you can no doubt see. Normally this would be bad for a gilded item, and you’d put down multiple layers of leaf. However, I actually want the light to shine through the leaf, so I was perfectly fine with it being a bit scraped. I also like the effect it gives here.
After I’d gilded a sheet, I put it in a box (to avoid dust) and left it in a well ventilated room in the Hacklab for the rest of the week. Repeat 5 times.
Part 5: Lampshade: Assemble!
Finally, I attached the panels to the substructure and applied the Acrylic Adhesive. I then left it to dry for a few days out of the way in the Hacklab (everyone seemed happy with this as it looked pretty awesome).
Note: I put the gilded side on the inside of the shade: the outside is smooth, the gilding is protected, and if it needs more time to cure properly, it would be safe.
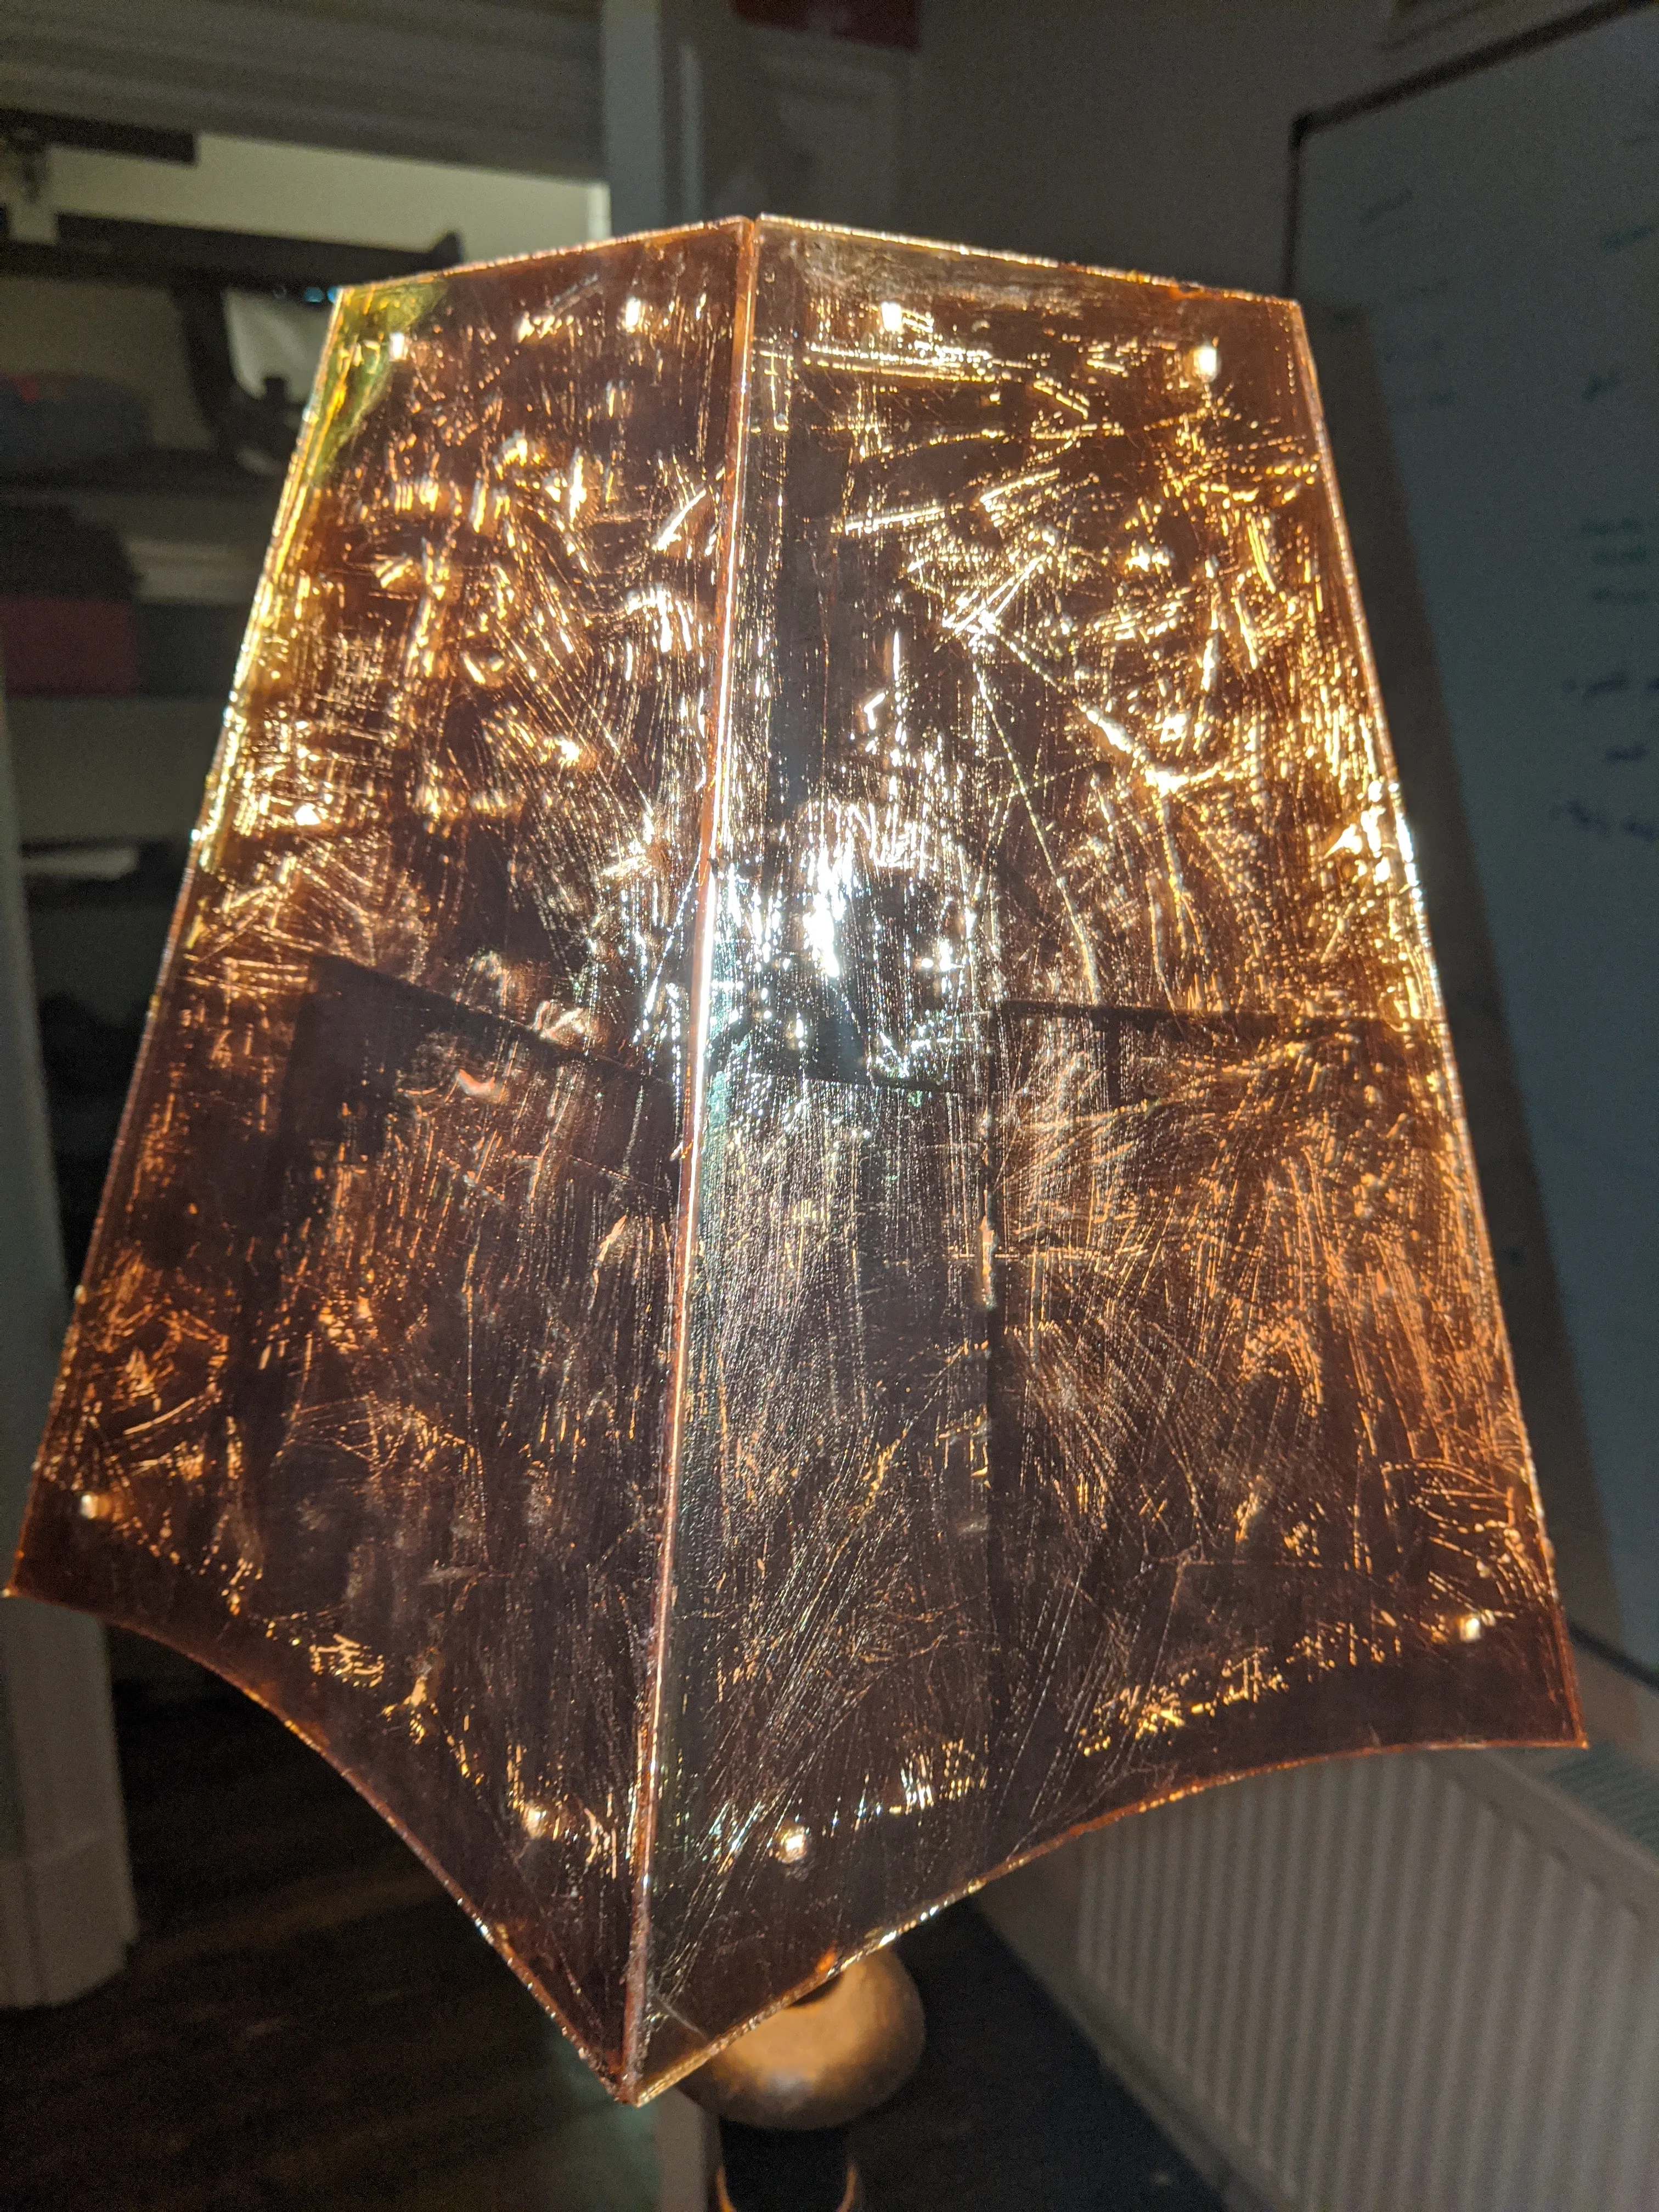
Finished!
Finally it was all done, so I installed it at home!

Leave a comment
Comments are moderated, so yours won't appear immediately. Your email is never published.