
I spent some time this evening turning the sketch into a proper Fusion360 3D model, as above.
Key features: I’ve inserted holes for all the M3 bolts I need to use to hold the moving parts together. I’ve also added some more chunks of plastic to try to prevent needles getting stuck.
I’ve already got all the M3 bolts, nuts and washers I need, but I’ve got two small expansion springs on order to pull the outer “needle flap” pieces into their resting position.
I could print it now and try it out, but I’m going to think on it for a few days: I’ve inevitably done something stupid, so I’d rather spot that now, than after a multi-hour 3D print.
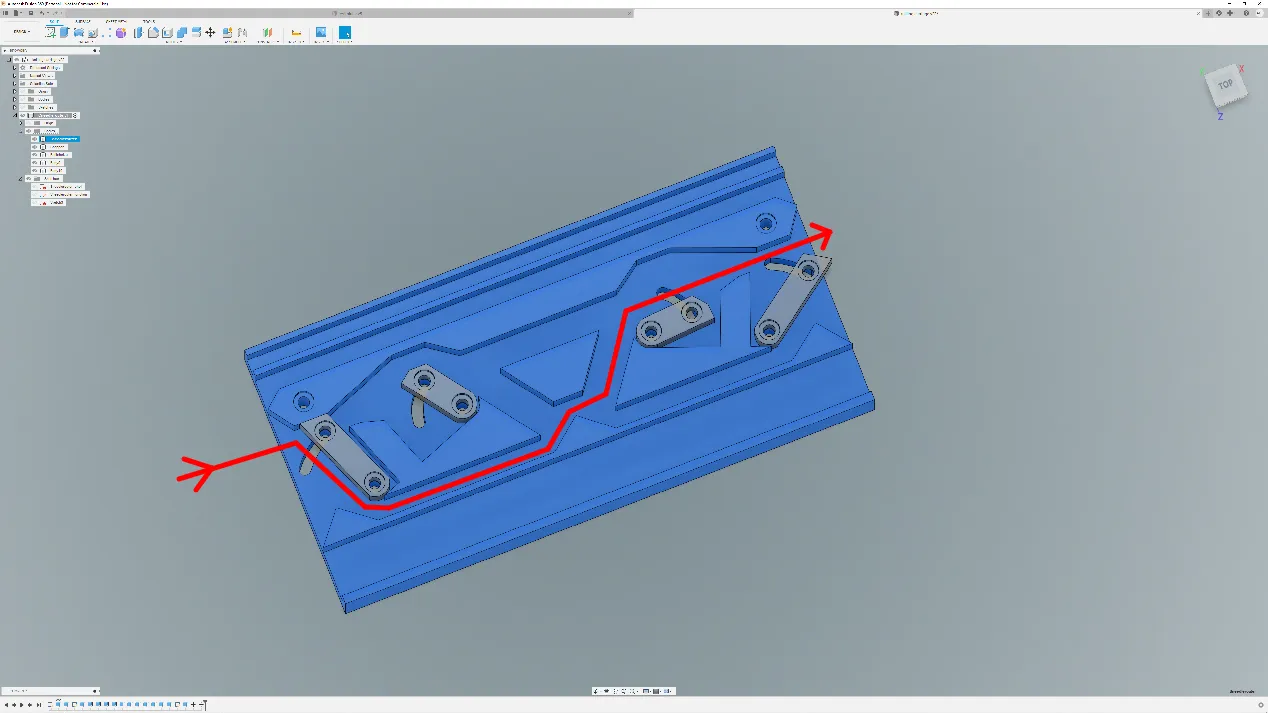
While I’m here, here’s a diagram indicating the path the needles will hopefully take as the carriage slides along the bed. Hopefully this picture shows the need for the outer “needle flaps”.
Oh - you can also see the stitch length selectors (the inner grey objects): they’ll be locked in position prior to starting knitting. The higher up their position is, the more the needle is pulled back.
Leave a comment
Comments are moderated, so yours won't appear immediately. Your email is never published.