I tried the Cyanotype process again. I used the same method as before, with the following improvements:
- I had sponge brushes to paint the fluid on the paper consistently.
- I made sure not to leave any “pools” on the paper.
- I sandwiched things between my two new A4 glass sheets to fix any focus issues.
The results are much improved, but I still have some issues:

The centres are almost perfect now, but I still have a big problem at the edges. This is because I am drying the treated paper horizontally, so any excess fluid creeps under the edges and builds up, causing problems during development.
So, for next time:
- Dry the treated paper vertically; I’m thinking hanging them from a clothesline in a dark room. Now I come to think of it, that’s exactly what you see in movies when people manually process photos: this must be why! (Not that movies are exactly a trustworthy source of technical information).
- There are a few splodges in the middle of the paper: I noticed I was picking up bits of dust when I was treating the paper. So, next time, wash everything properly first. I might even pre-rinse the paper in clean water briefly to remove any stray fluff/fibres.
- I’d like the images to be slightly darker. I found this blog post which recommended a specific application technique from encaustics, so I’ll give that a go next time. (Interestingly, it also confirms my drying-them-vertically hunch!).
- I’ll also leave a bit more space on the edges simply so handling the things doesn’t disturb the image.
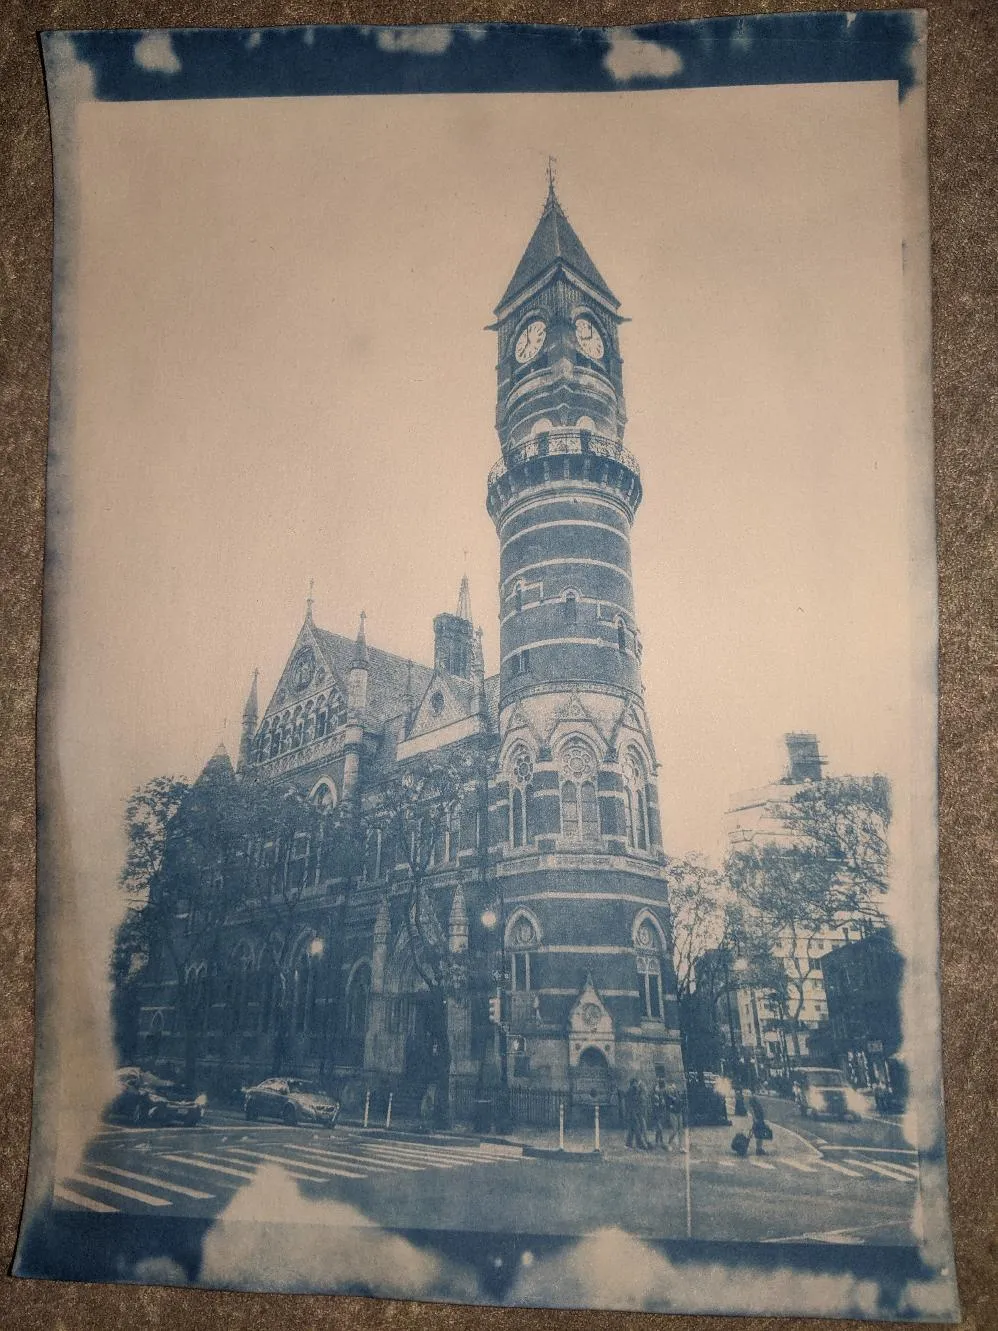
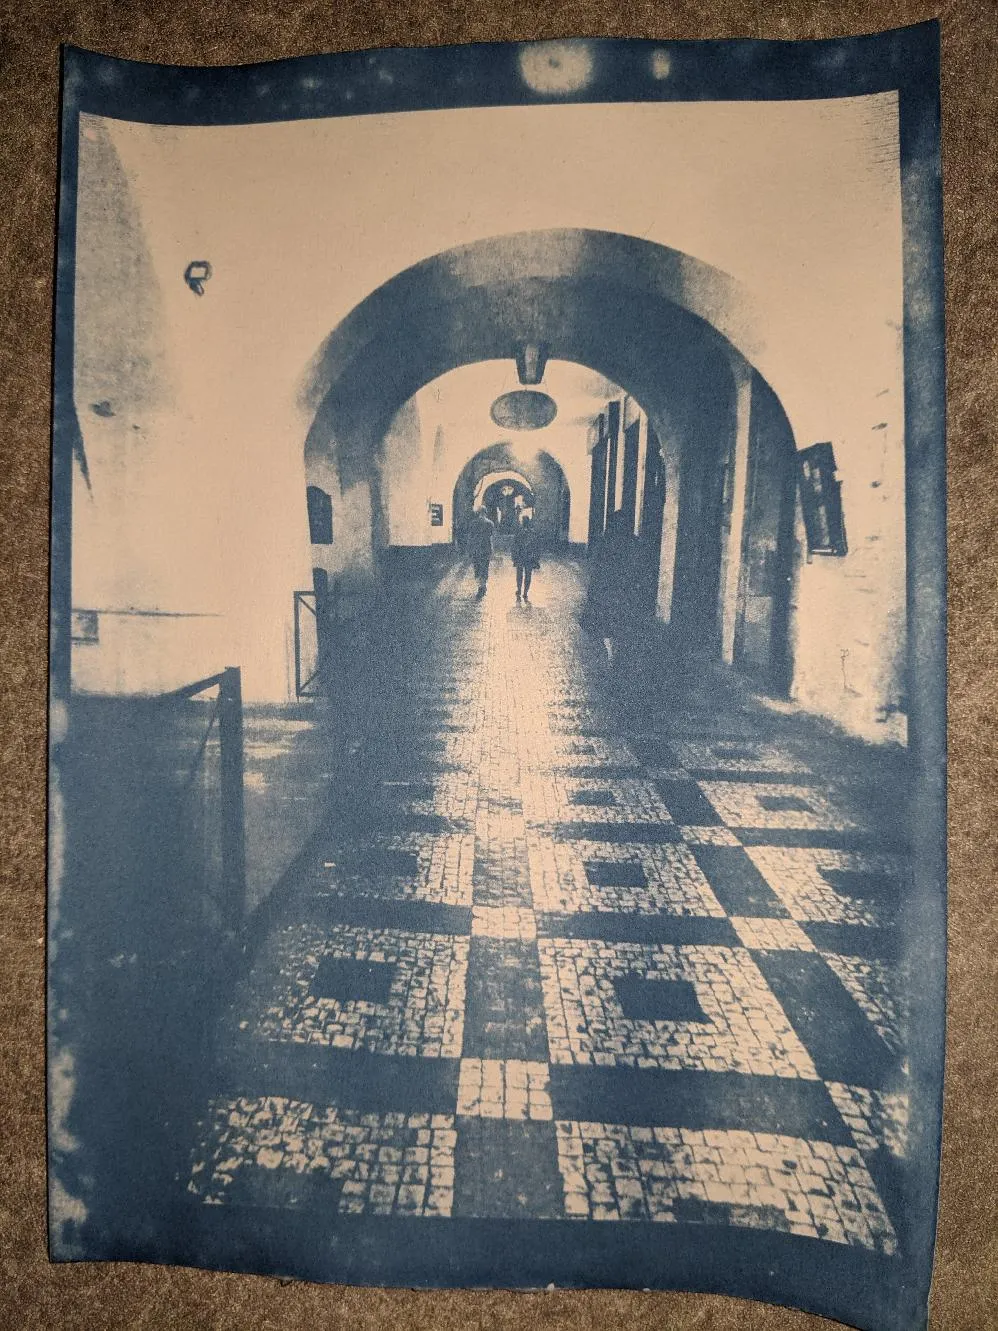
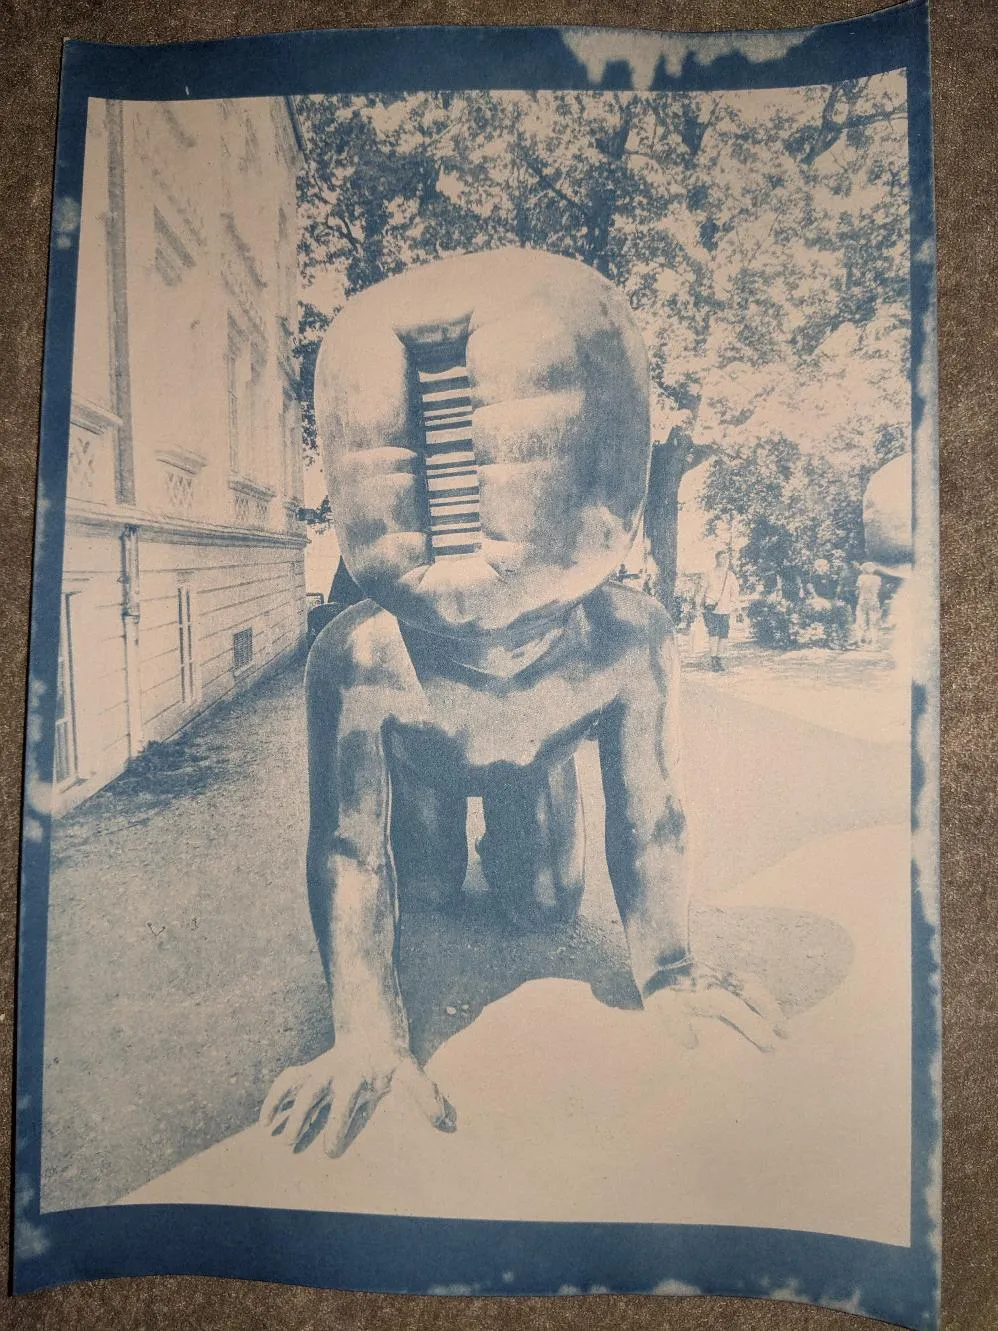
That being said, I still think they’re looking pretty interesting! The pictures are:
- The Jefferson Market Library, NYC.
- Our room in Prague.
- On the way to the pub in Prague.
- Barcode baby in Prague.
All pics are from my flickr.
Leave a comment
Comments are moderated, so yours won't appear immediately. Your email is never published.