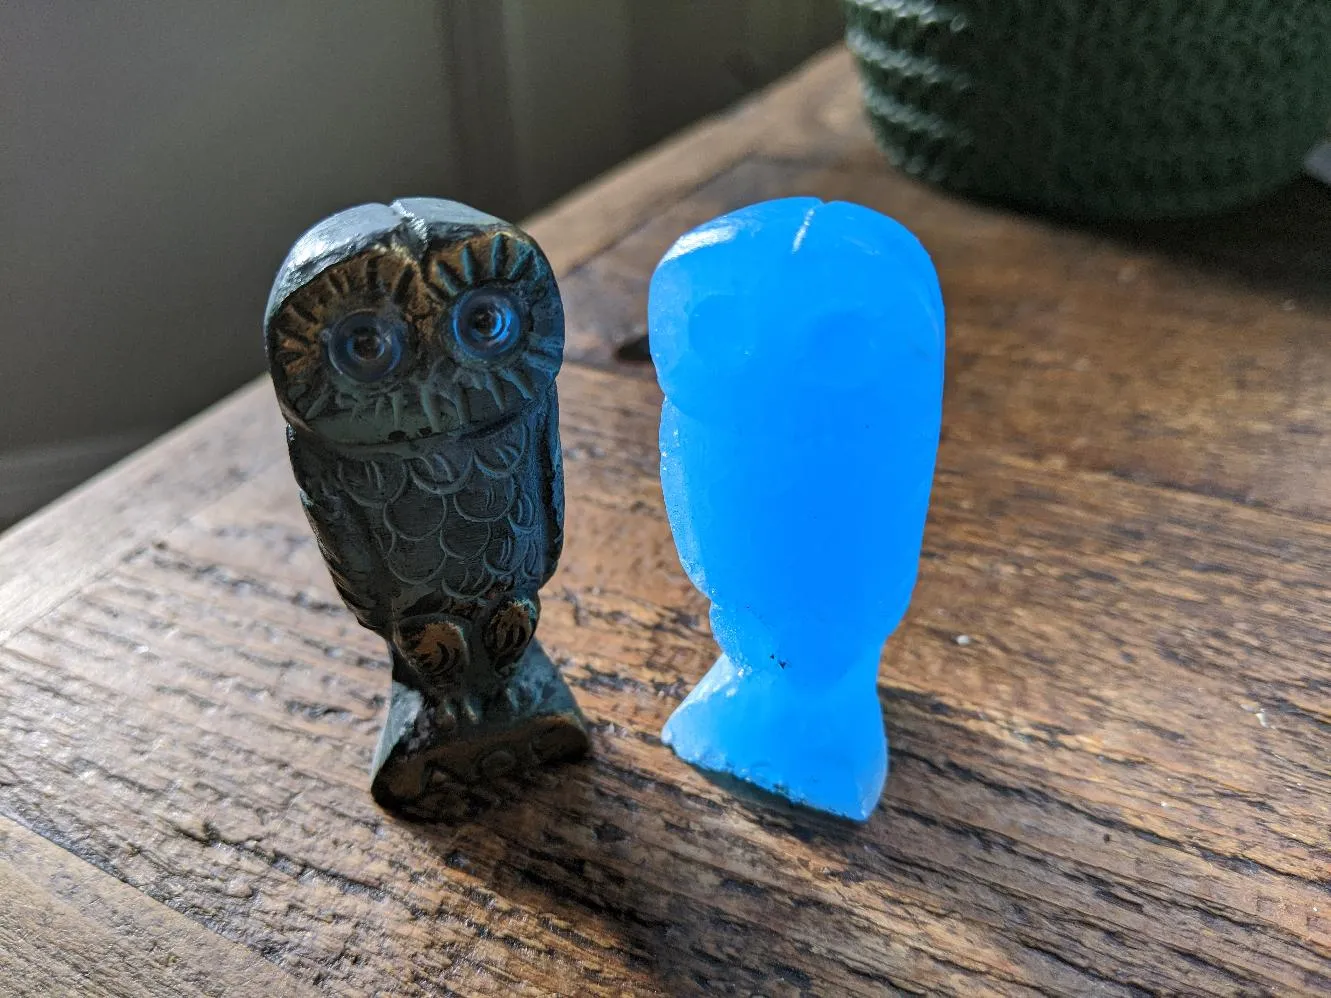
I wanted to try something different so I thought I’d give Epoxy Resin casting a go. I have this cute Greek holiday trinket I inherited from my dad which I felt would make a good test piece:
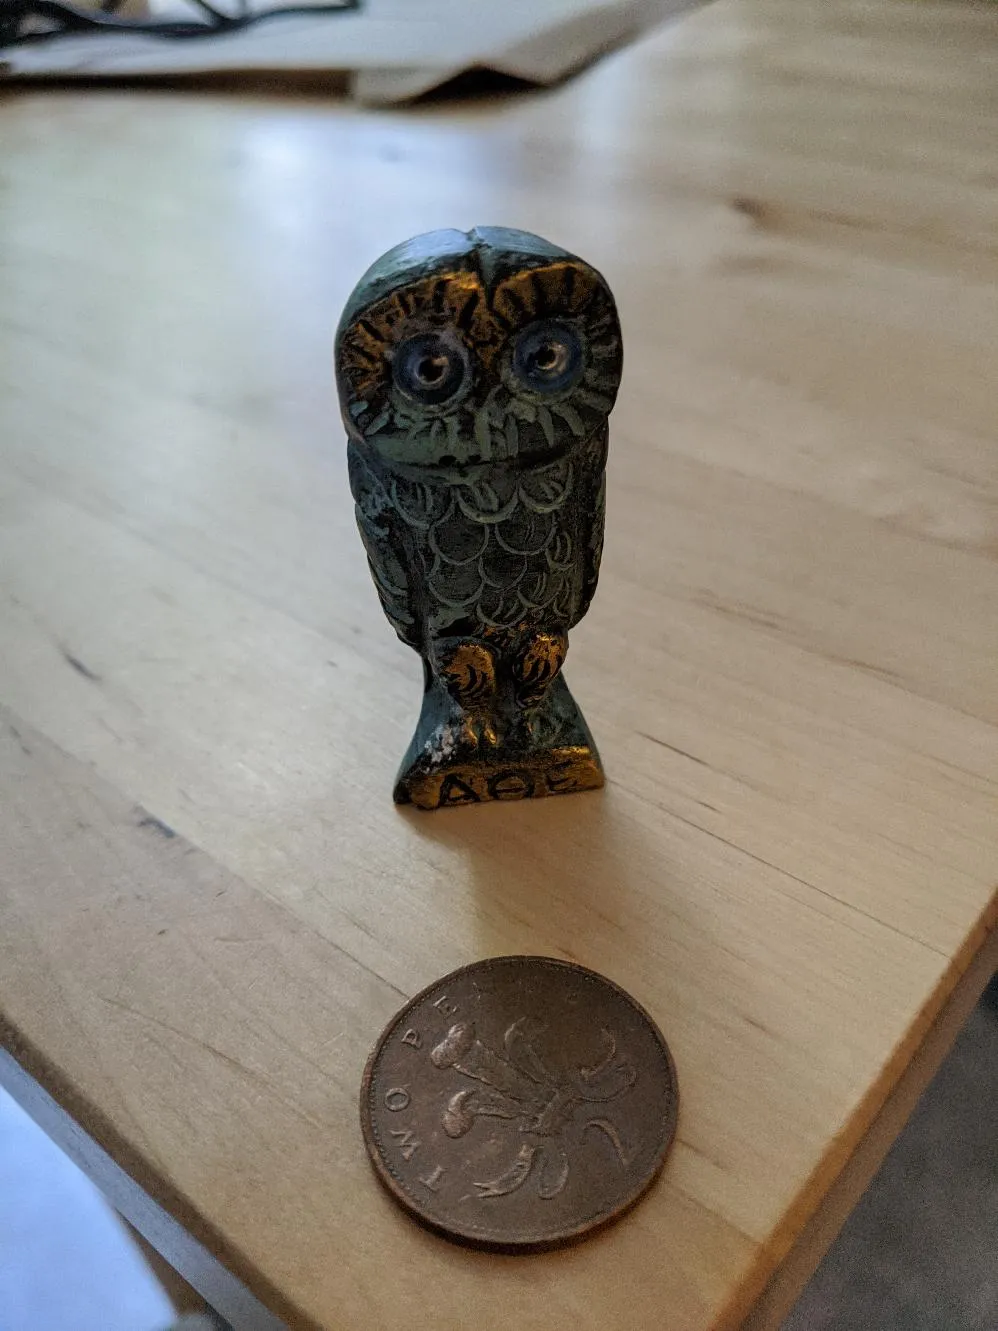
So, to cast it I first need to make a mould, then I need to fill the mould with resin.
Making the mould
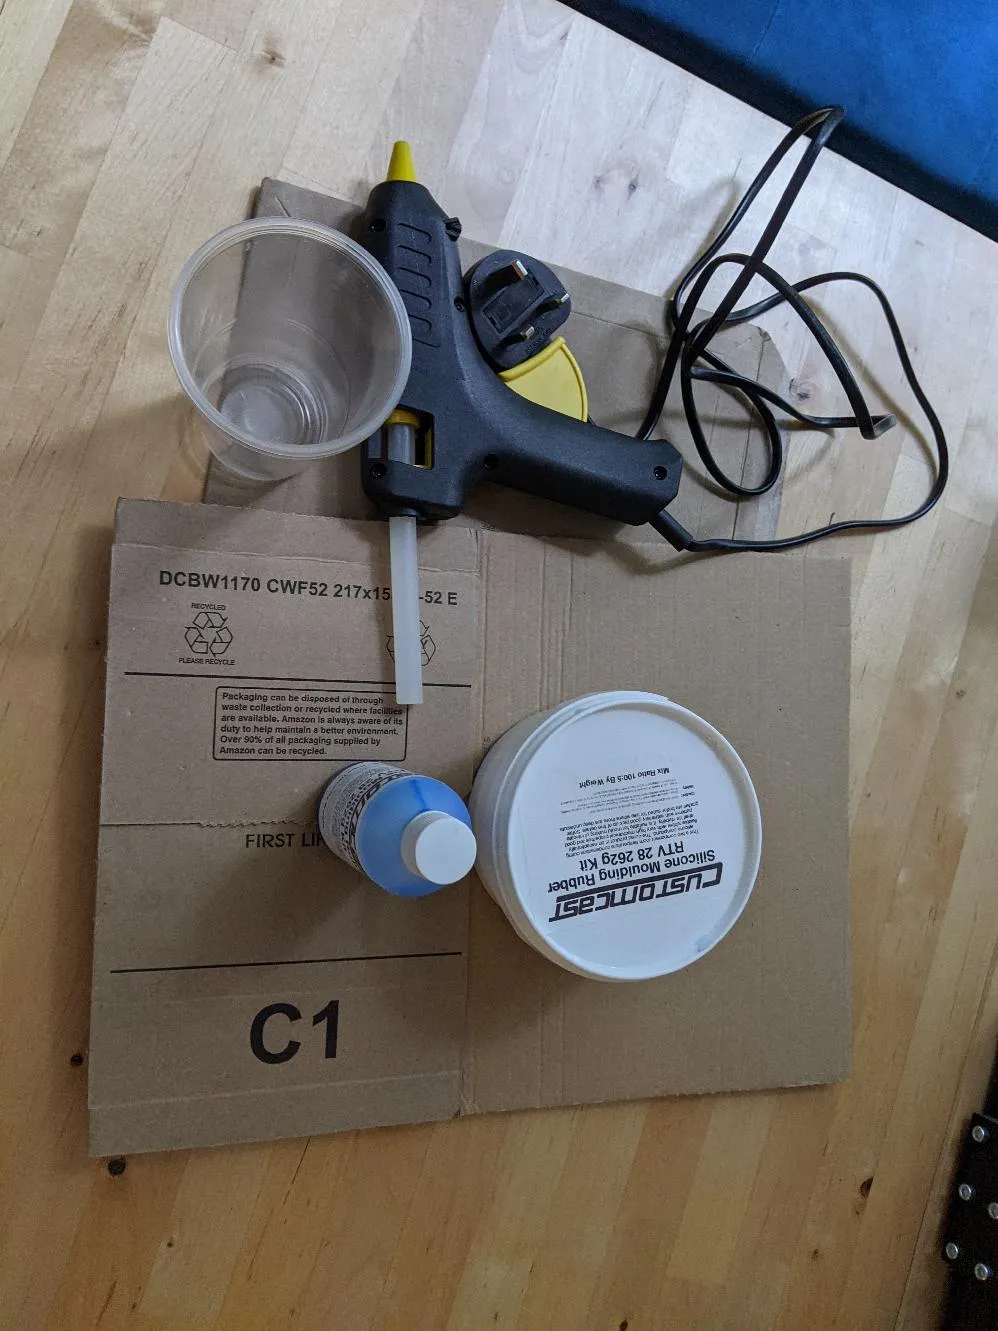
I was going to use a two part Silicone mixture, so I assembled the tools:
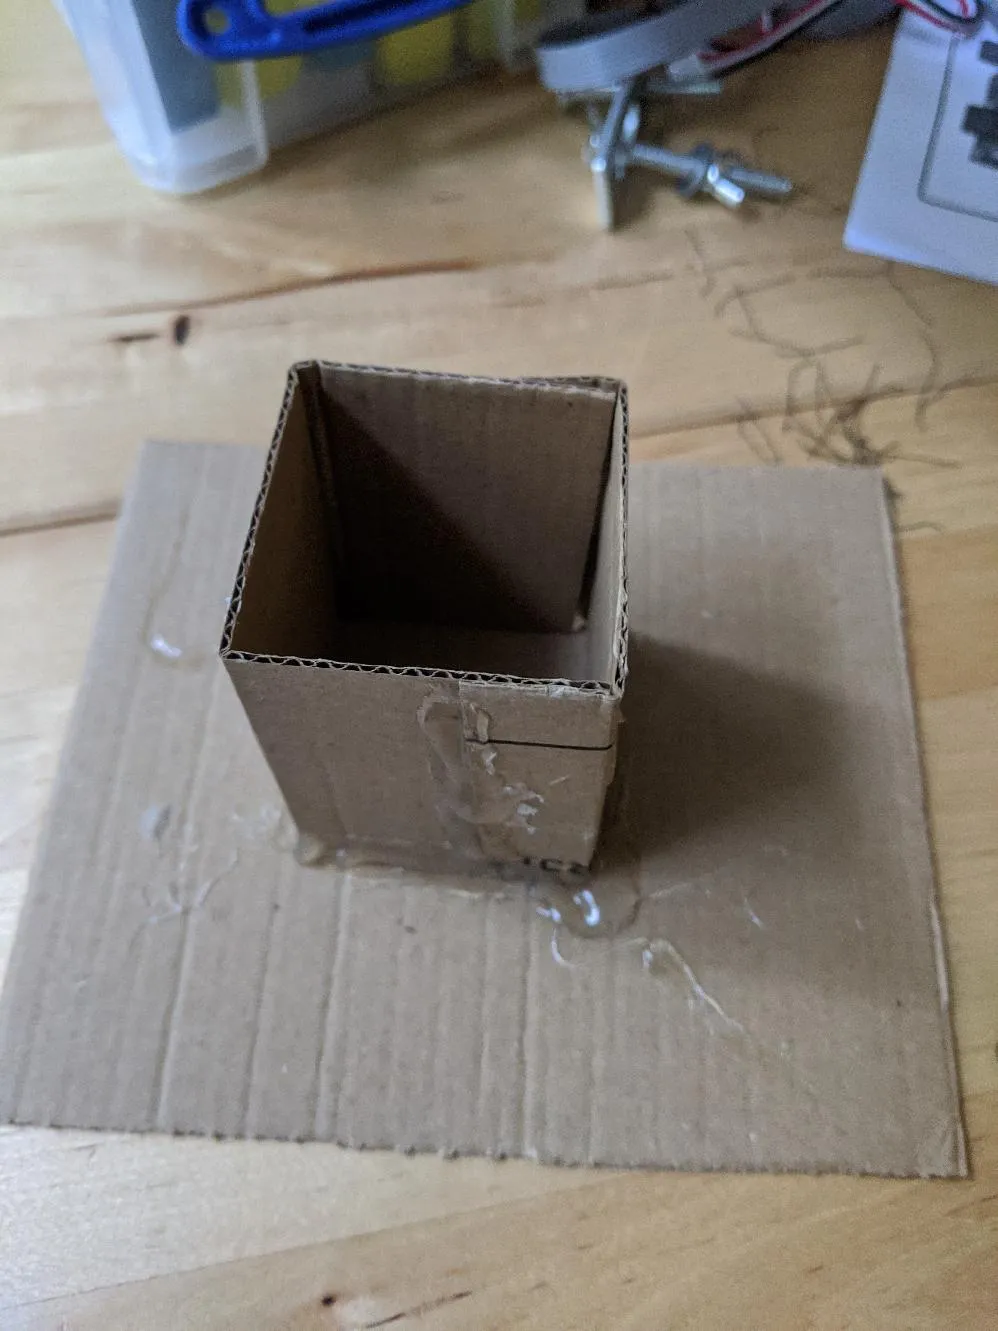
First of all, I created a small mould case using cardboard and hot glue:
Then, I mixed up the silicone components in a plastic cup.
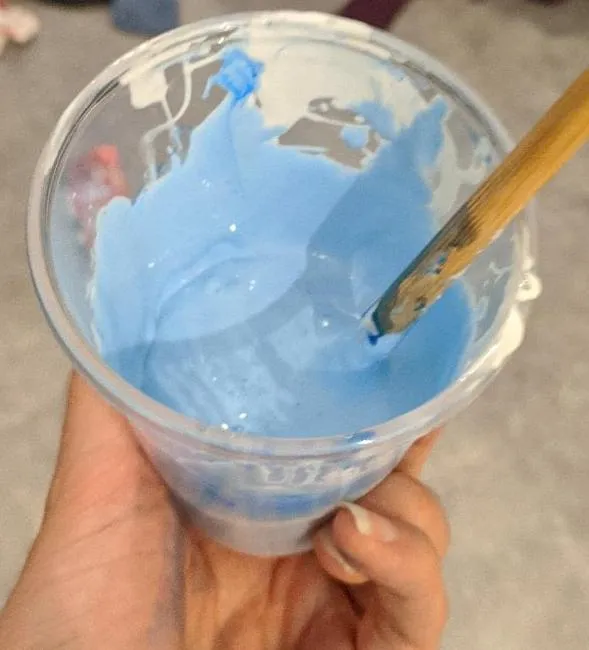
Note: I should be wearing f$&*(&%*^ing gloves here!
Finally, I placed the owl in the mould case (and then in an old pizza box in case of spillage) and poured in the silicone:
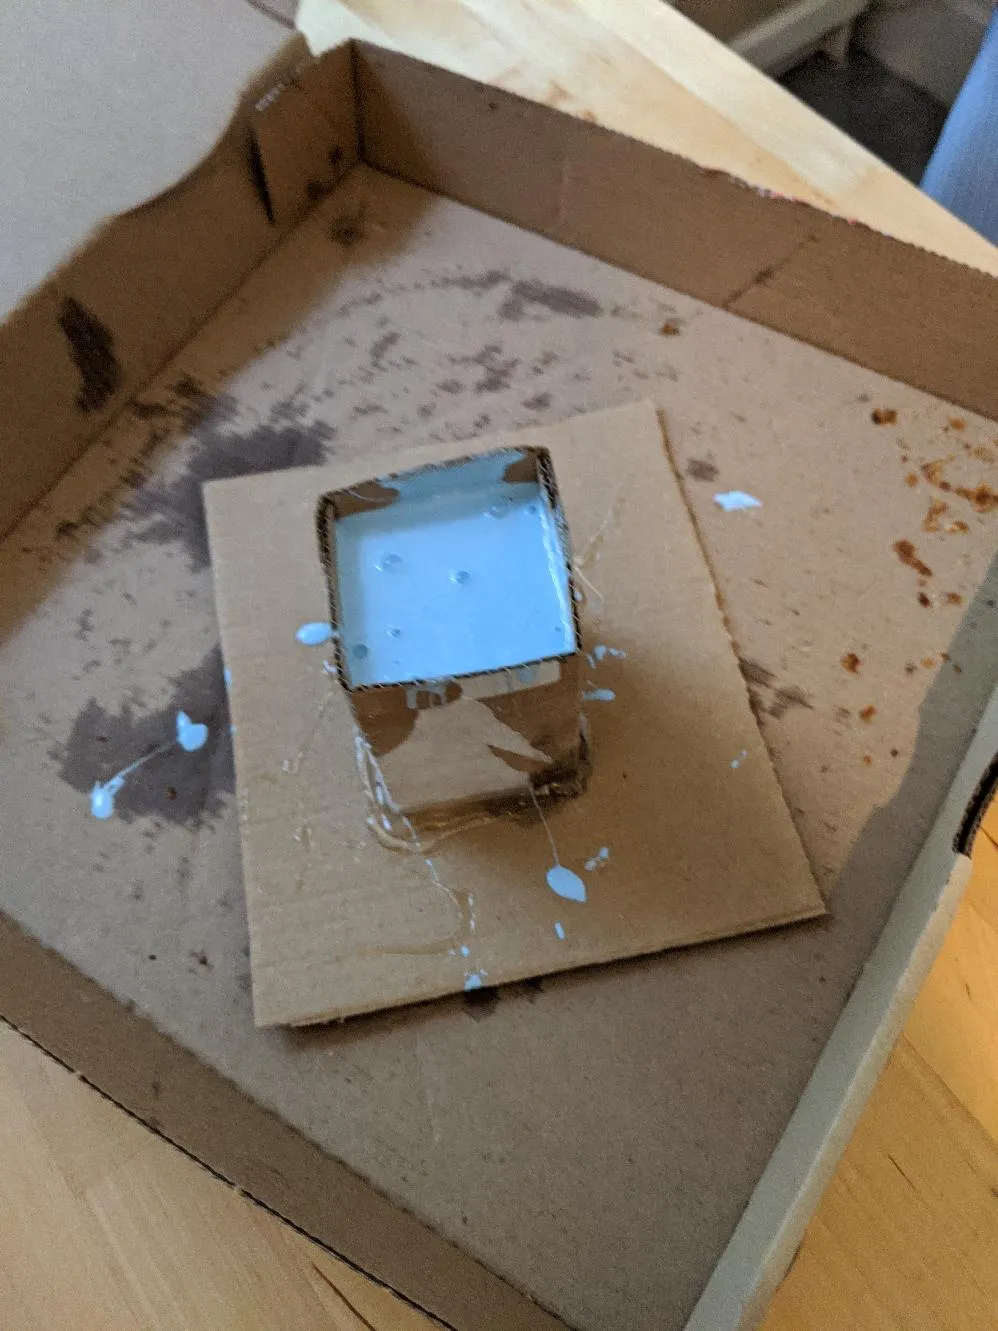
I had to leave it to cure, so I placed it on the outside windowsill for a few days (I’m not sure how dangerous any fumes from curing are, but why risk it?)
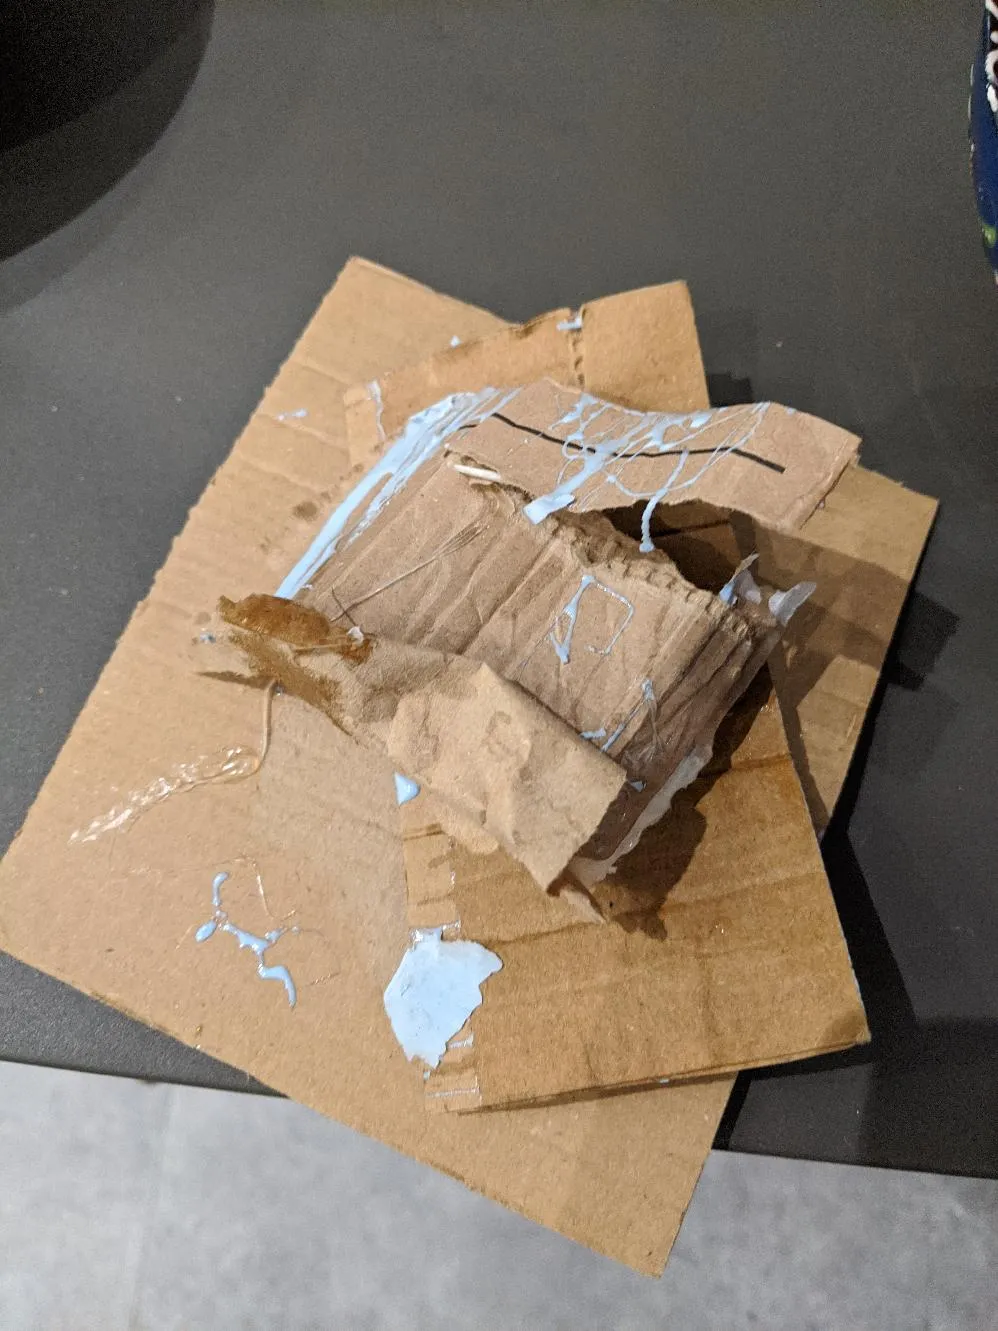
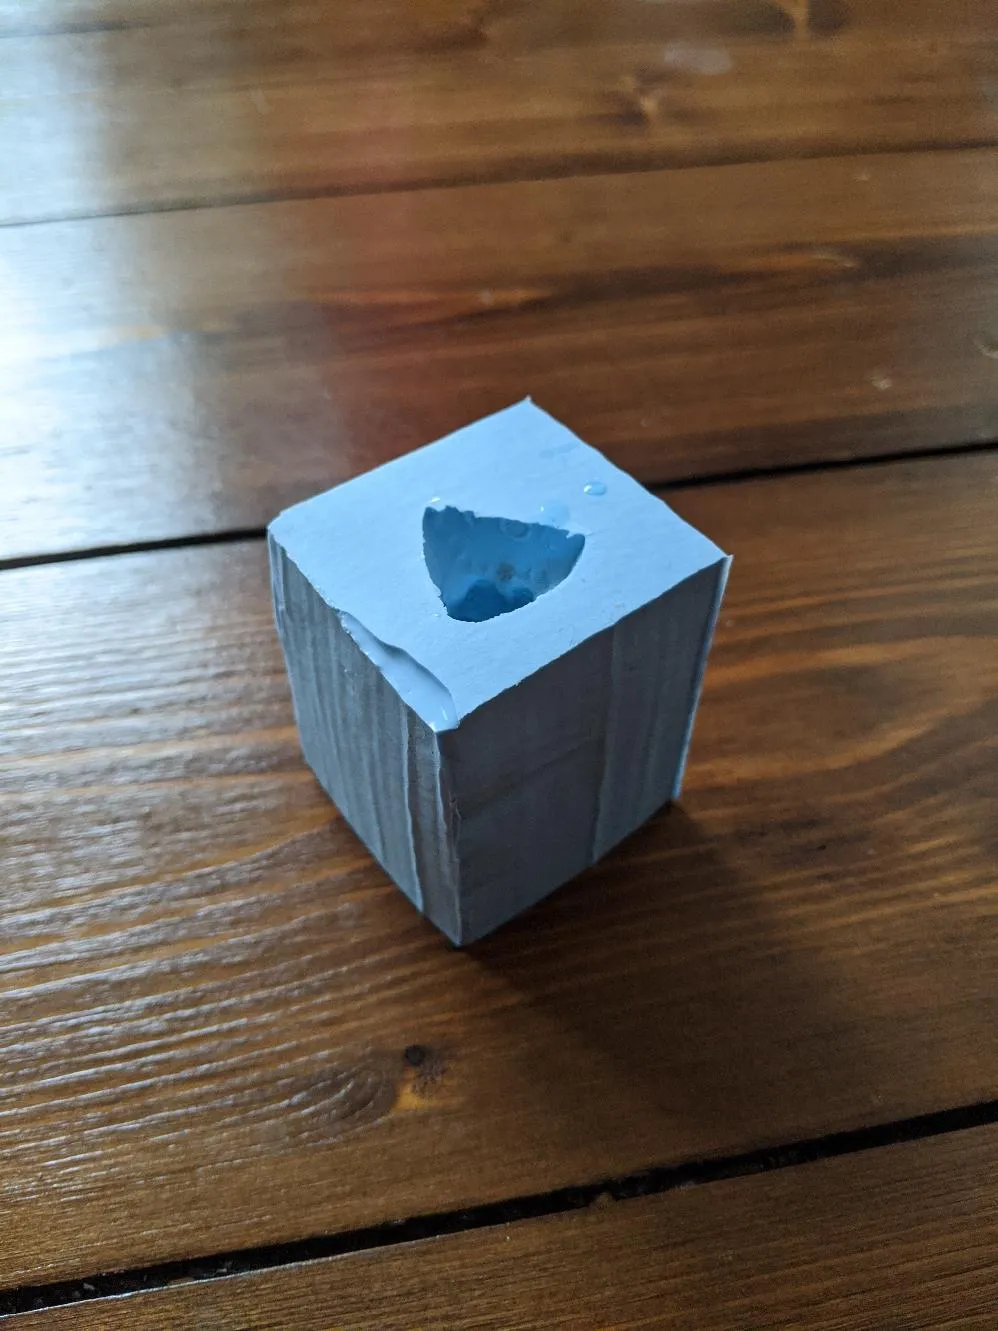
After three days, I pulled the cardboard apart and extracted the original piece by squeezing it a bit, yielding the mould, ready to use! (I could probably have done it sooner, but I was not in a rush):
Casting the piece in the mould
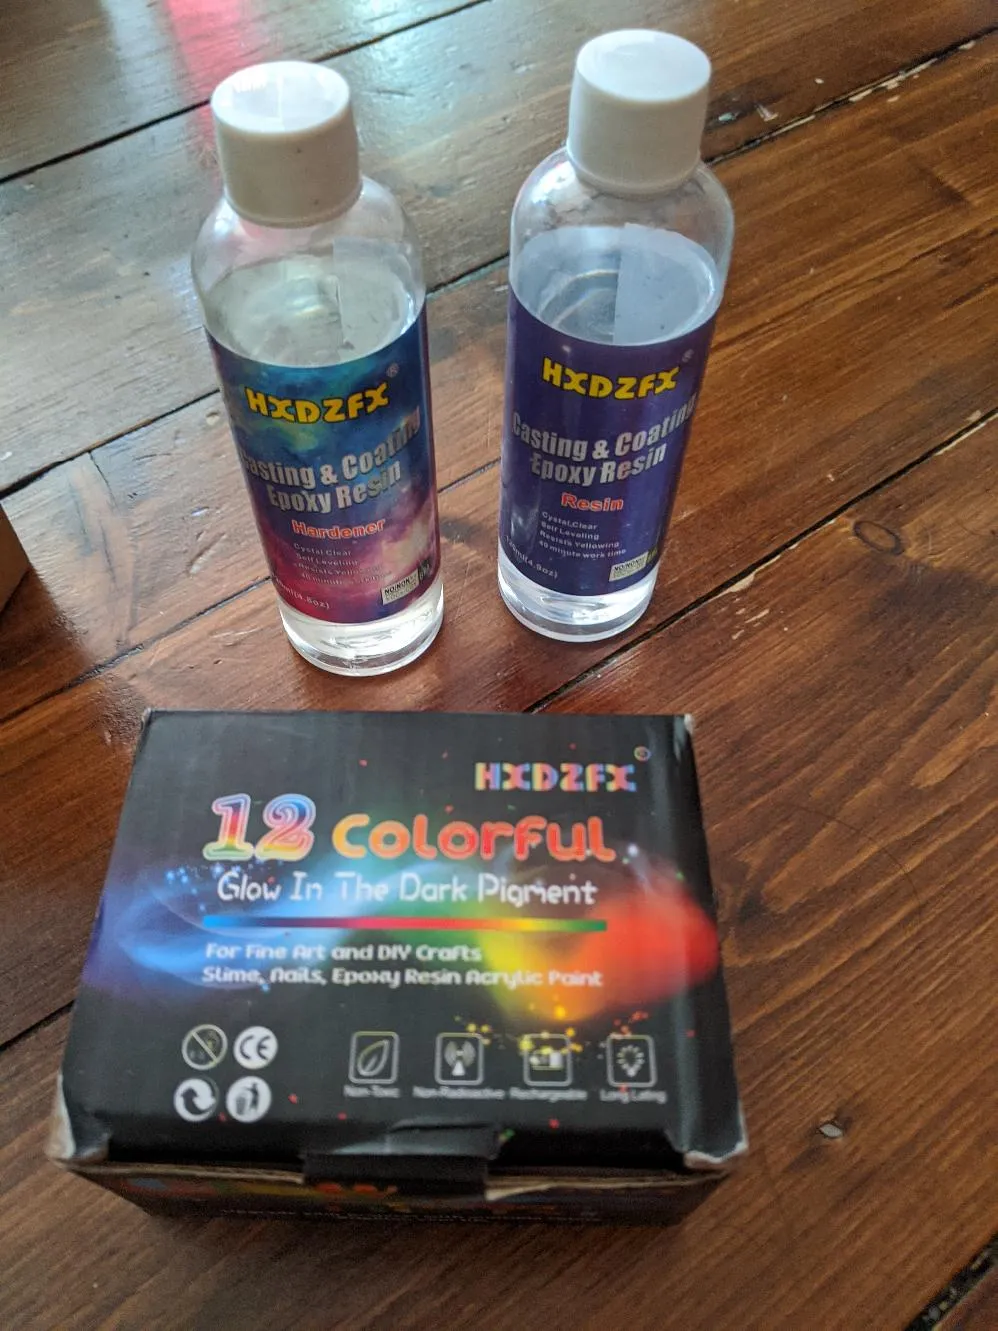
Once that was done I got the Epoxy components out of the cupboard. I also wanted to add some glow in the dark powder while I was at it:
I put on some gloves, and then mixed the epoxy up in a plastic cup. I then poured it into another cup and continued mixing before finally adding the glow in the dark powder.
According to the instructions, this is to minimise the likelihood that the epoxy will not be mixed properly/ come into contact with unmixed bits on the sides of the cup, which results in weak improperly cured parts. (No picture from this process as my gloves were messy with epoxy).
I poured it into the mould and left it on the windowsill for a few days again.
Once the epoxy had set after 48 hours, I was able to simply squeeze the mould a bit by hand and extract the piece:
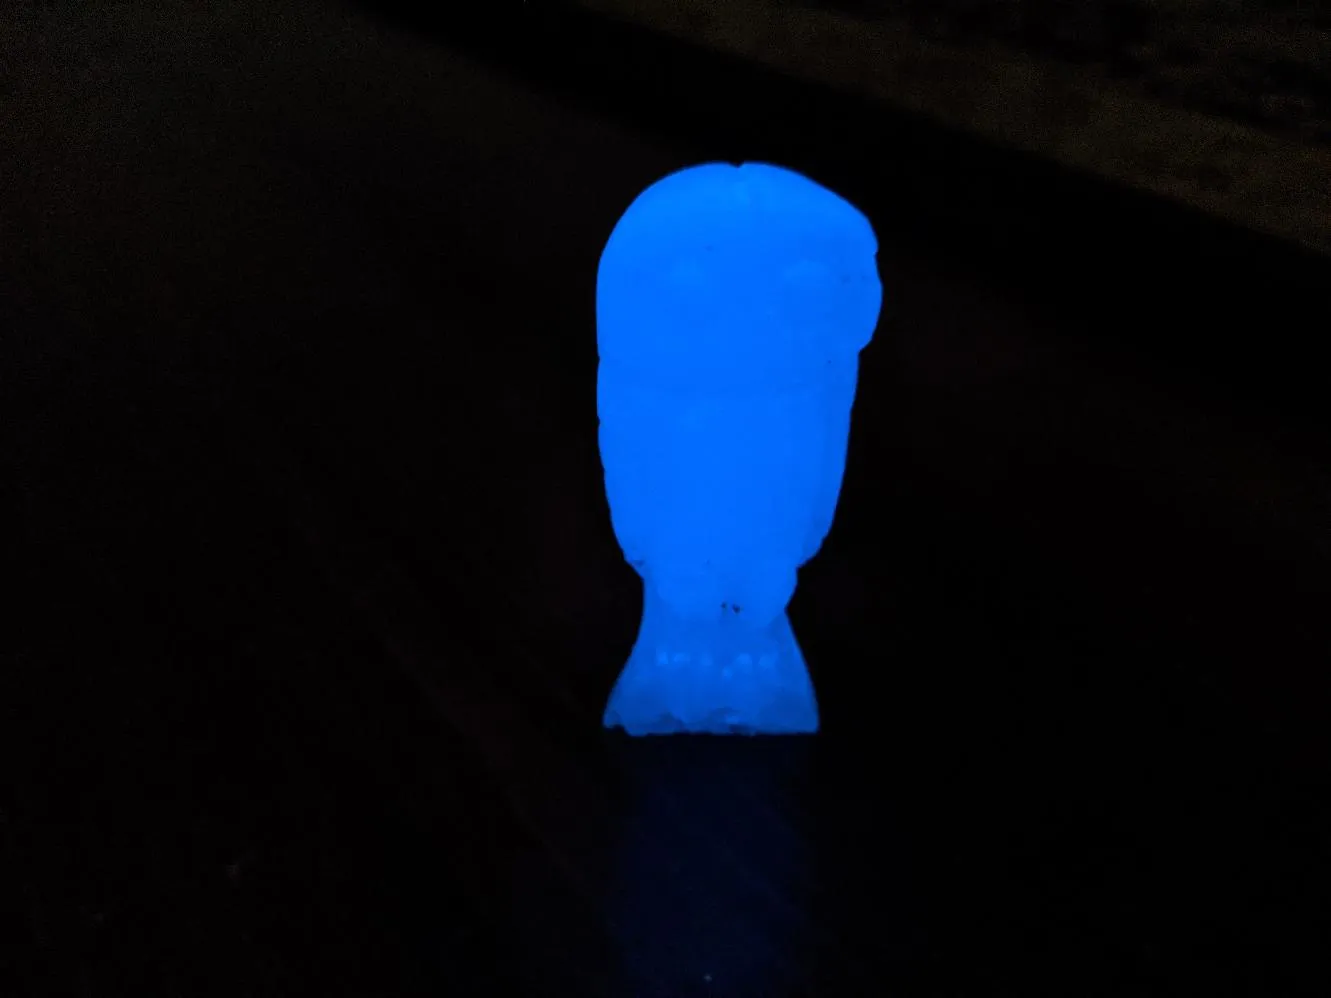
It does glow in the dark!
Summary and Improvements
While mixing the Silicone together I realised I was sort of “winging it”, resulting in stress and the increased possibility of accident. I’ve been watching a lot of NileRed’s Youtube channel recently. I felt I should take this video of his to heart and plan each step properly in advance. I did this for the Epoxy stage and my technique was a lot better, but still not perfect.
I have zero intention of doing anything like the scary things he does though: I prefer my terrifying chemistry kept behind the safety of a Youtube channel. That being said though, making normal, non-radioactive glass is something I do want to do.
Even though its encouraging for a first attempt, there are some problems with the cast piece:
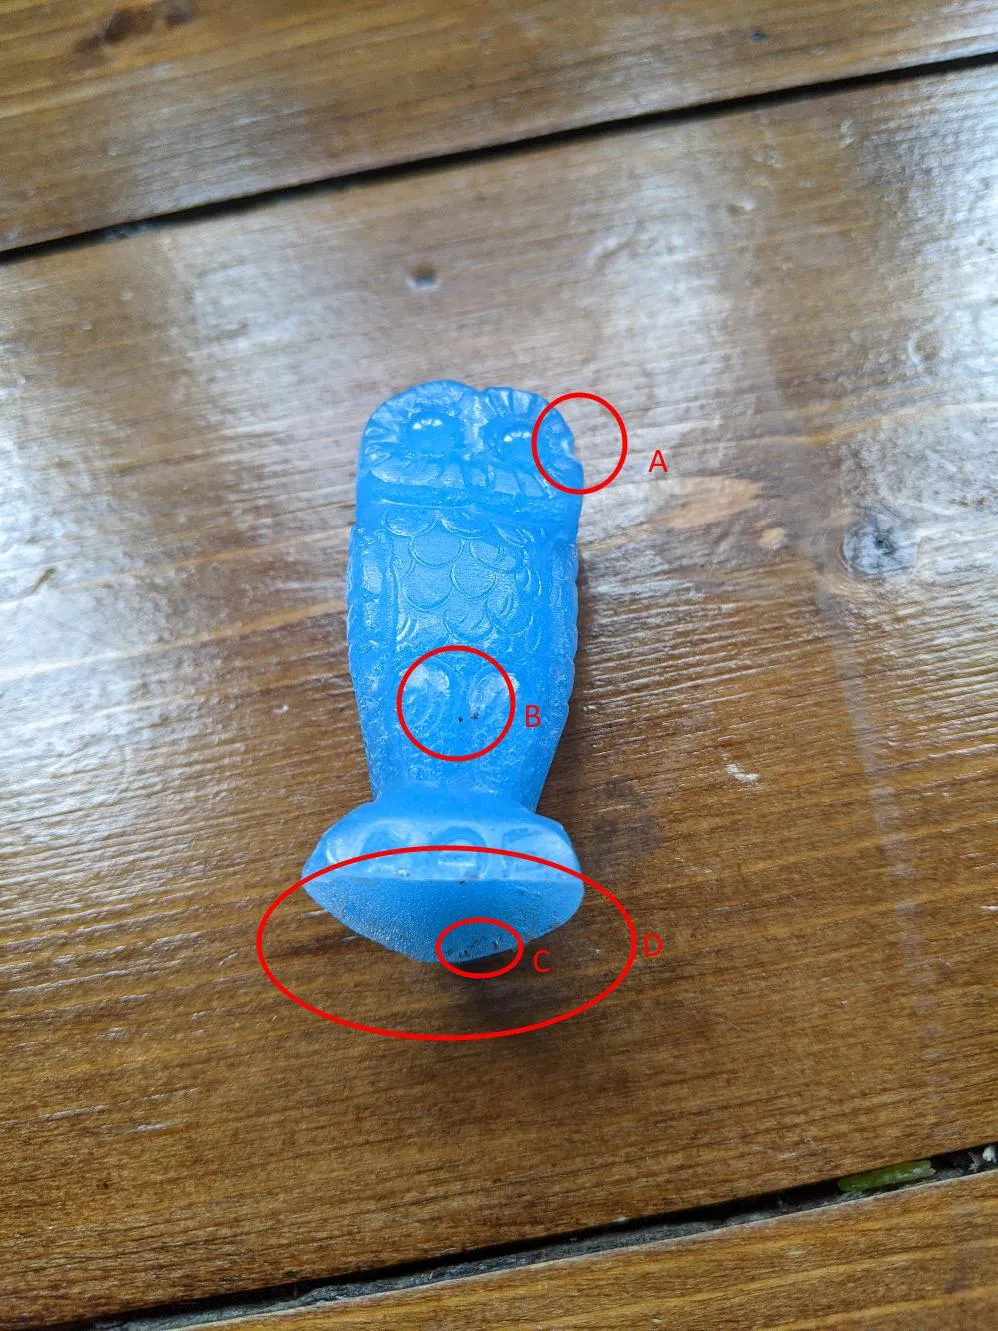
- A: A big bubble in the epoxy caused this.
- B: Some crap in the mould adhered here.
- C: Bubbles, bubbles everywhere!
- D: The base is concave: During curing it has lost a bit of volume.
Fixing the bubbles is easily sorted with a vacuum pump/chamber: I’ve got one arriving tomorrow. I could eliminate the bigger ones with a blowtorch, but there are tiny bubbles all through it as well.
The crap in the mould is hopefully gone now :)
The concave base: In future I’ll need to build pieces up a bit when mould making to provide a reservoir to account for this. In the meantime, I’ll have to bodge something on the existing mould to use it again. I do wonder if this is due to the curing process, or just down to air bubbles escaping from the mixture. Time will tell!
Additionally, I need to use a bit more silicone on the top of the mould itself: although it was all covered, you can sort of see the bump of the owl’s head in the mould (hard to show in a photo). I really want more - ah - headroom to prevent it being squished by gravity.
However, this shot also shows the silicone really did a good job of picking up the fine details of the original piece.
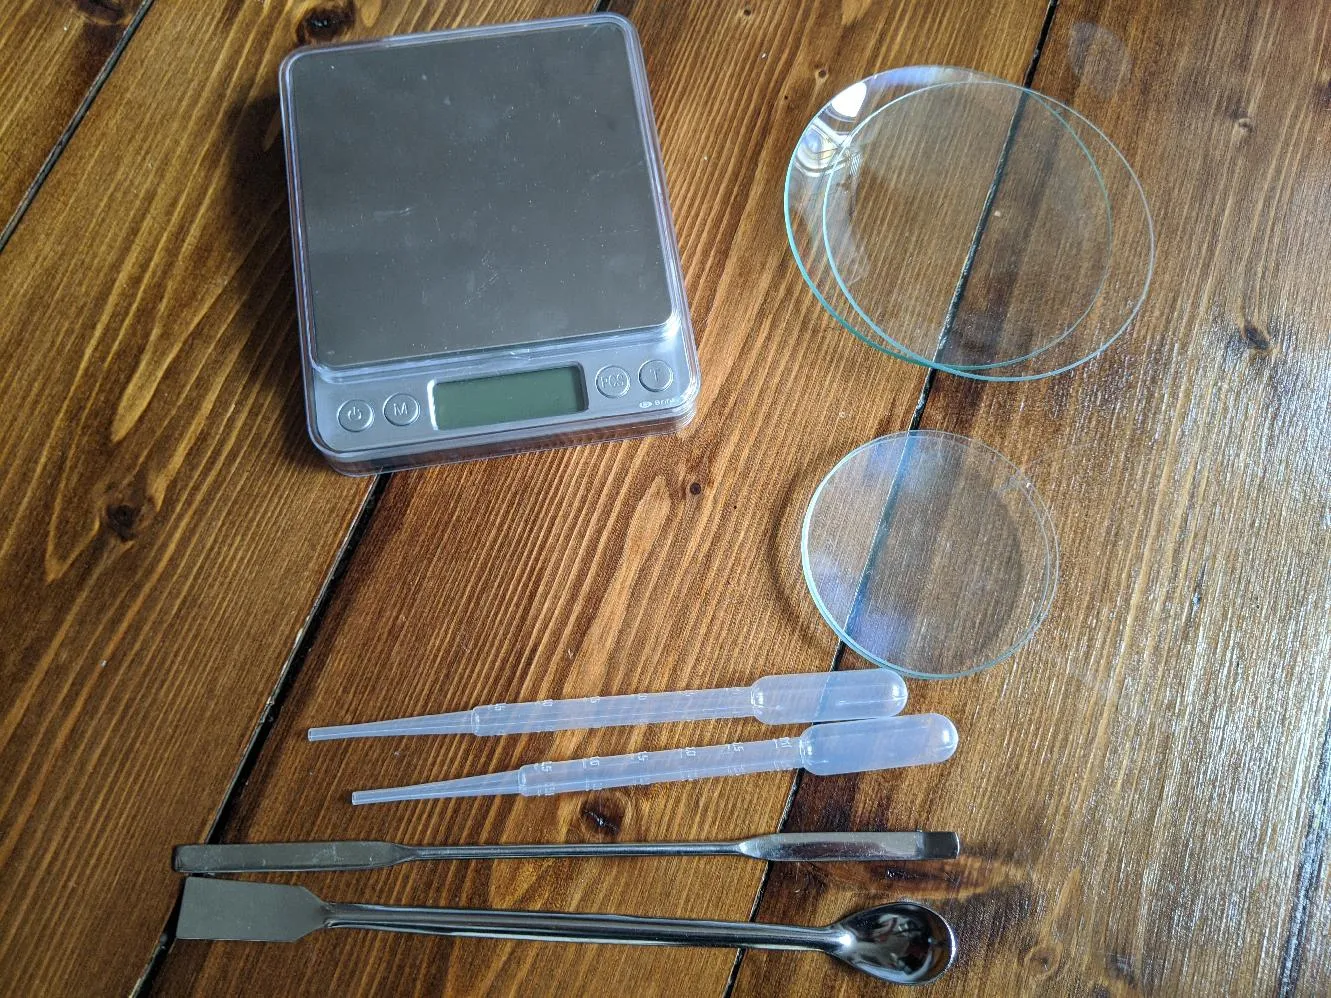
As part of this project I also upgraded my chemical handling equiment a bit:
1 Comment
Nicola de Quincey ·
The owl is a beautifully detailed thing.