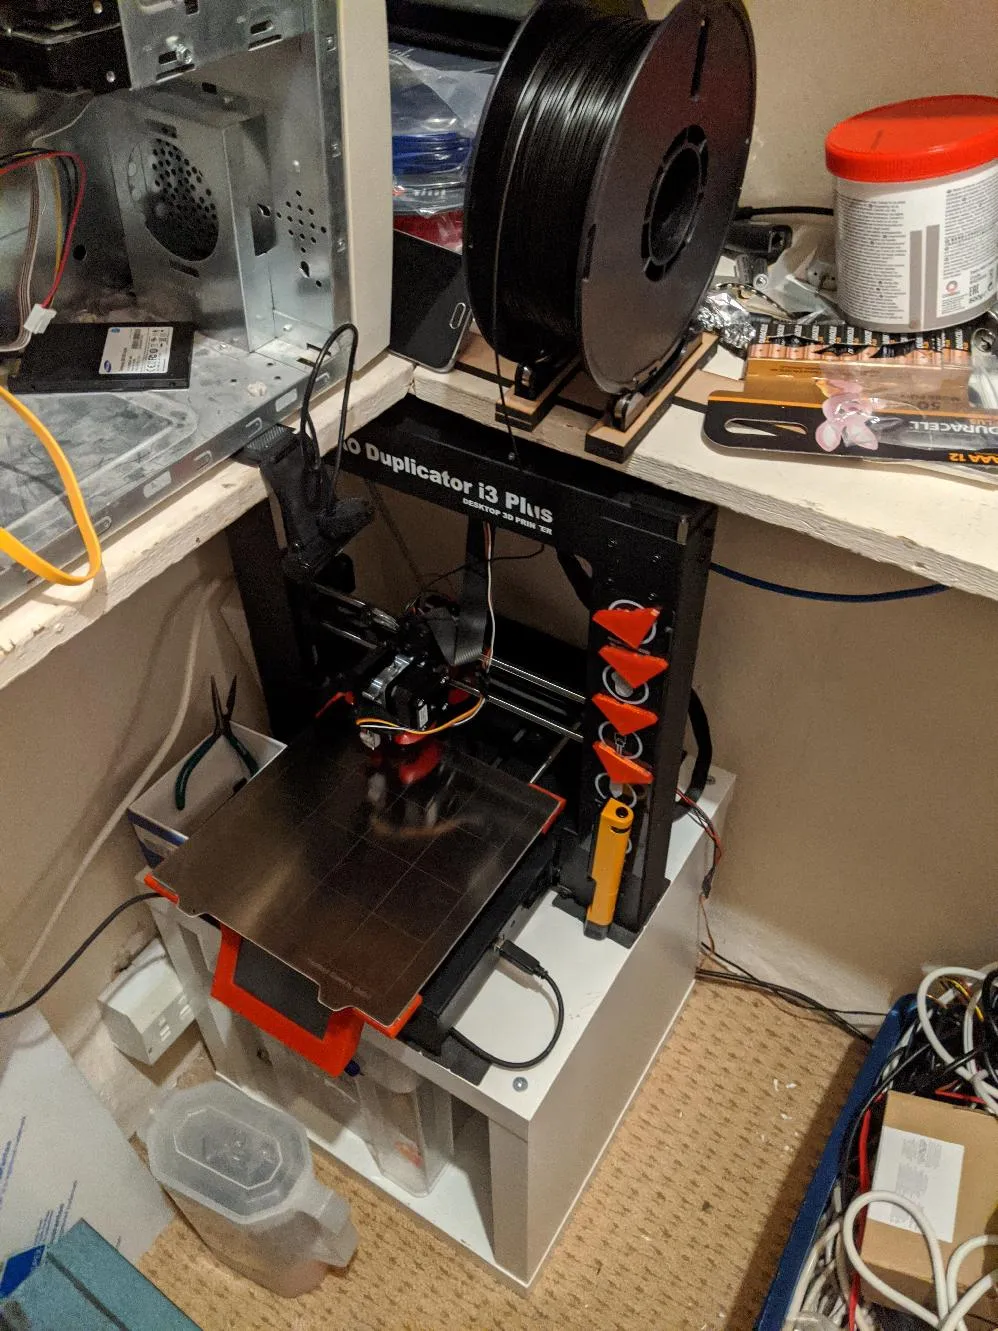
This is inspired by the “Prusa i3” range of 3D Printers. Even though its cheaper, this one still has a solid metal structure.
I’ve heavily upgraded it: It would probably have been cheaper to simply buy a slightly more expensive printer, but I’ve gained an awful lot of knowledge on maintaining 3d printers doing it myself. They’re orders of magnitude more fiddly than 2d paper printers.
Let’s have a look at the print bed first of all:

- A. I replaced the bendy cheap metal lower support platform with a custom laser cut 5mm thick aluminium plate from someone on ebay. This makes the print bed a lot more rigid, and helps reduce vibration.
- B. Ciicooler cooling shroud printed in PETG (I used PETG since it has a much higher temperature tolerance and this is right next to the hotend). Better cooling gives better prints!
- C. Micro Swiss All Metal Hotend (aka Print Head). This lets me print materials at much higher temperatures such as PETG.
- D. BLTouch bed levelling sensor. Means the printer can deal with minor bed level issues automatically rather than requiring lots of manual adjustments.
- E. I removed the original platform adjustment springs and replaced them with some M3 Knurled Thumb Nuts. Makes the platform more rigid and removes more vibration since I can lock it in place. Combined with the BLTouch, it means I rarely have to manually relevel it.
Next up: the print surface
I removed the original print surface from the heated bed and replaced it with a sticky-backed magnetic sheet, allowing me to change the print surface really easily. It also makes removing prints much easier.
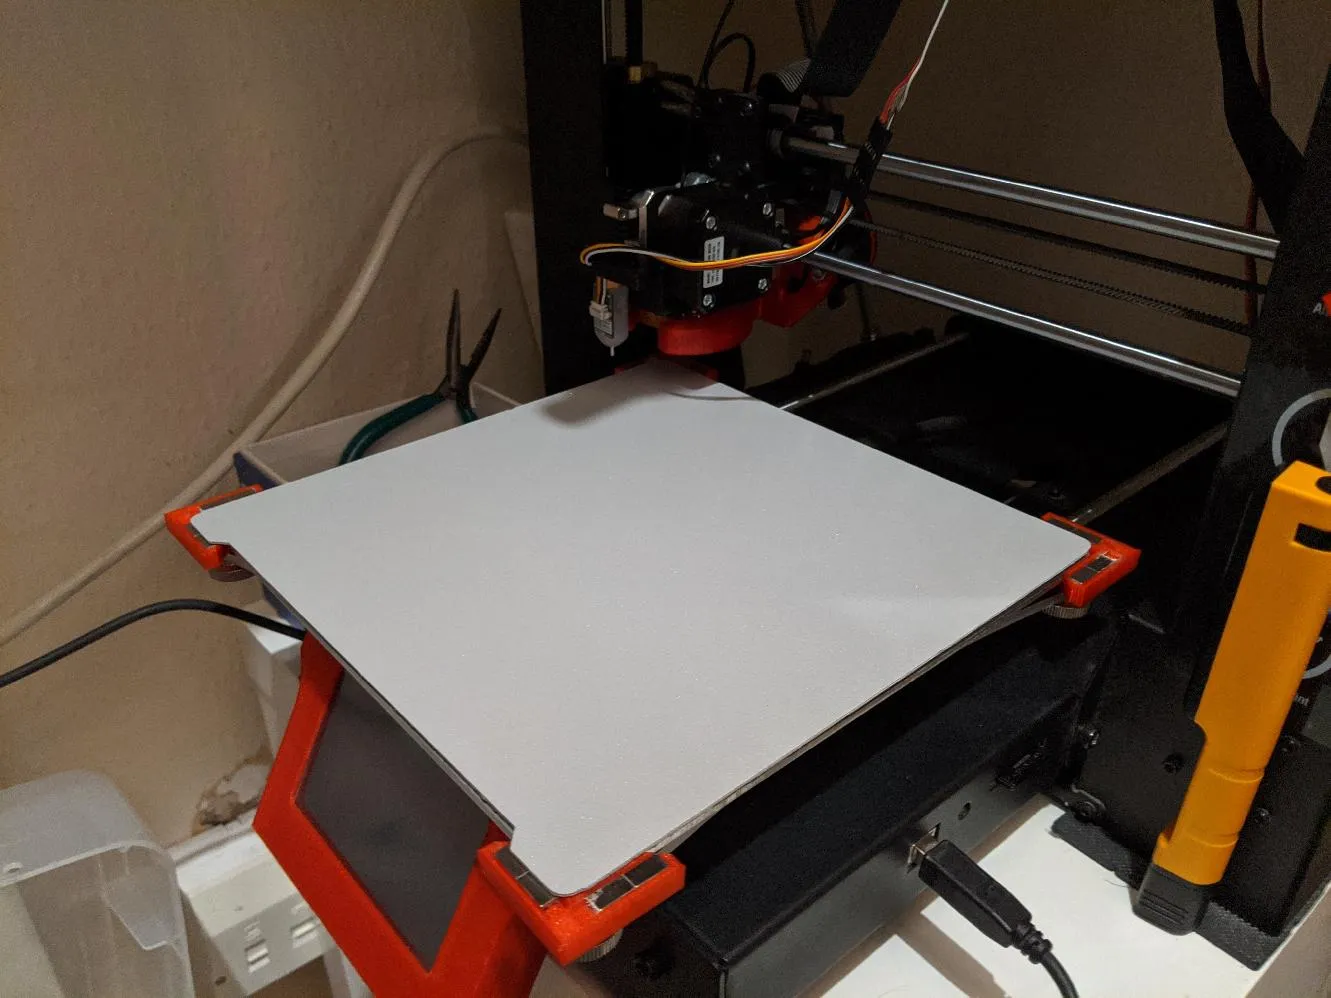
The bolt heads in the corners of the bed (see image 3) would have interfered with the metal sheets, but I took some M3 bolts and ground the bolt heads down to ~0.9mm on a grinder at Edinburgh Hacklab.
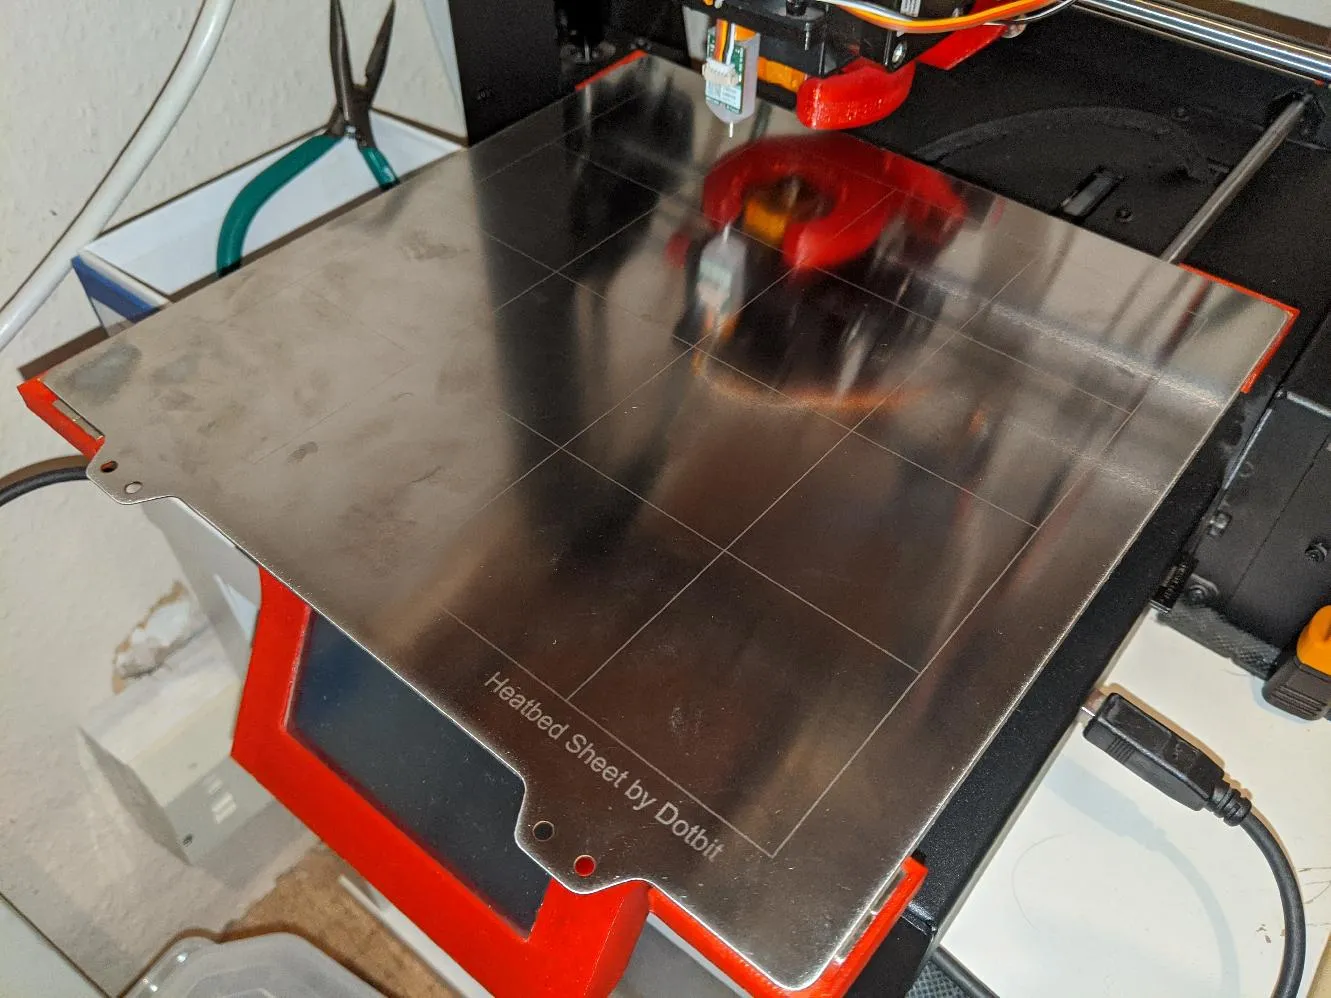
- Smooth PEI Sheet on steel backing. I use this for everything nowadays: most things stick to it really well. This needs cleaned with Isopropyl alcohol now and then to remove grease from fingers etc.
- Rough PEI Sheet on steel backing. I use this for tricky items which might need more help adhering to the bed. Isopropyl alcohol cleaning here too.
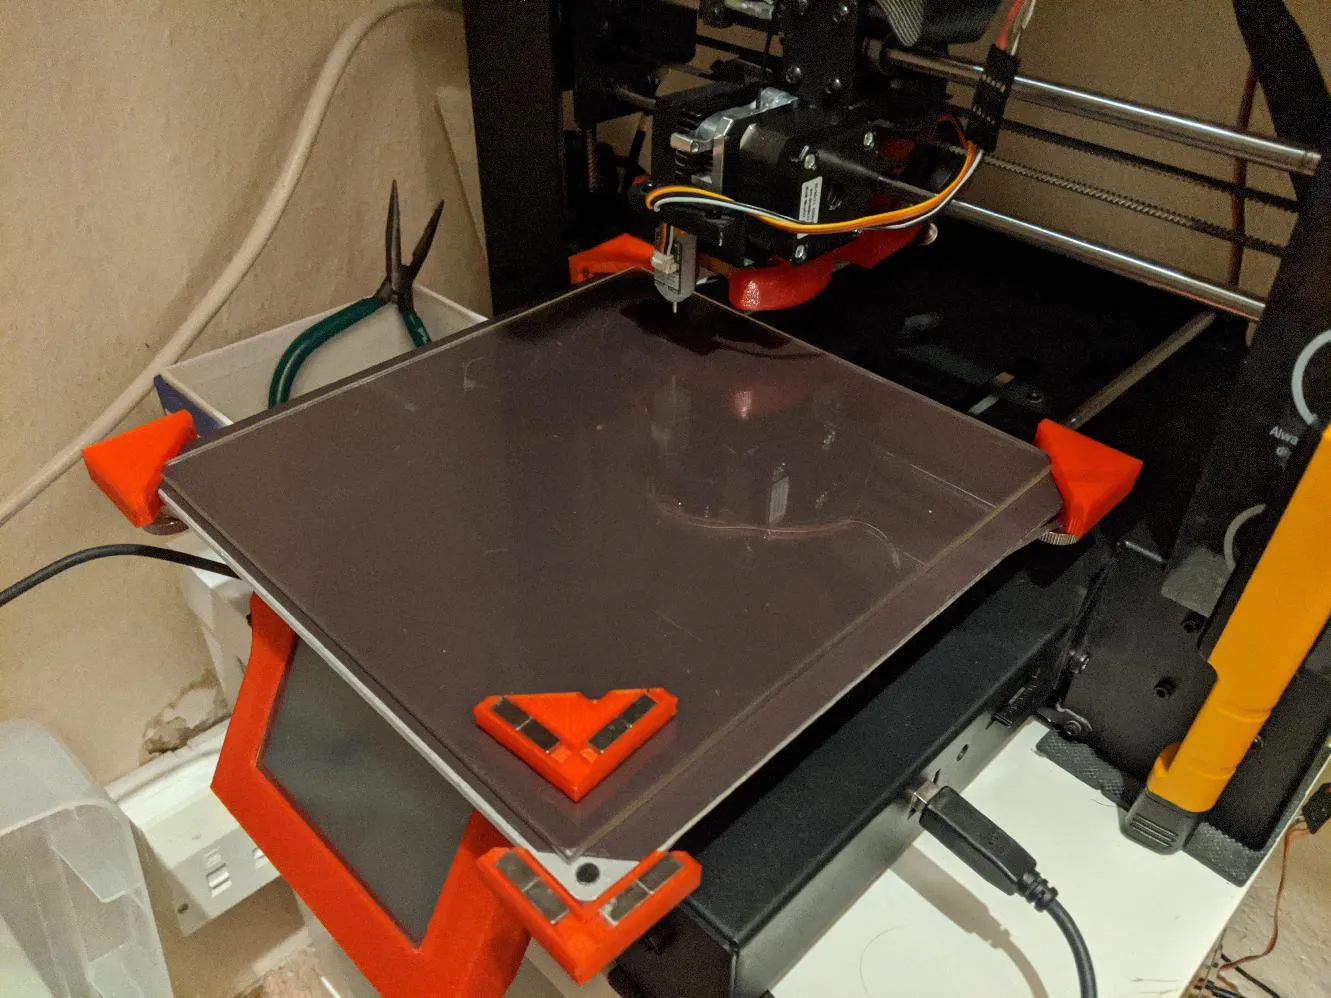
- Borosilicate Glass Sheet. Finally, if I want a glass-smooth lower surface, I use this. Its also handy for things that stick to PEI too well (eg some flexible filaments). I spray this with cheap hairspray to make things adhere properly.
- Since glass isn’t generally magnetic, I had to make the triangular red magnetic clips you can see on the corners to hold it in place. Luckily I had some spare Neodynium magnets in the cupboard. They live stuck to the printer frame when not in use.
Misc Other Upgrades
- Table. As you can probably see from the main picture, I have it sitting on a single-unit Ikea Kallax unit, with some rubber squares between the printer and the Kallax. Its pretty solid so the printer does not wobble.
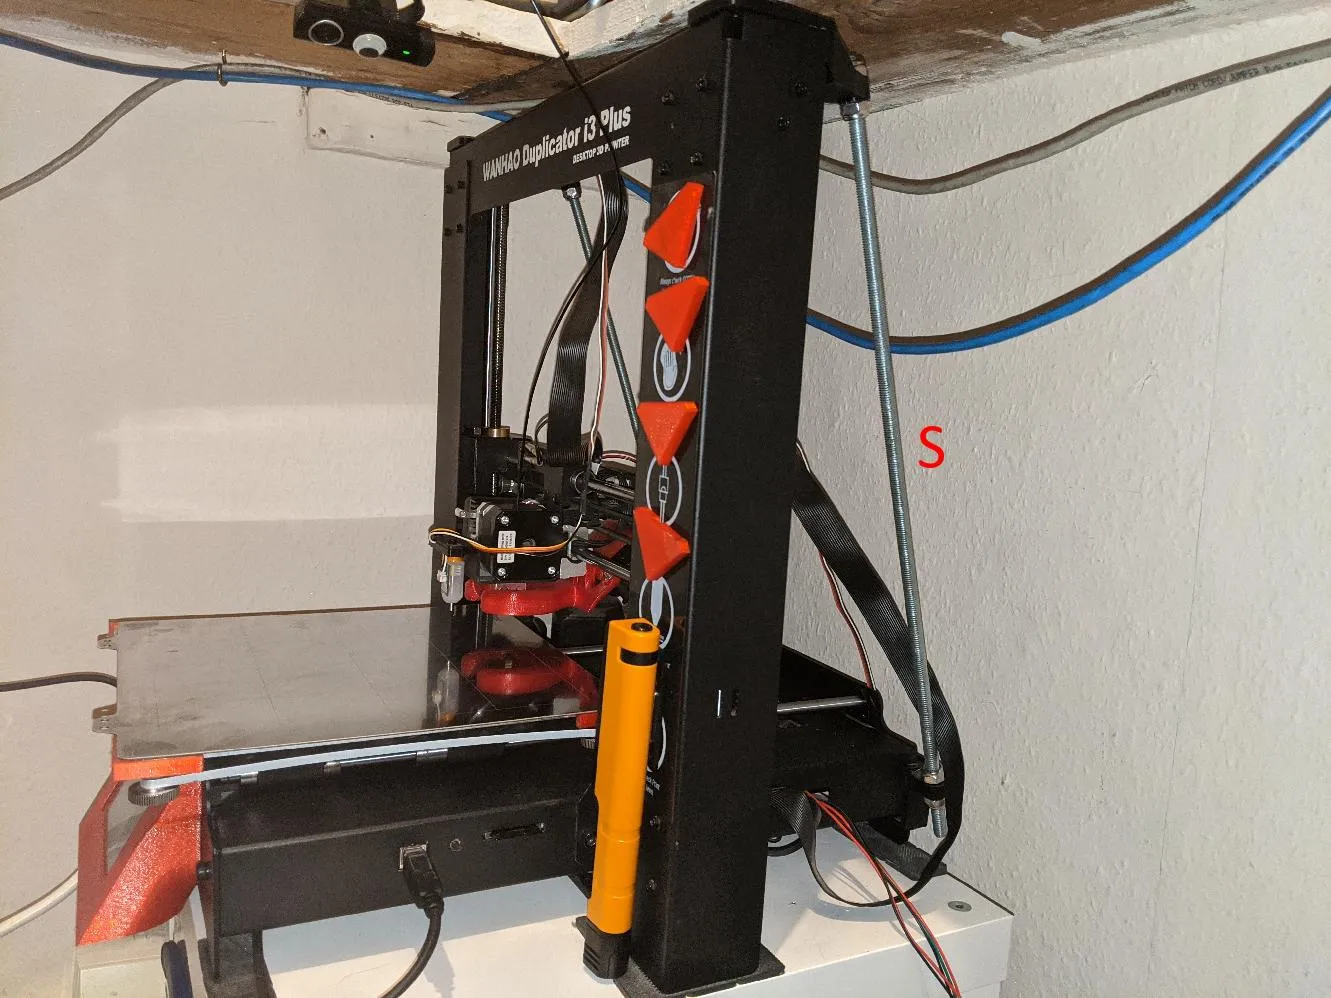
- Z Brace. The printer has a horizontal and a vertical piece as shown in the picture to the right. Unfortunately the vertical piece tends to wobble a bit, causing distortion when printing. To remedy this, I printed this rear z-axis support, and installed it with some M8 threaded bars and M8 Nyloc nuts (all labelled S in the picture).
- Angled touchscreen holder. I printed this replacement touchscreen holder so it was visible at an angle (and also easier to install firmware updates without taking the printer completely to bits).
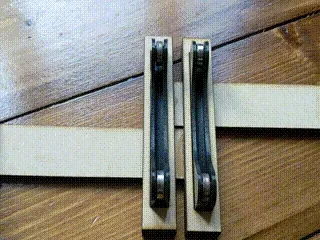
- Filament spool holder. 3D printer filament comes on a variety of differently sized spools, so I designed an adjustable spool holder with some 3d printed parts, lasercut MDF and circular bearings. It - and the spool - sit on the shelf above the printer.
Software
- Octoprint. In the main article picture, you can see my server. The 3d printer is attached to this using a USB cable, and I run Octoprint on there for remote management.
- In the main picture, you’ll also see an old webcam wedged under the server pointing at the 3d printer: this is integrated into Octoprint so I can keep an eye on it remotely.
- Firmware. I upgraded the firmware to ADVI3++ (github), maintained by Sebastien Andrivet. Its a massive improvement over the stock firmware. He’s still at it, which is fantastic (I’m contributing to his Patreon).
- Design. I use Autodesk Fusion 360 to design 3d objects.
- Slicer. This tool converts 3d designs into a GCODE file telling the printer how to move the hot end (print head), when to extrude filaments, what temperatures to use etc. I use Simplify3D for this.
Leave a comment
Comments are moderated, so yours won't appear immediately. Your email is never published.